2. How to use AI Chat feature on XIPU AI platform
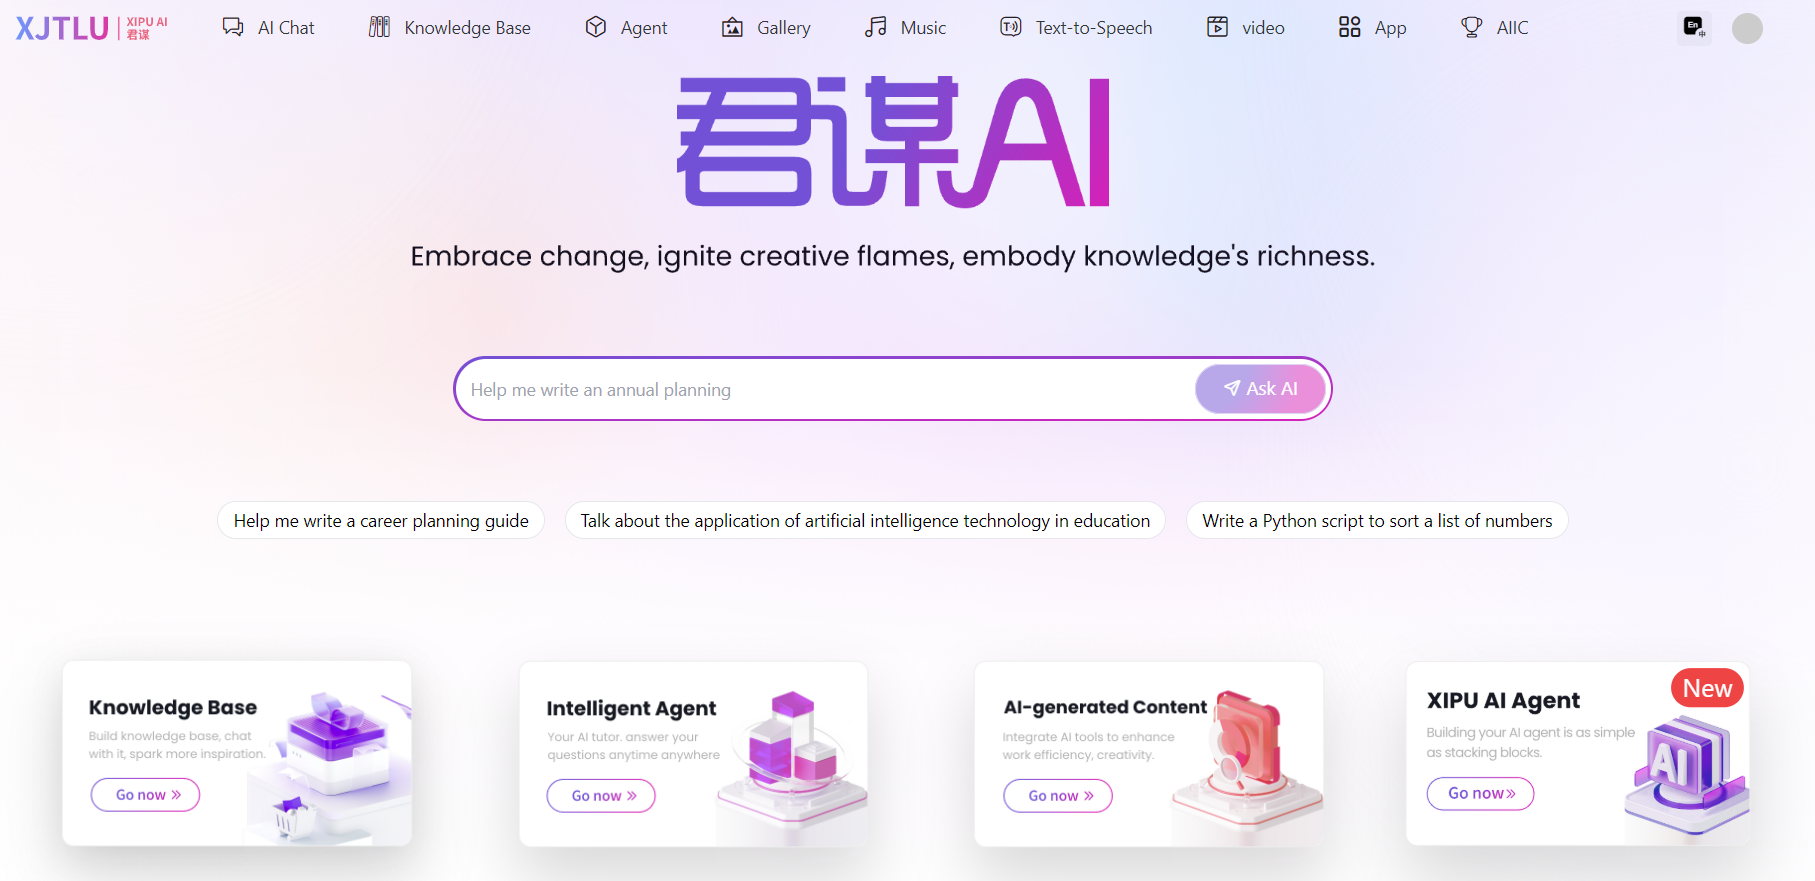
An example of XIPU AI interface
What to know:
Welcome to XIPU AI Chat! Here’s a step-by-step guide to help you get started.
Table of Contents
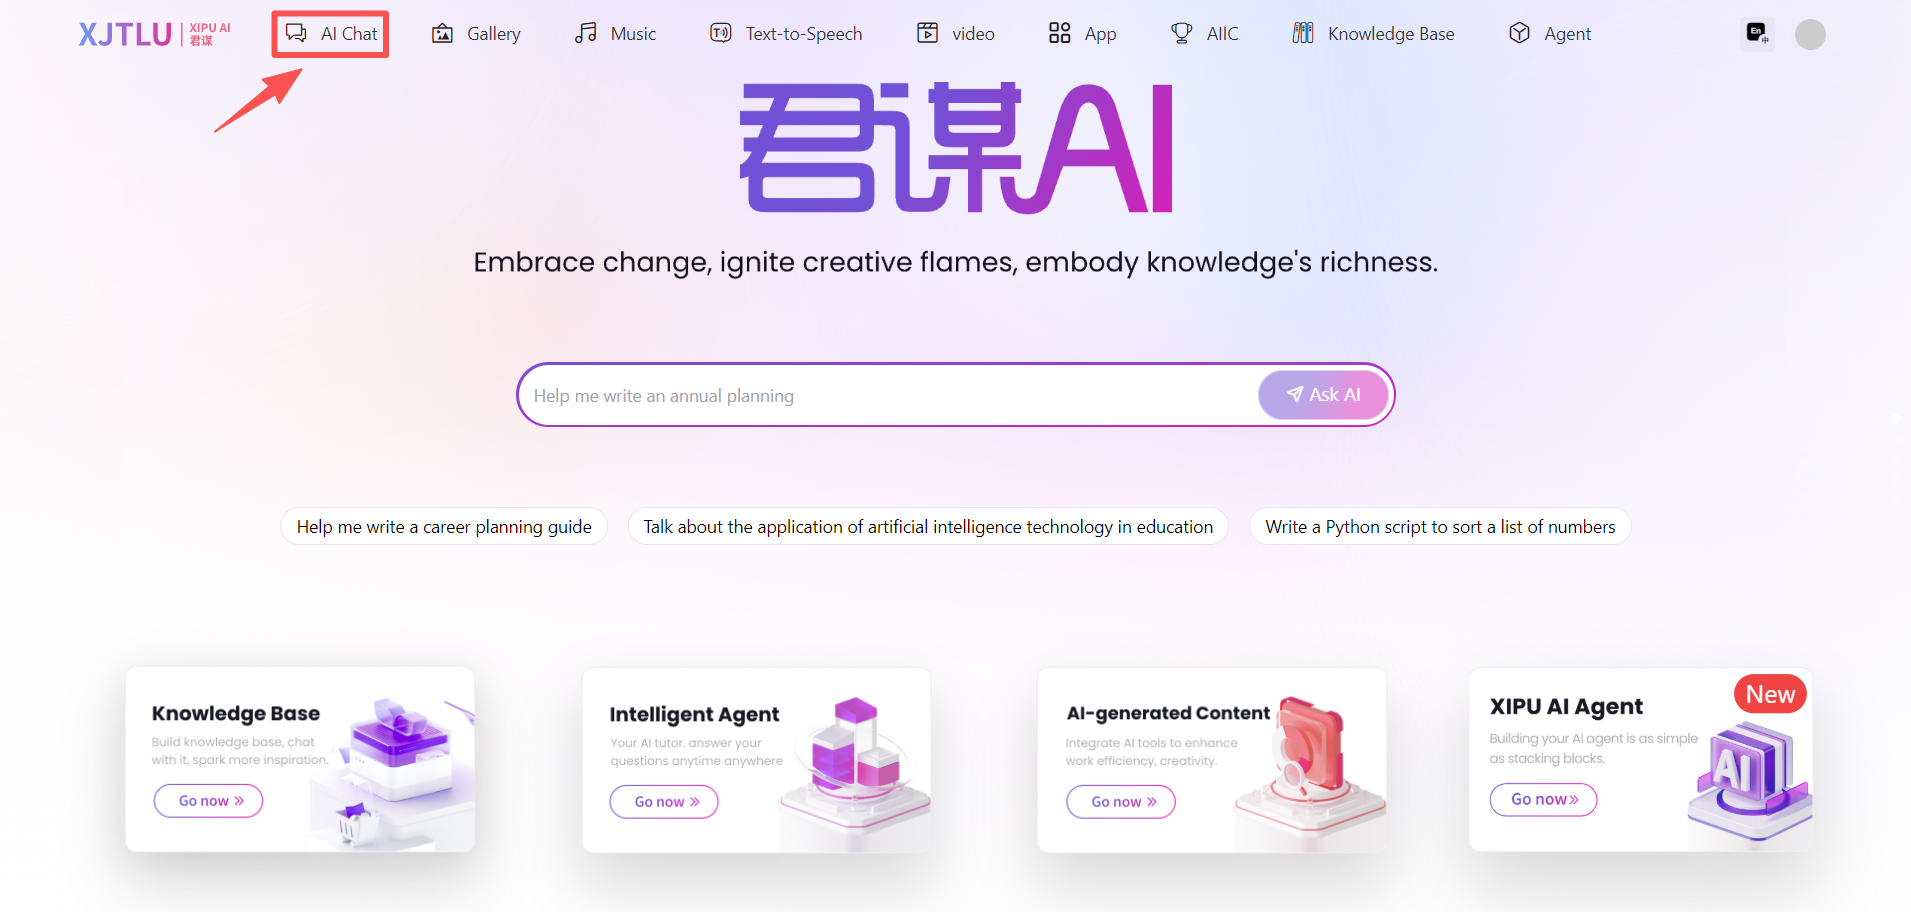
Step 1: Access the Platform
Visit XIPU AI via https://xipuai.xjtlu.edu.cn/v3/index and click the “AI Chat” button to launch the chat interface.
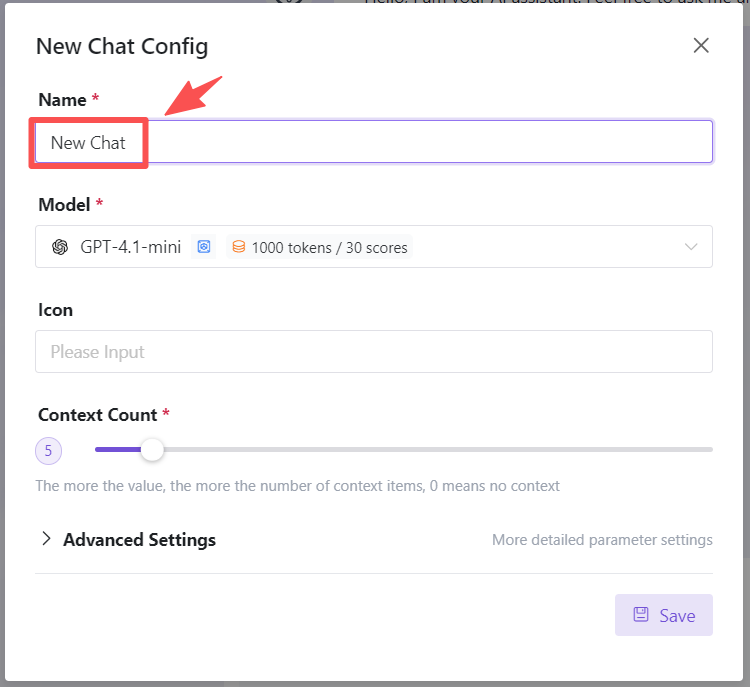
Step 2: Configure Your Chat
Click the “Config” button to customize your chat settings. You’ll see the following options:

- Name
Customize your chat room's name to make it easily identifiable.
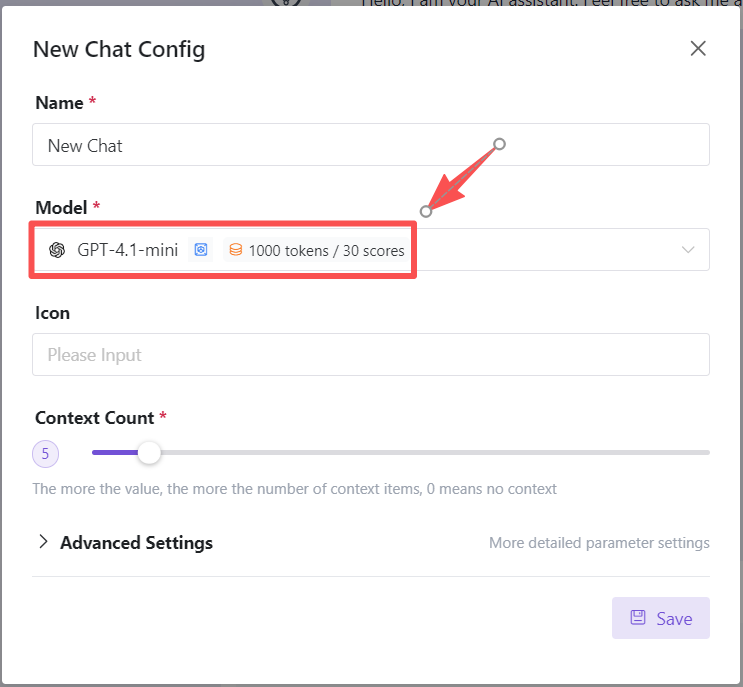
- Model
Default: GPT-4.1-mini. Switch to other AI models via the dropdown for different response styles or capabilities.
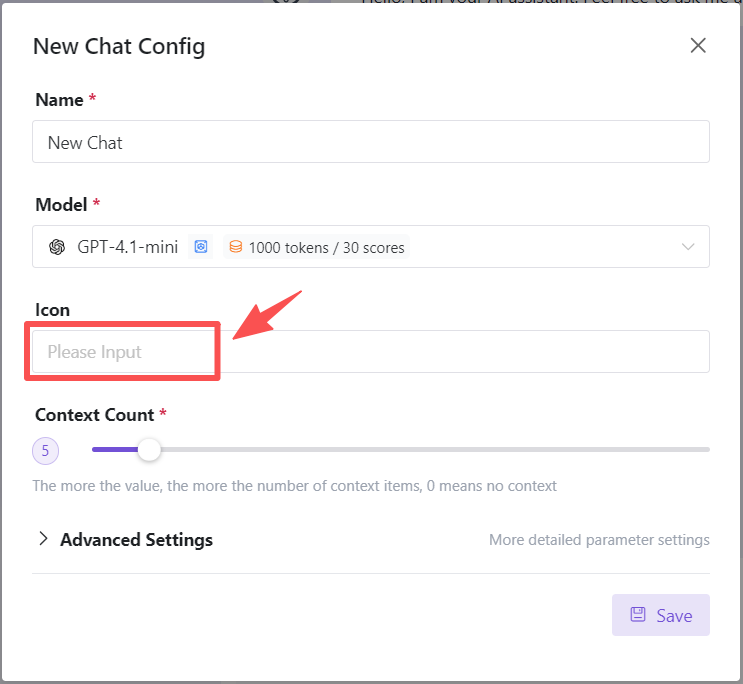
- Icon
Choose an emoji as your chat room’s visual icon.
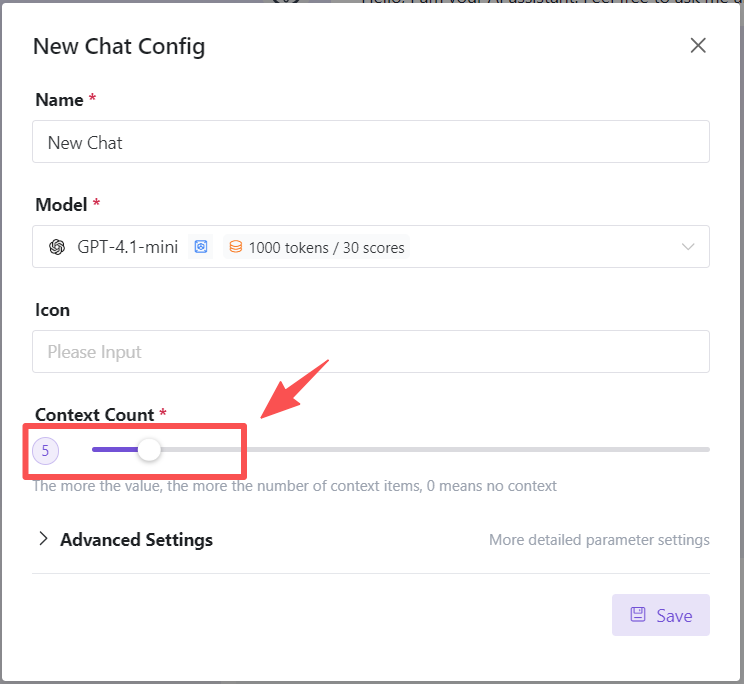
- Context Count
Adjust how many prior messages the AI considers for context-aware replies (e.g., higher values improve continuity).
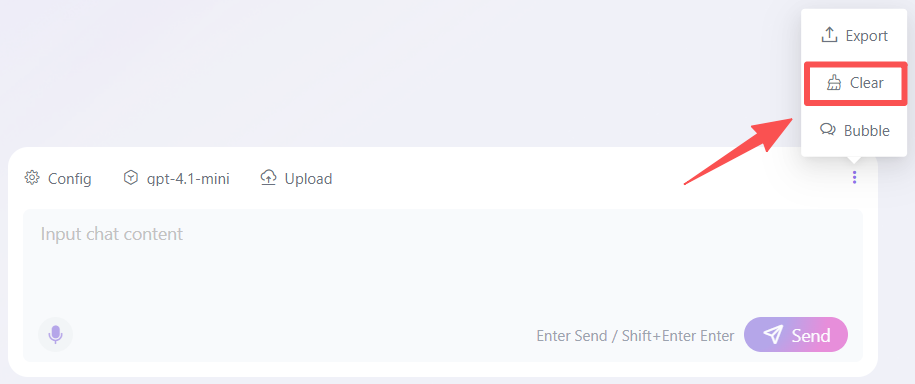
Step 3: Explore Chat Features
After configuring, use these tools to enhance your experience:
- Bubble
Toggle between Bubble (conversational layout) or List (structured view) for chat display.

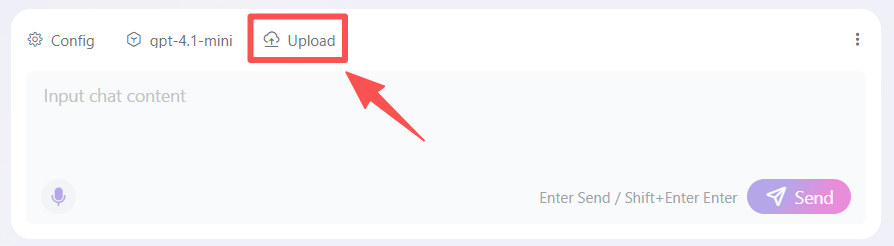
- Upload
Add images to discuss or analyze visual content (supports common formats like JPG/PNG).
- Export
Download the visible chat history in Markdown format.
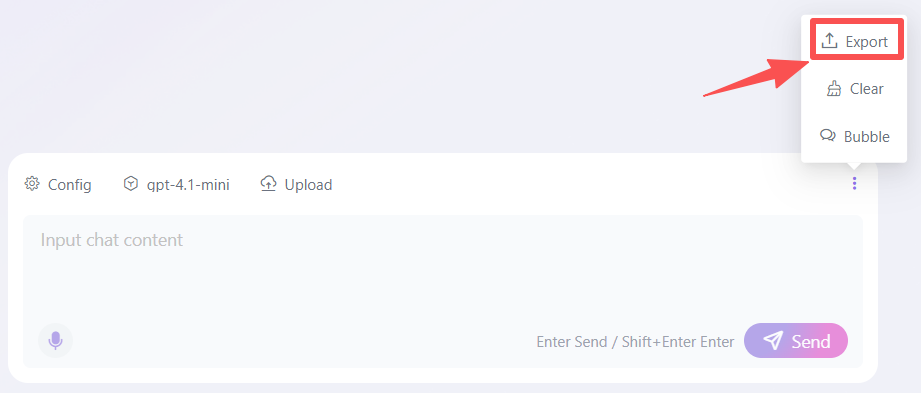
- Clear
Delete all chat history in the current session.
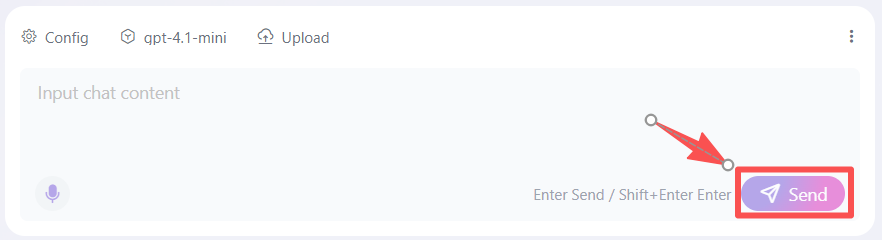
- Send
Submit your message to generate AI responses.
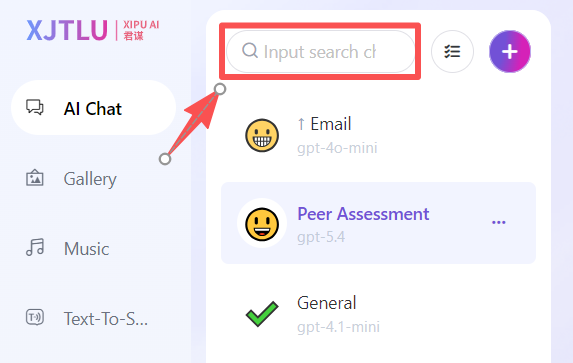
Step 4: Manage Chat Rooms
On the left panel:
- Search Tab
Find specific chat rooms by typing keywords.
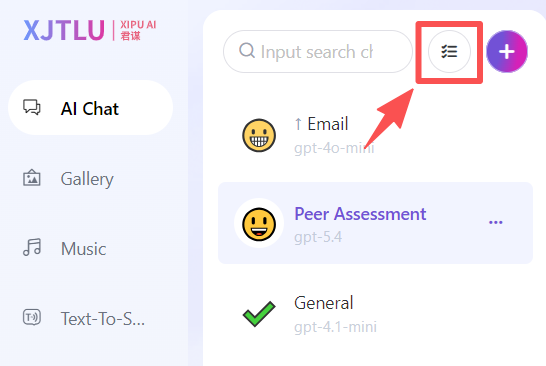
- Batch Operation
Select multiple chat rooms to delete them in bulk.
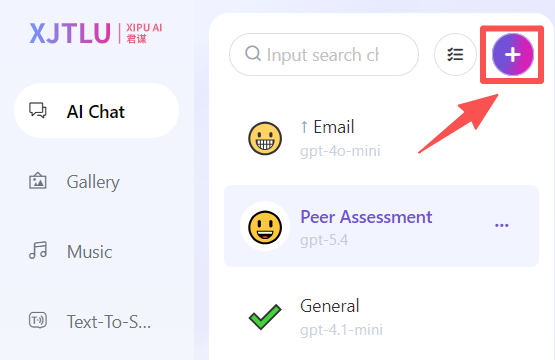
- + Button
Click to create a new chat room.
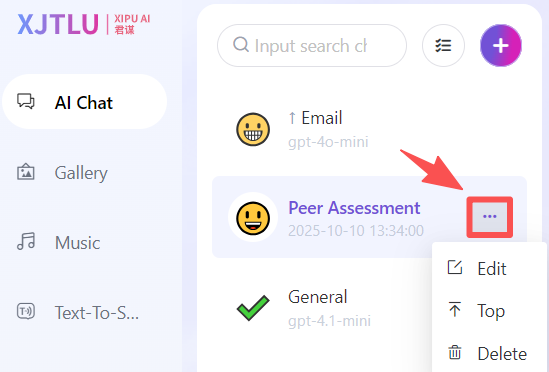
- Three Dots (•••)
Edit: Configure the chat room.
Top: Pin important chats to the top.
Delete: Remove the chat room.
Next steps:
Now that you have a basic idea of how to use the AI chat feature, you may be interested in the following related articles:
How to construct an AI Tutor (XIPU AI Chat block) on LM Core module page?