4 - How to record BigBlueButton sessions
Overview:
This guide will quickly show you how to use the Recording feature in BigBlueButton (BBB) to enhance lecturers’ and students’ online teaching and learning experience.
What to know:
When a BBB conference/activity is enabled for recording, the Moderator can engage the Start/Stop button in the live session to generate a recording.
Table of Contents
Step 1: Start a recording
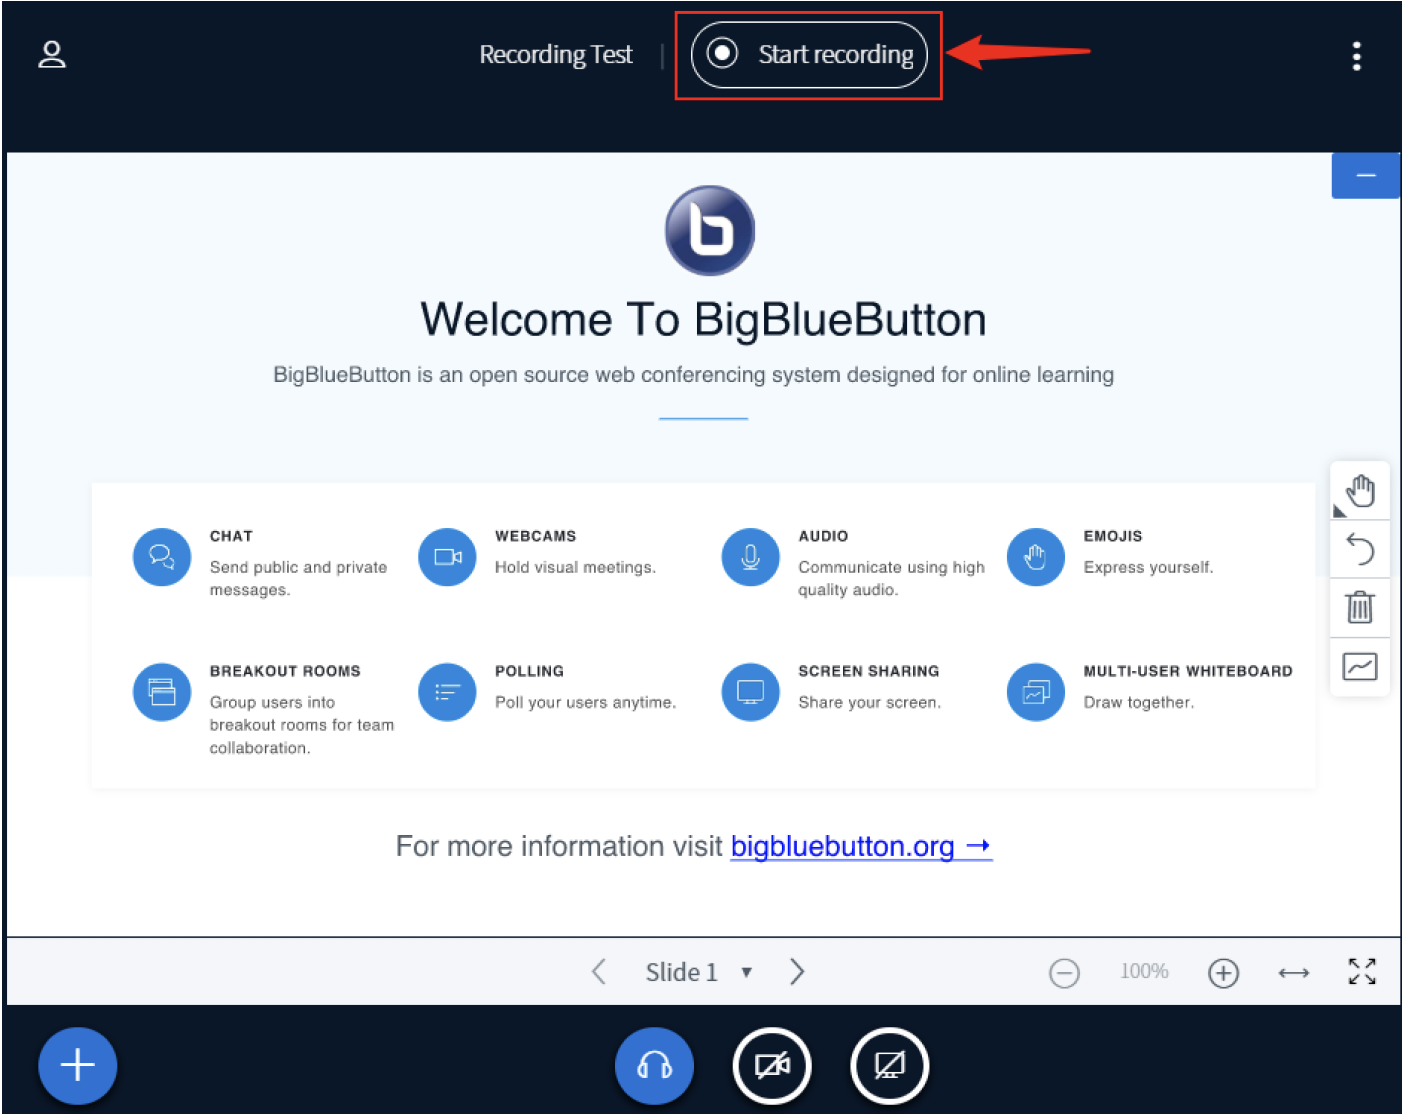
The Recording icon is located in the top centre of the BBB interface, to the right of the session title. To start the recording, select the Start Recording button:
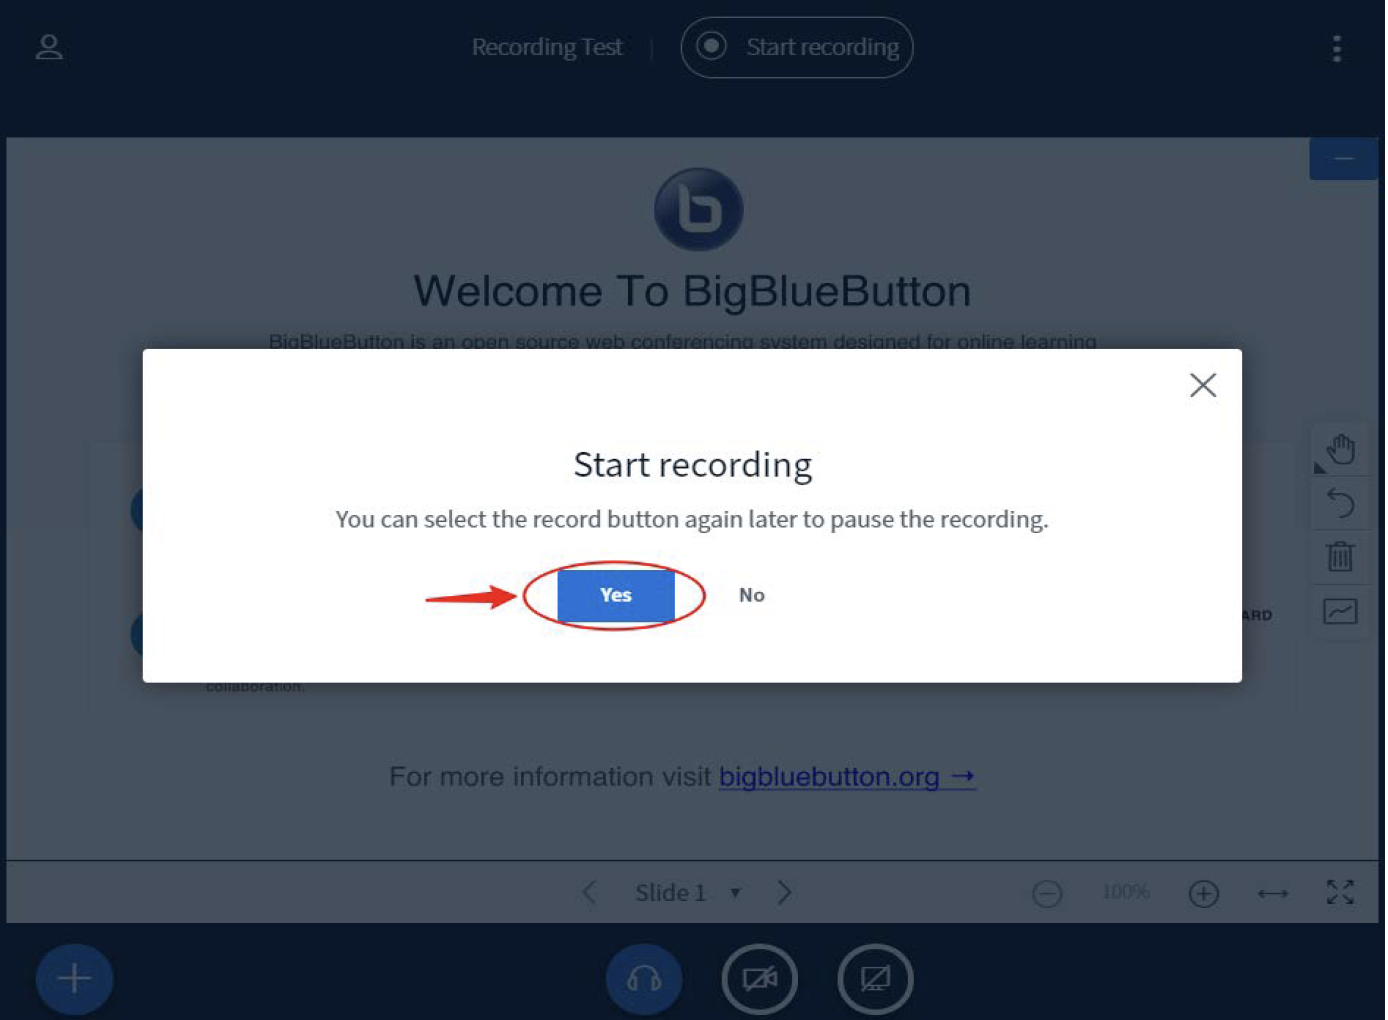
In the pop up window, click Yes:
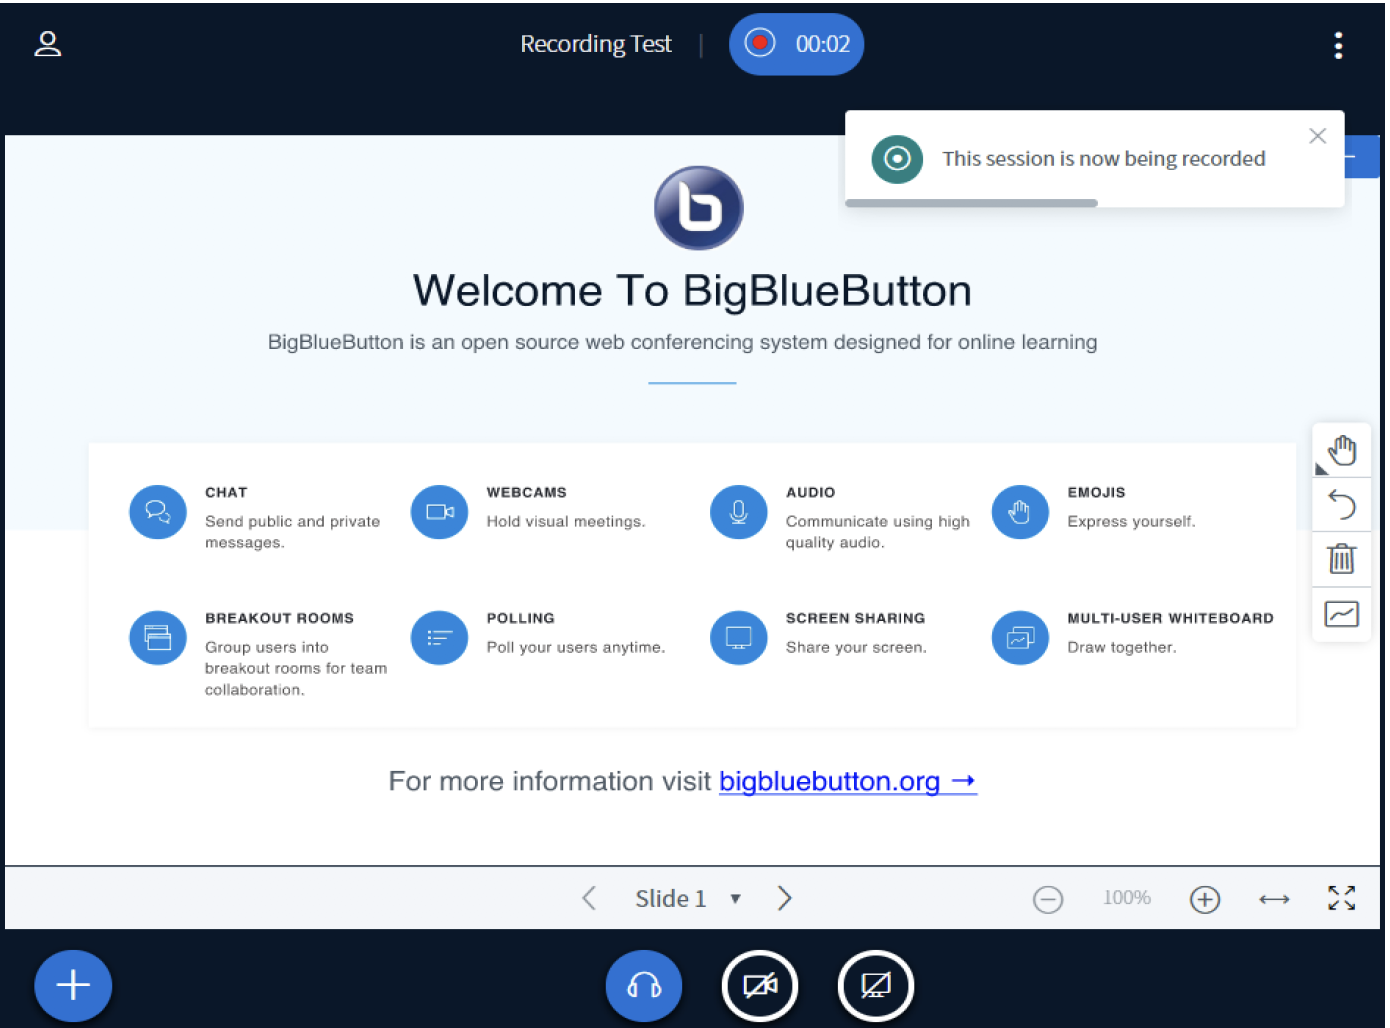
When started, the recording icon will change to red and a timer will begin counting the total number of recorded minutes captured.
Step 2: Stopping or pausing a recording
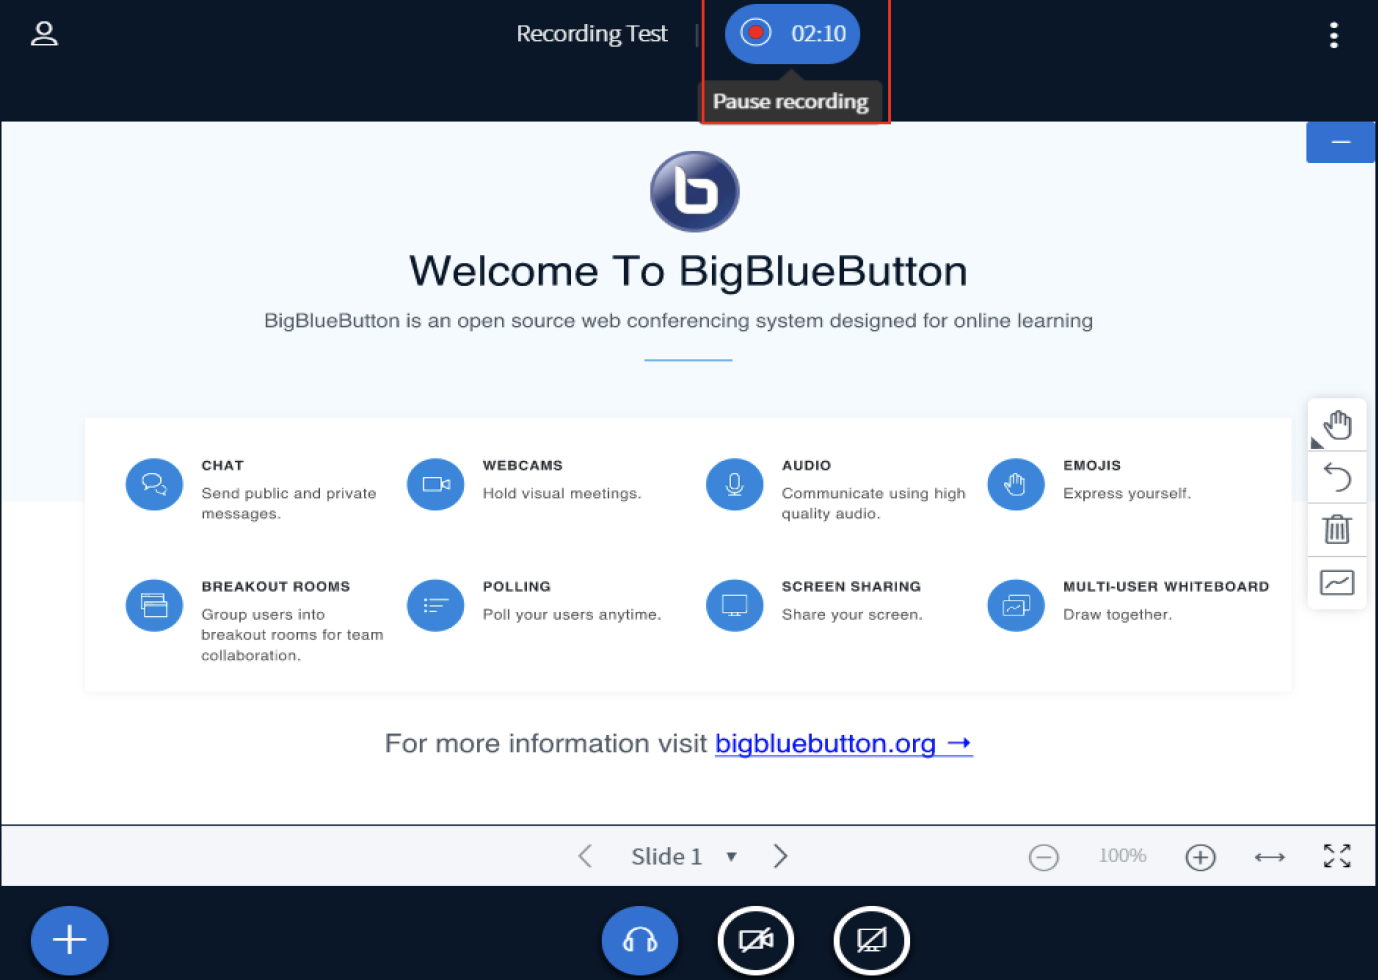
To stop or pause the recording, select the red icon and timer:
In the pop up window, click Yes:
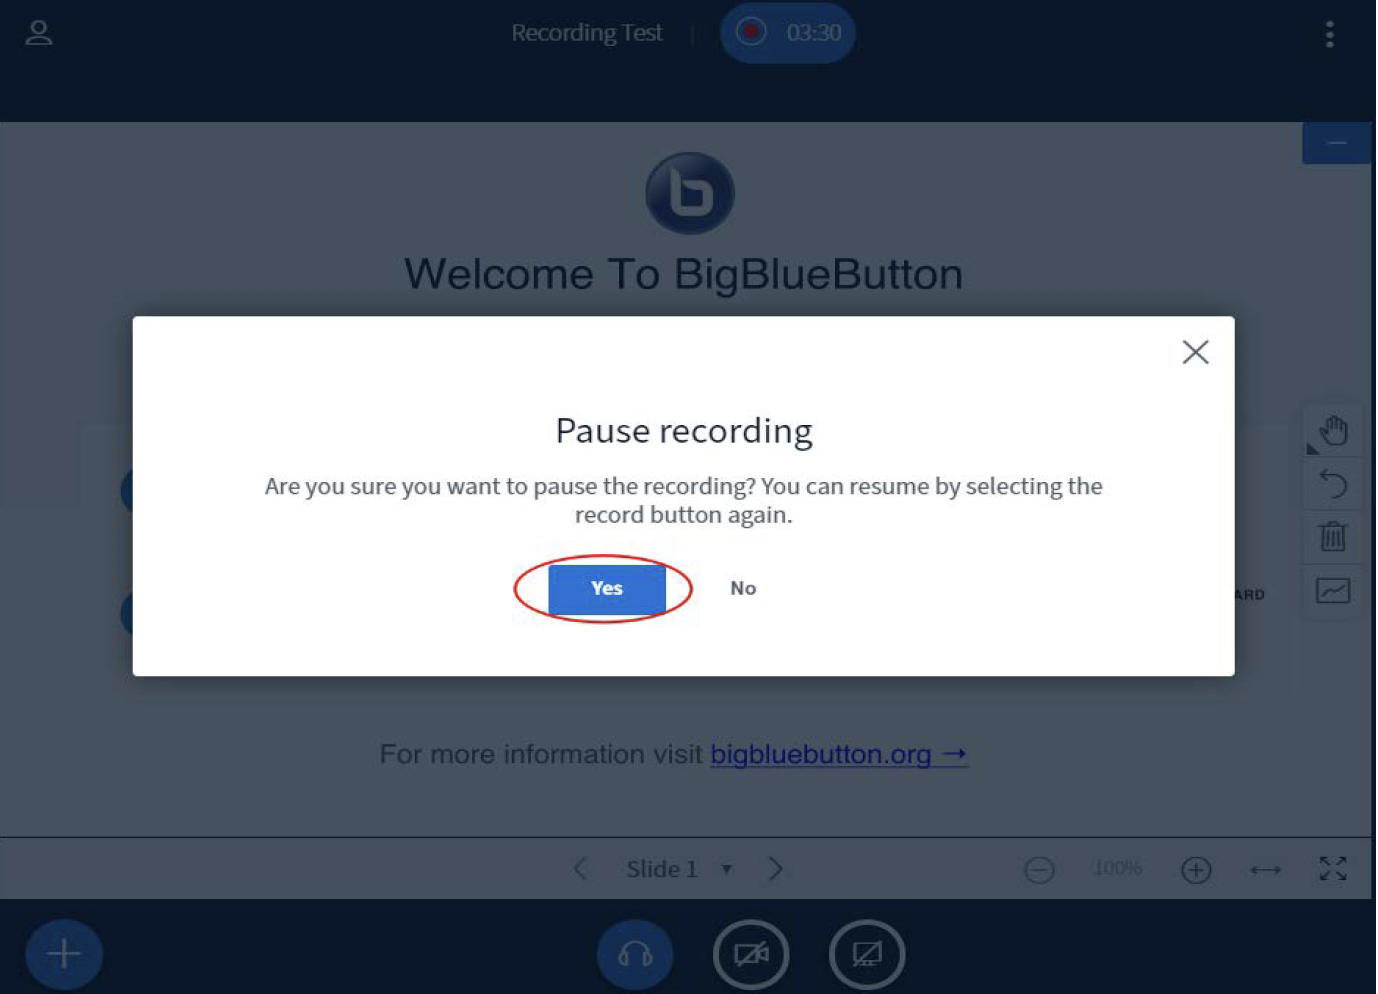
After clicking Yes, you will see:
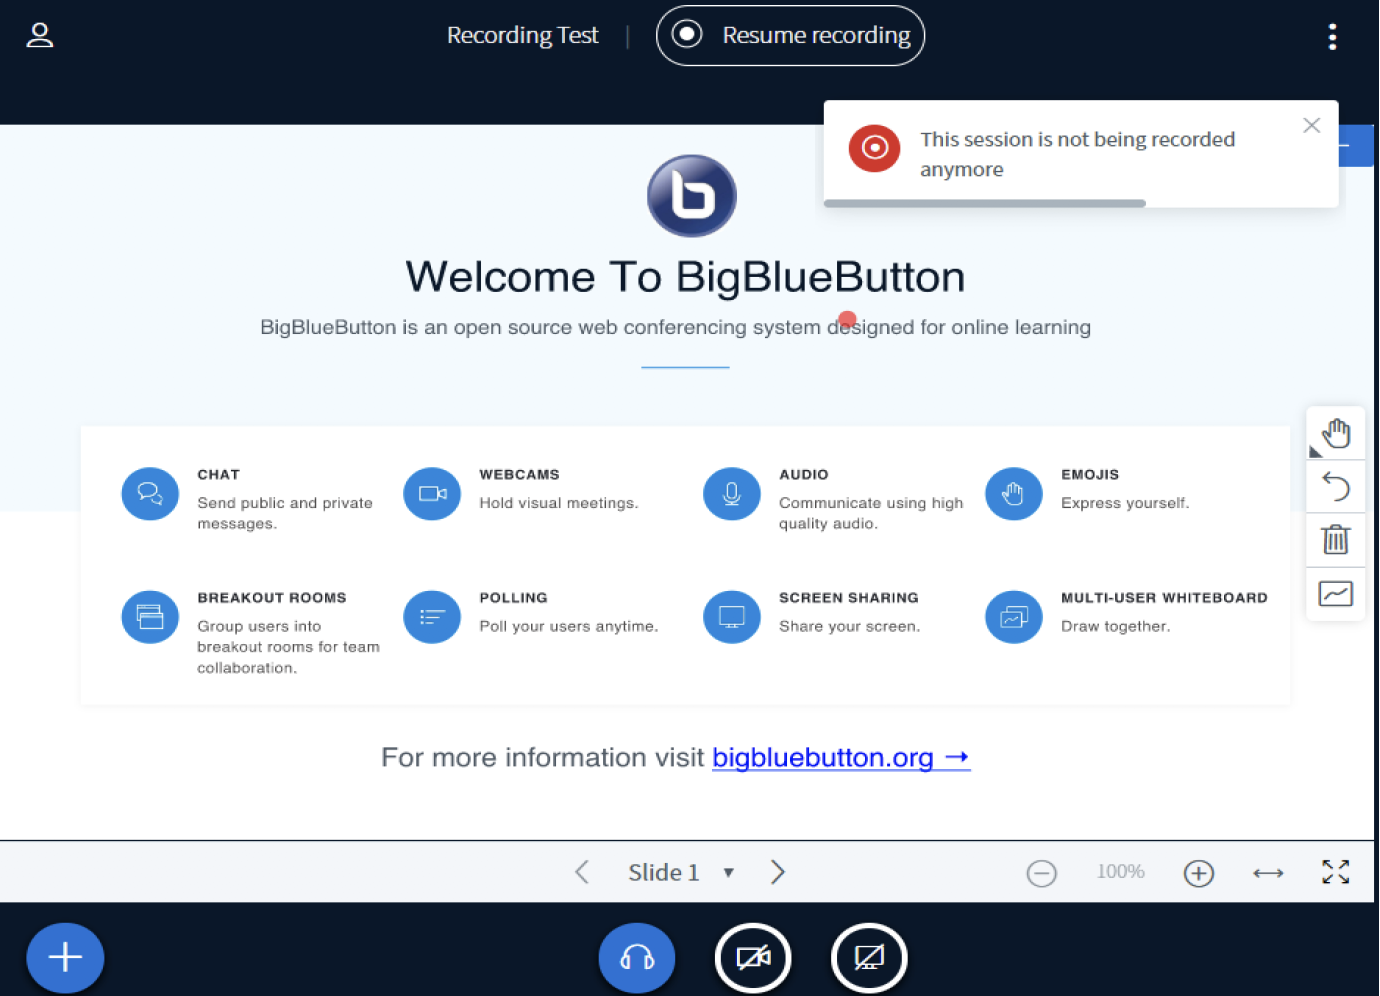
Step 3: Resume recording
Click the Resume recording in the same place:

In the pop up window, click Yes:
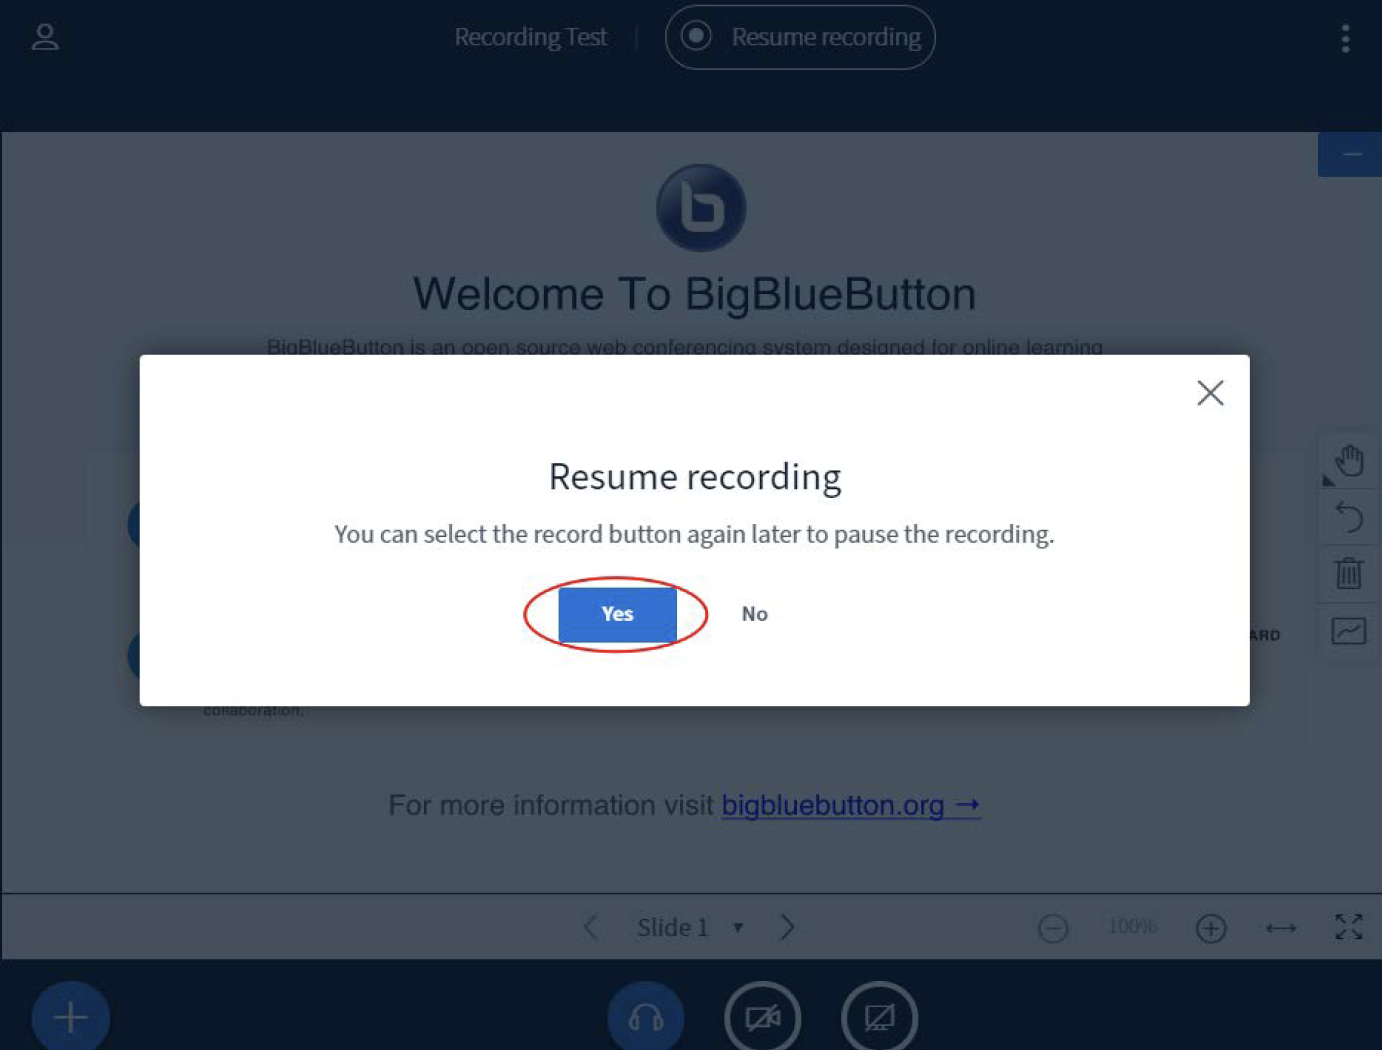
The session will be recorded again.

Step 4: Publish recordings
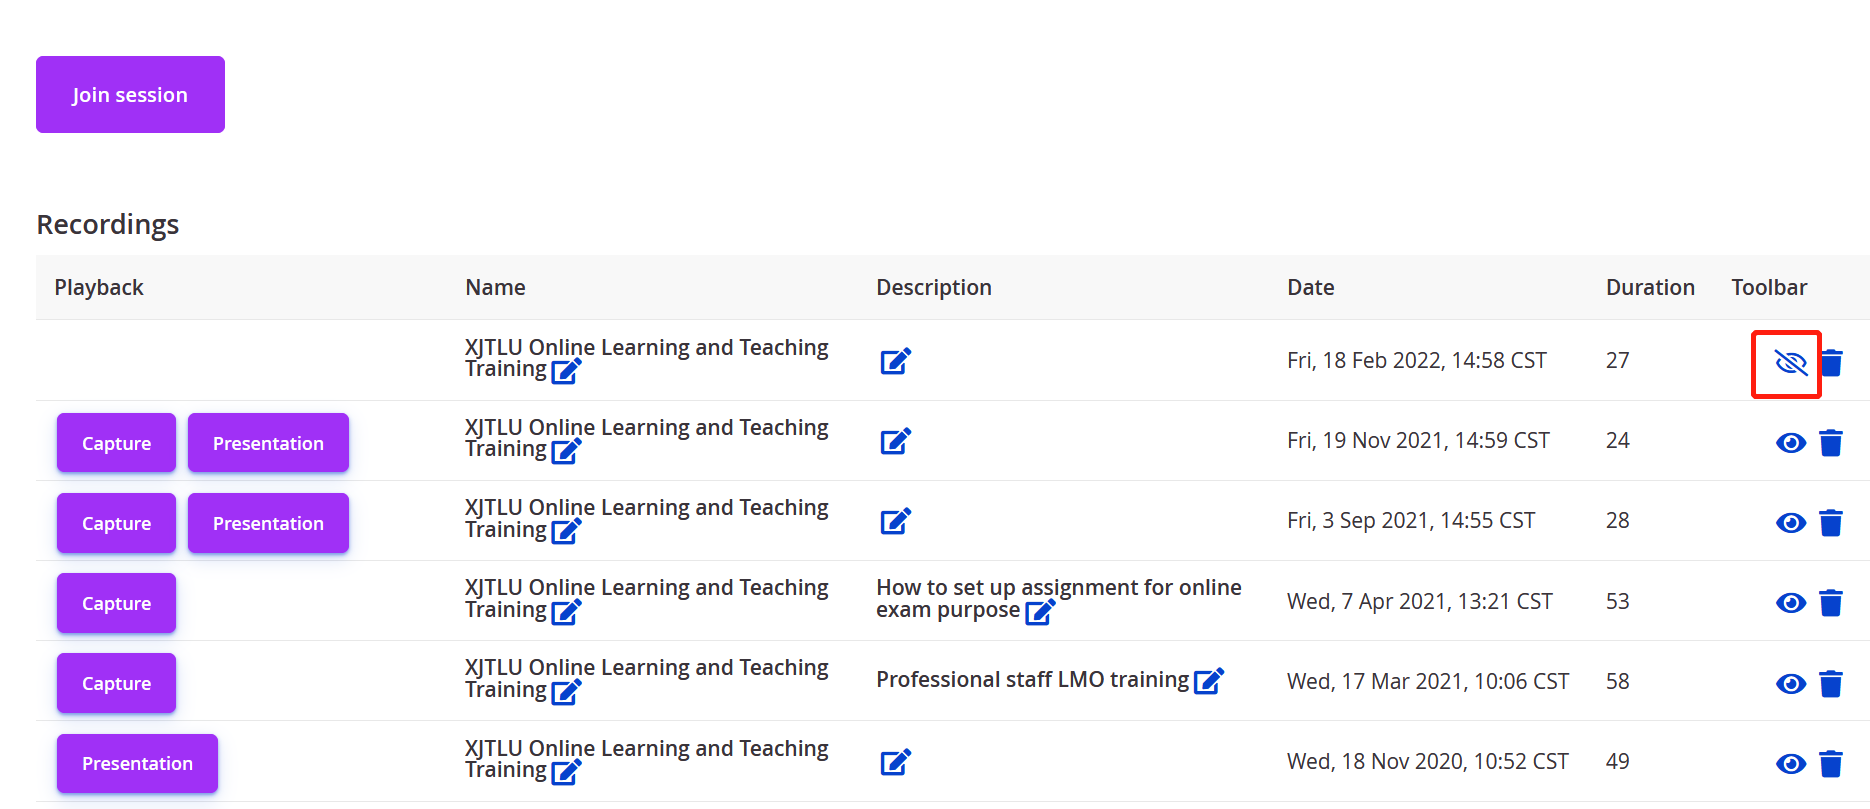
Click the BigBlueButton link on your module page, and you will see the recordings listed under the "Join session" Button. Please be noted that, it will take hours to generate the videos if it is a long video or it is generating under the online teaching peak time.
By default, the video is hidden to student, you can click the Eye icon to publish it and make it available to students:
Tips:
1. It is important to note that enabling your conference/activity to be recorded when it was created is not an auto-capture function. A Moderator must still engage the start/stop record in the live session for a recording to be processed.
2. It is important to note that processing the recording takes approximately the same amount of time as the full duration of the live session. Processing cannot begin until the session has ended or all attendees have logged out of BBB.