5 - Share your computer screen to students
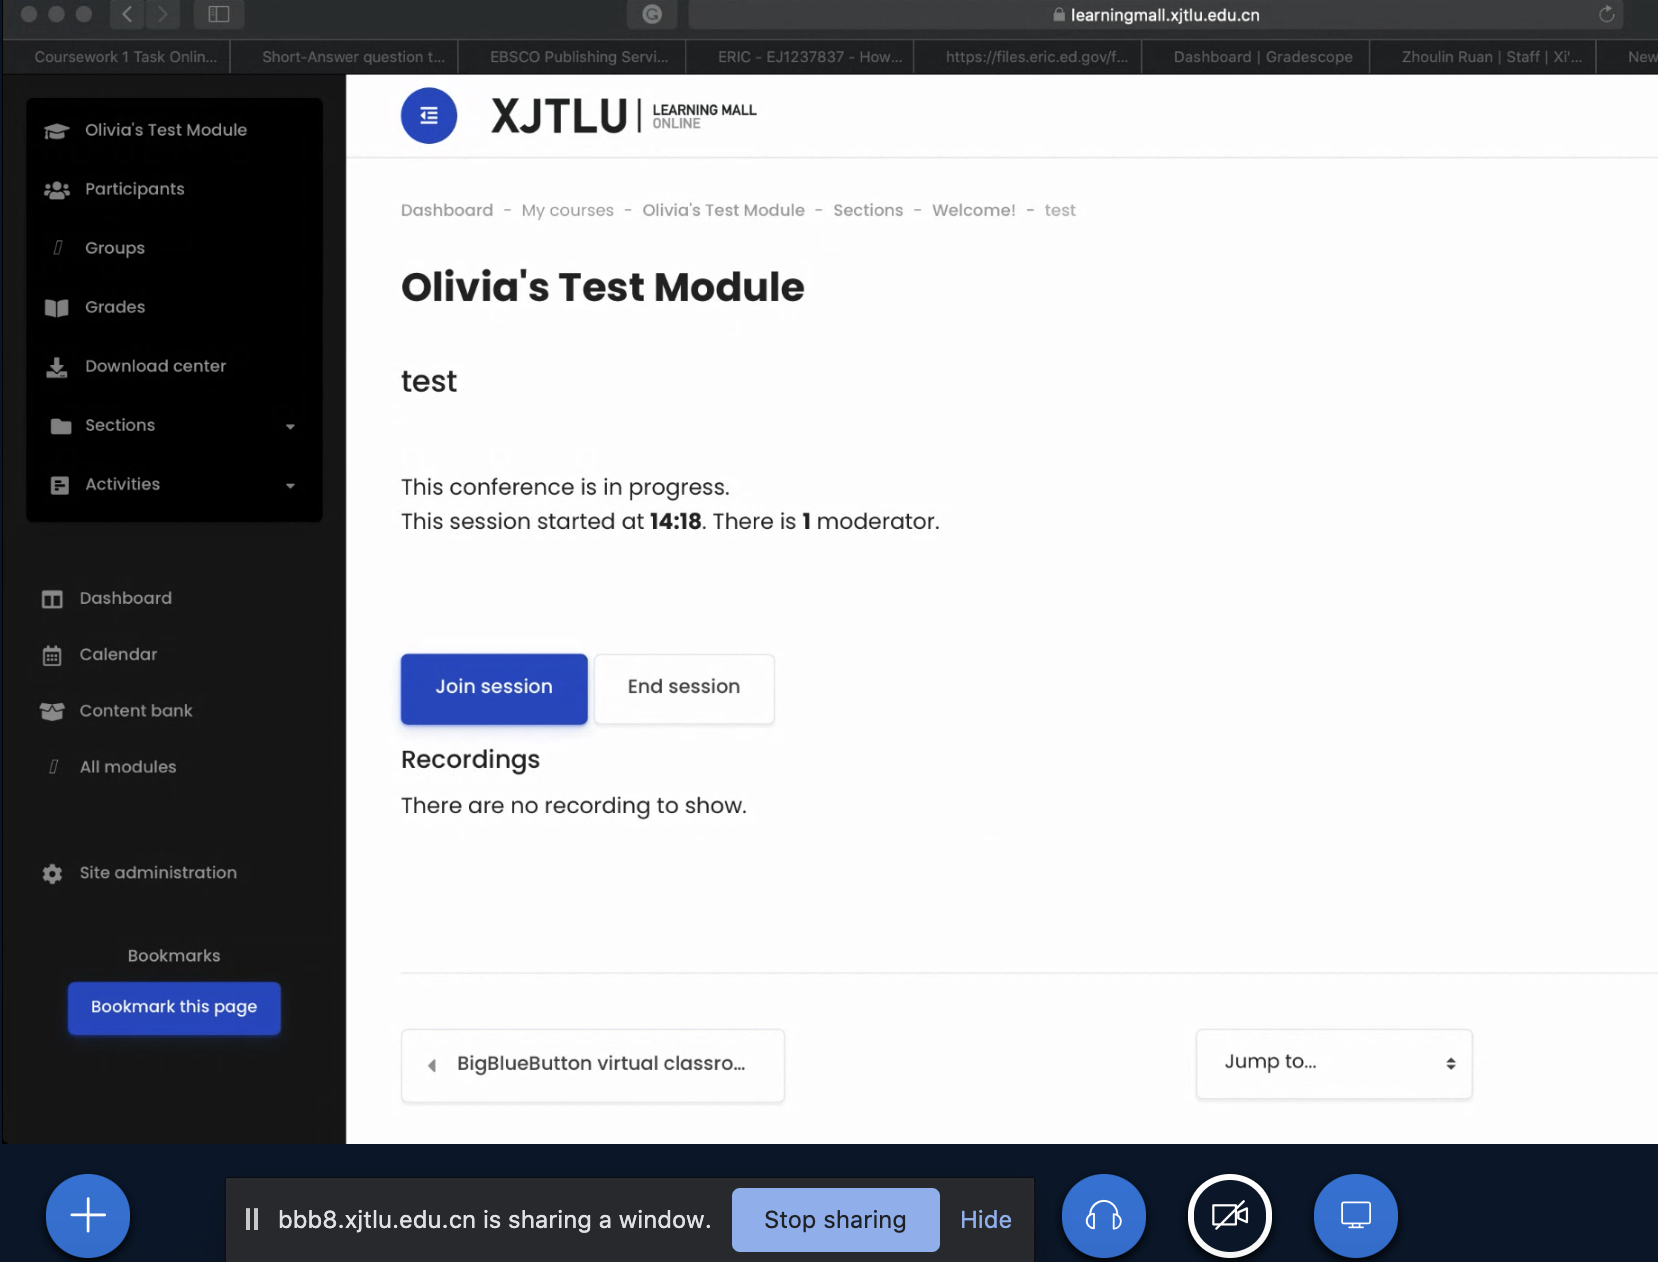
An example of the screen sharing function in the BigBlueButton activity
Overview:
This guide will show you how to share your screen with students during a BigBlueButton (BBB) session.
What to know:
If you want to share your screen, please ensure your desktop is clean, as students will be able to see it. Close any websites irrelevant to the session, and hide private information, if necessary. You can share your screen anytime you wish when you are delivering an online course via BBB.
Table of Contents
Step 1: Tell the students
Please let your students know that you are going to share your screen, because when you initiate the process, there will be a few seconds of blank air time (audio will be interrupted). This could confuse students, as they will not be prepared for a sudden transition in delivery and they may think there is a problem with the system. It is therefore essential that you let them know what you are about to do.
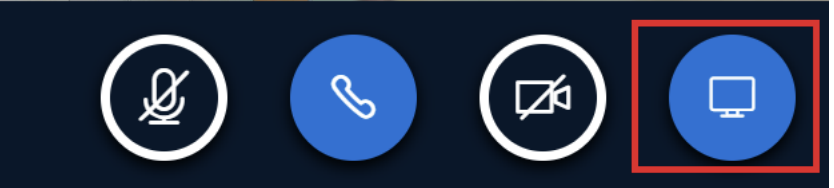
Step 2: Click the share screen button
Click the share screen button as below:

Step 3: Select which screen to share
A pop-up window will appear and you can select the content on your computer to share according to your needs. You can share your entire screen, an application window, or an internet browser tab.

Step 4: To start sharing
After you choose the content you would like to share, the students will be able to see your screen. If you are sharing the entire screen, please hide the BBB page and enlarge the page you want to show; if you do not hide the BBB page, it will create an infinite duplication visual effect. Now you can keep talking and using your mouse to operate on the screen. Confirm with the students that they can see what you are sharing.
Step 5: To stop sharing
Go back to the BBB page, and click the icon below to stop the sharing:
Tips:
Enlarge the windows so that the students can see clearly on your screen.