4 - How to mute students, make students a speaker
Overview:
This guide will detail how to manage the users in BigBlueButton (BBB), namely how to mute and unmute users, lock viewers, and give users special permissions.
What to know:
If you are delivering online sessions to a large number of students, or if you co-teach with other teachers or teaching assistants, you may find the means listed below to manage users useful.
Table of Contents
Step 1: Mute and unmute users
In BBB, as the moderator (teacher), you have the ability to mute users. If you would like to mute a specific user, click on the user’s icon and choose ‘Mute user’. This function can be useful when you have participants with their microphones enabled in a noisy environment, producing noises and have no knowledge of how to mute themselves. In this case, you can mute the users on their behalf. Please note you will not be able to unmute the users from your interface after you mute them.

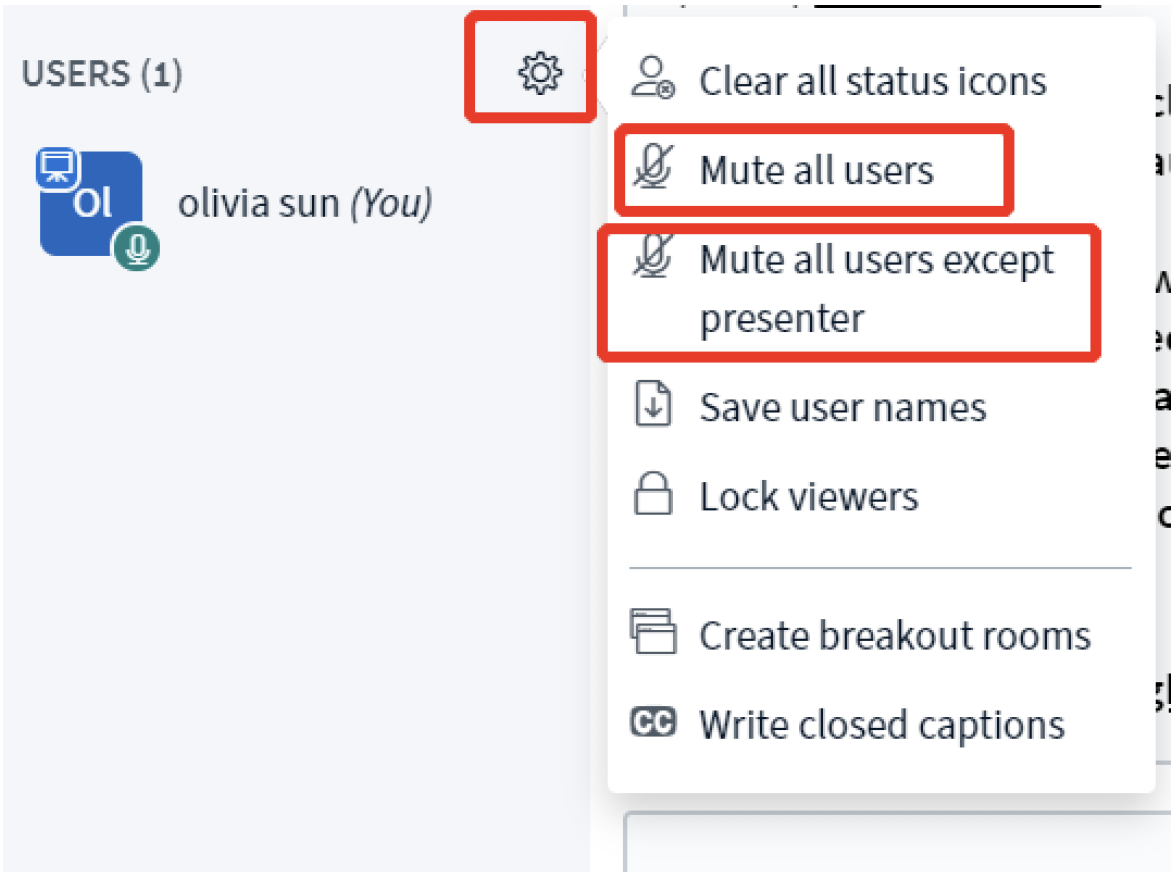
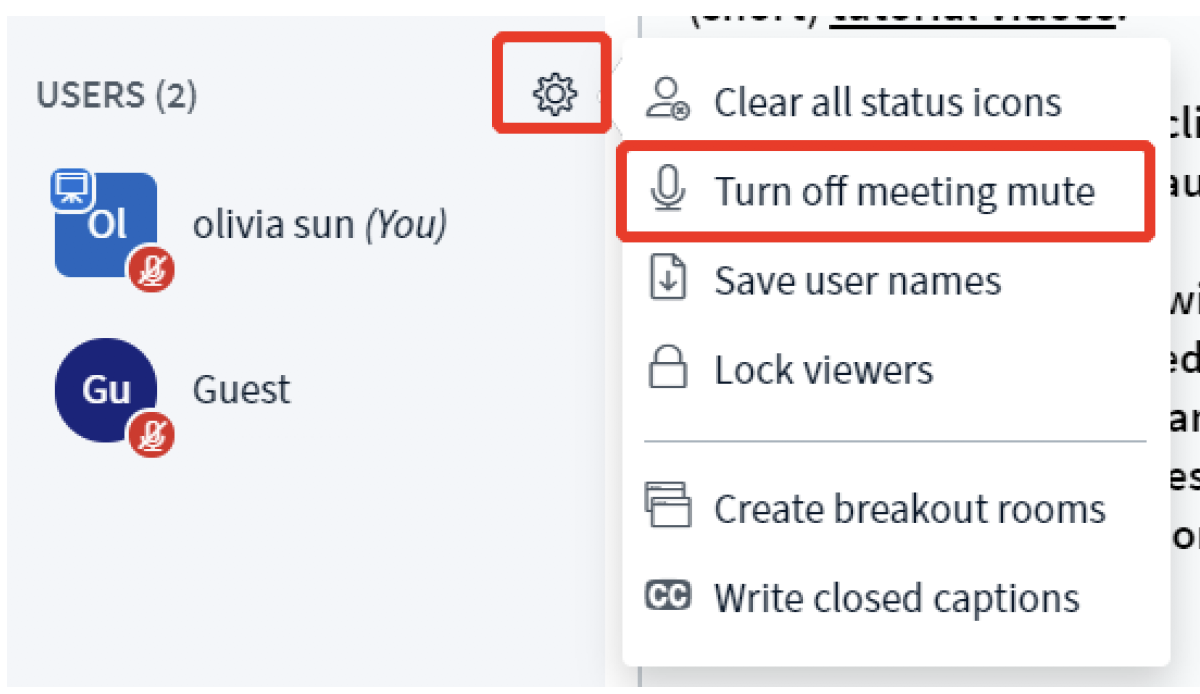
If you would like to ‘mute all users’ or ‘all users except presenter’, click on the gear icon and choose the desired options on the menu. This setting can be useful if you have a large number of participants. By enabling the meeting mute, you can make sure your class delivery will not be disturbed by potential noises from the participants’ microphones. You will be able to unmute the users by clicking on the gear icon and then ‘Turn off meeting mute’.
Step 2: Lock Viewers
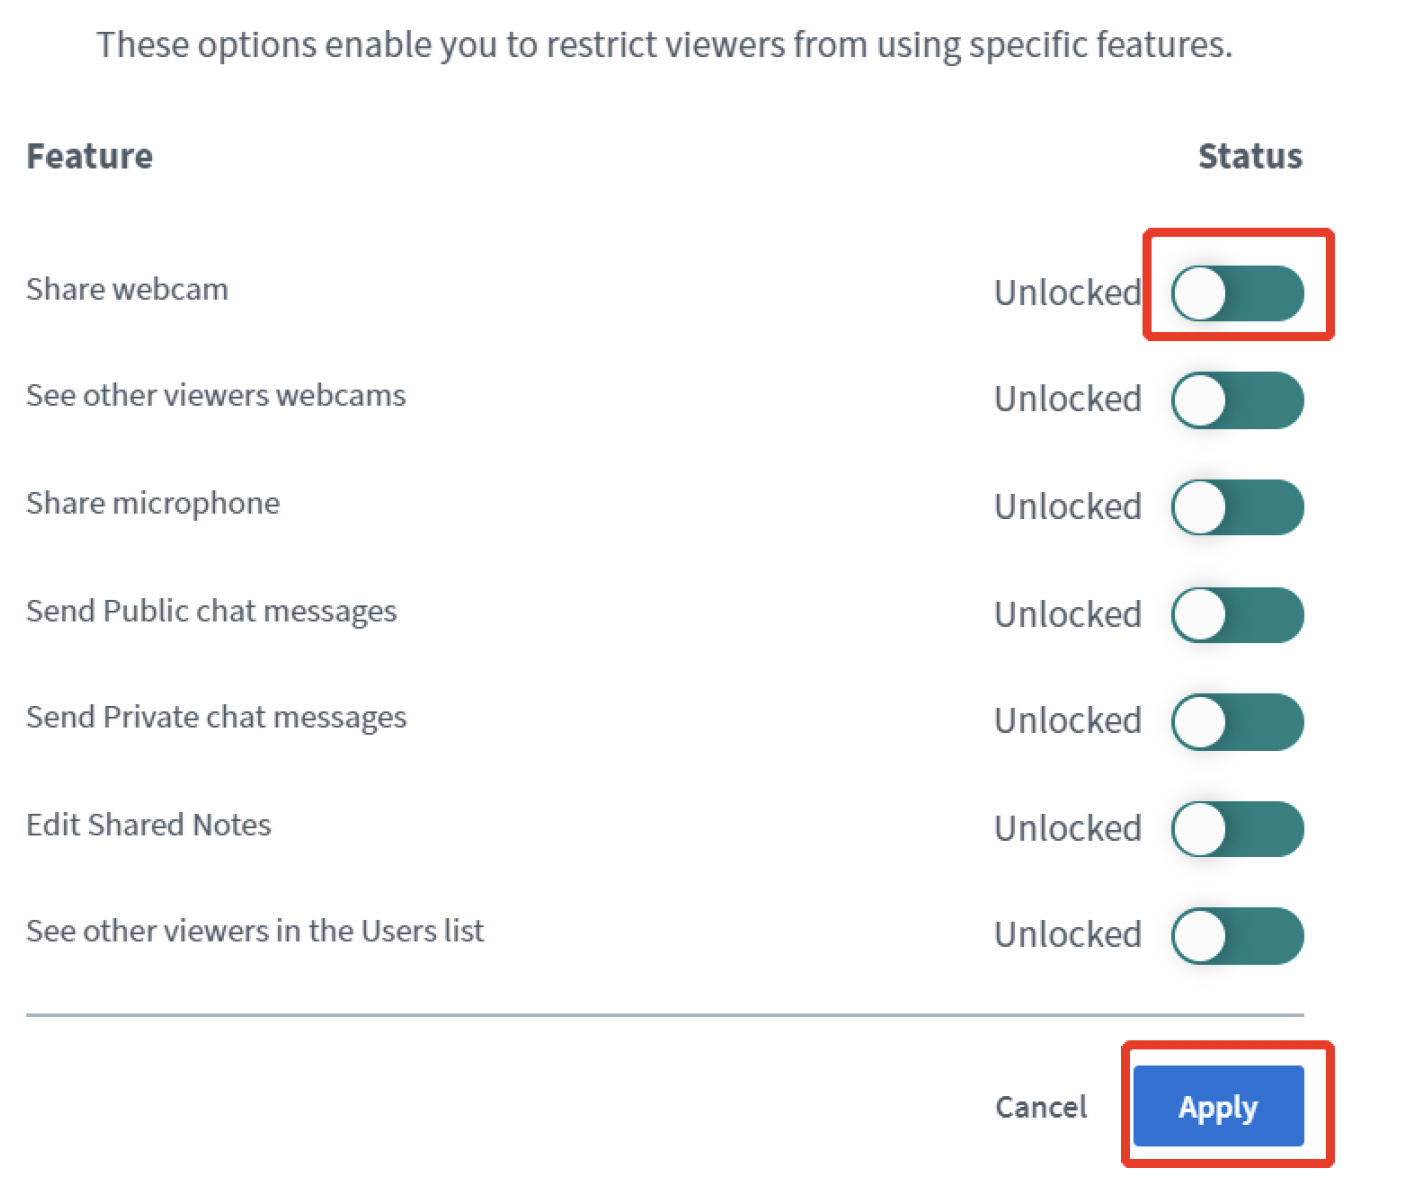
You have the ability to restrict the viewers (students) from using specific features. This function can be useful when you have a large number of participants in your session.
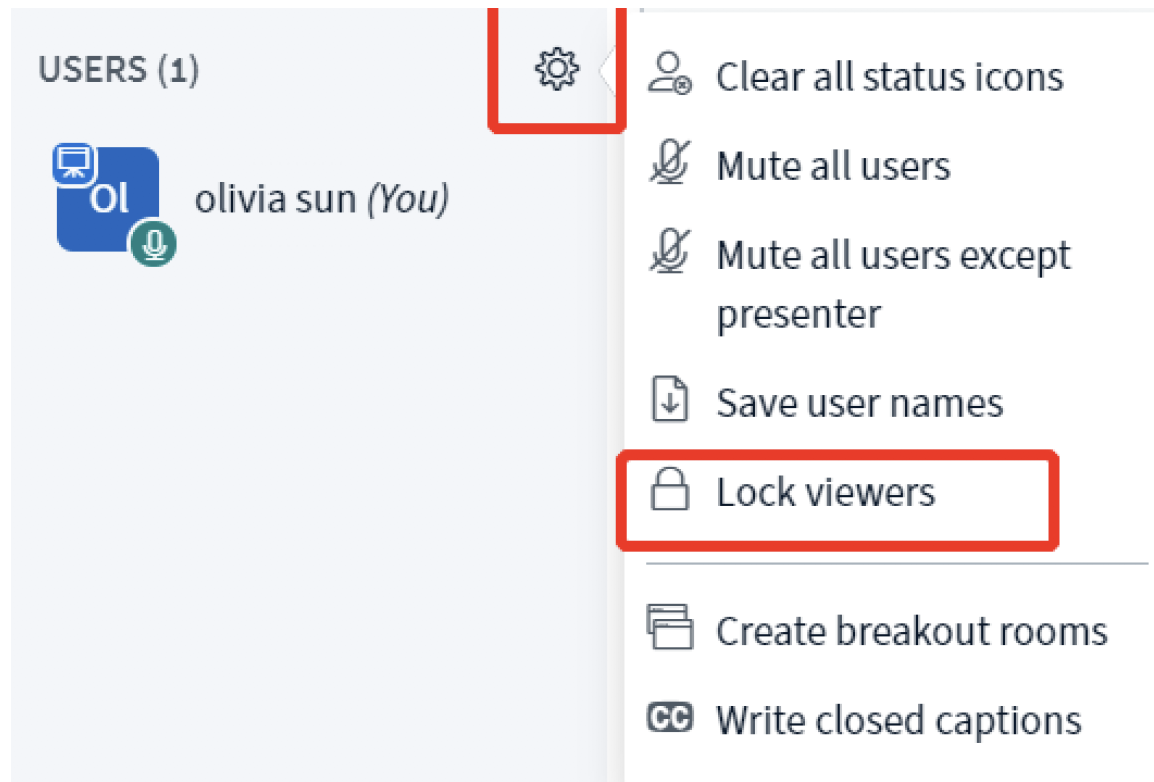
To lock viewers, click on the gear icon and then ‘Lock viewers’.
Lock/unlock specific feature(s) by clicking on the button of that feature and then click ‘Apply’.
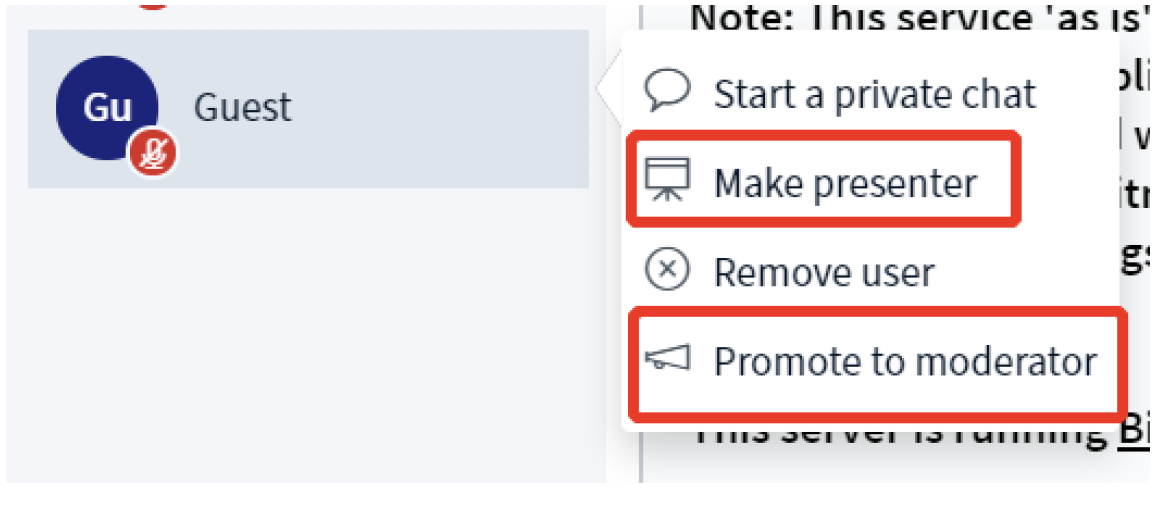
Step 3: Modify viewer permission
You can make a specific viewer the presenter or promote the user to be a moderator.
To do so, click on the user’s icon and choose the desired setting.
Step 4: Presenter permission
The presenter permission will transfer the following control from the moderator to the viewer:
• Upload a presentation
• Start a poll
• Share screen
• Annotate
• Turn multi-user whiteboard on and off
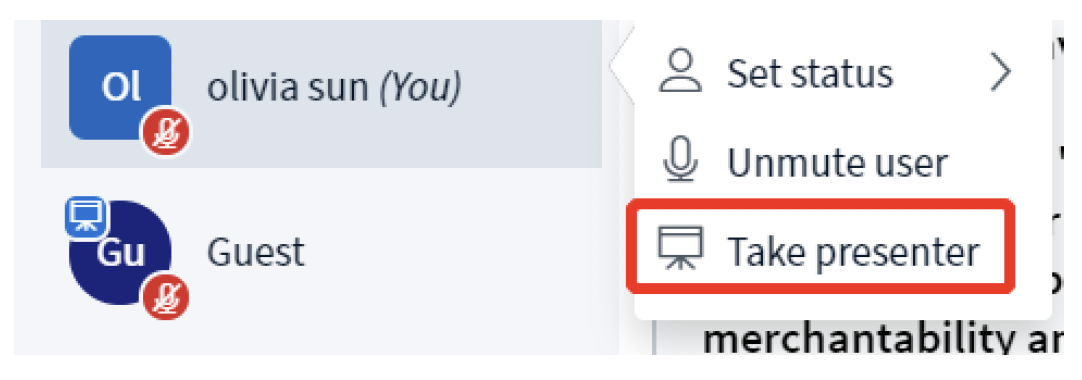
To regain the presenter control, click on your own icon and click on ‘Take presenter’. The relevant permissions will then be returned from the viewer to the moderator.
Step 5: Moderator permission
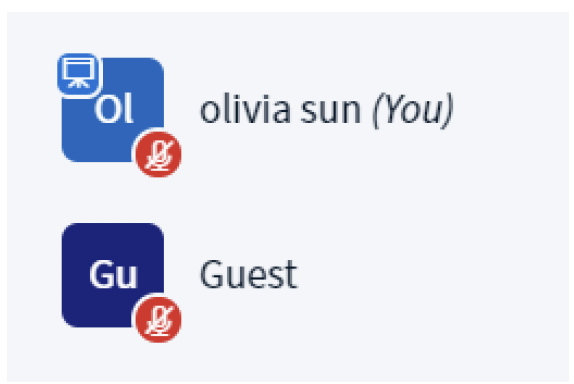
Moderator permission will give the viewer all the permissions of the room. It can be useful if you have TAs or co-teachers who help you to manage the online class. Unlike the presenter permission that is transferred from one to the other, which means there is only one user with the presenter permission at a time, there can be multiple moderators in one room. The user icon with moderator permission will be displayed in squares in the top left corner of a user’s name icon (see screenshot below for an example).
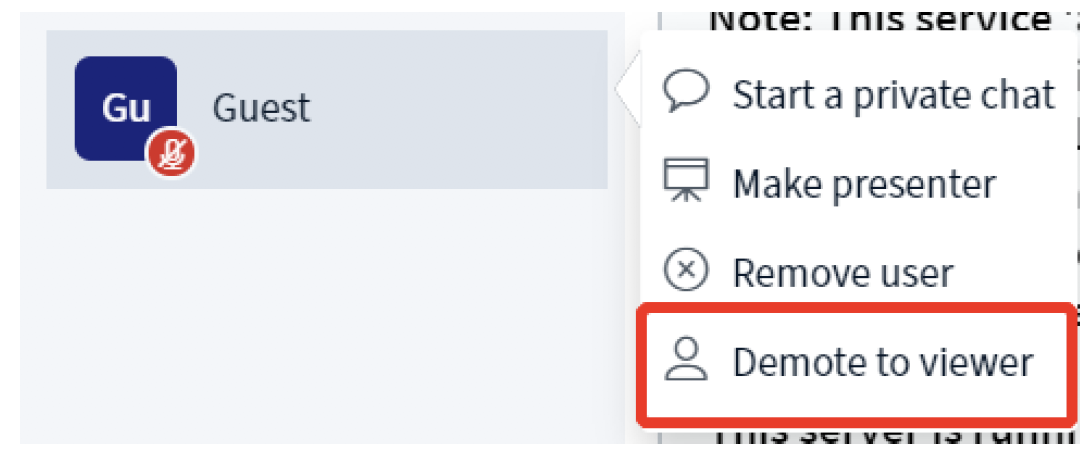
If you would like to remove the moderator permission from a user, click on the user’s icon and choose ‘Demote to viewer’.