Drag and drop markers
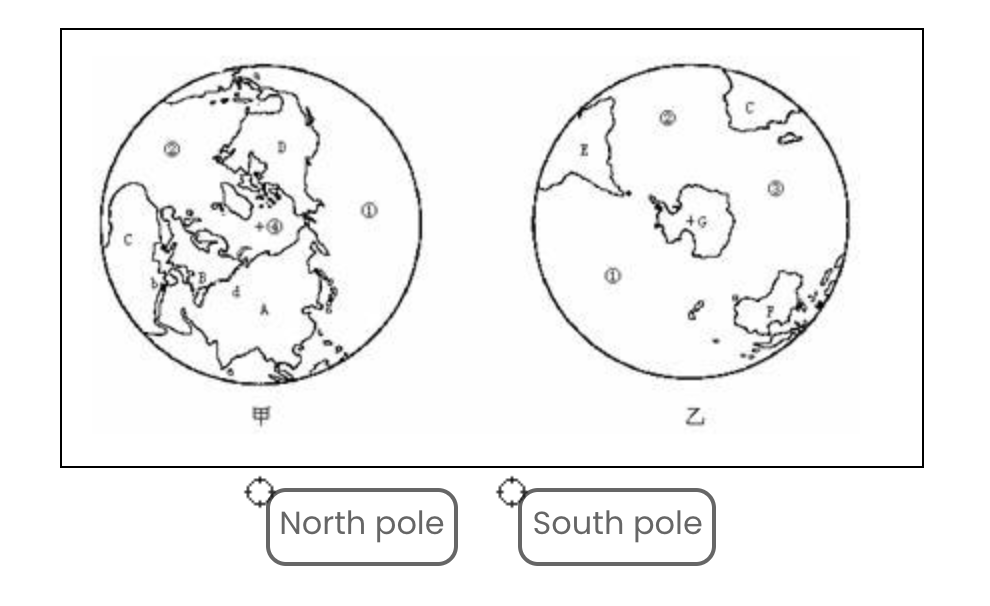
An example of Drag and drop makers question type
Overview:
This guide will show you how to create a Drag and drop markers question type. It allows students to drop markers onto an area on a background image.
What to know:
Drag and drop markers questions differ from Drag and drop onto image question type in that there are no predefined areas on the underlying image that are visible to the student.
Table of Contents
- Step 1: Access the Quiz activity where you want to create the question
- Step 2: Click the 'Questions' tab.
- Step 3: Add a new question
- Step 4: Choose a question type
- Step 5: General settings
- Step 6: Preview
- Step 7: Markers
- Step 8: Drop zones
- Step 9: Combined feedback (Optional)
- Step 10: Multiple tries
- Step 11: Tags (Optional)
- Step 12: Save changes
Step 1: Access the Quiz activity where you want to create the question
In your module area/course, click the link of the Quiz activity where you want to create a new Multiple Choice question.
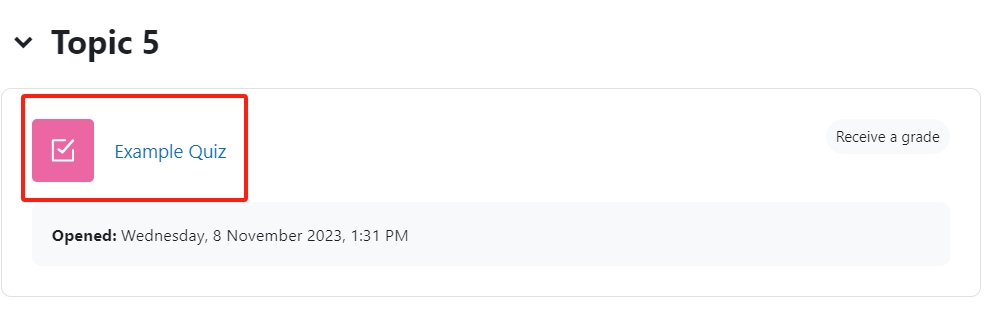
Note: If an appropriate Quiz activity doesn’t exist in your module area/course, please see Add a Quiz for details of how to create one.
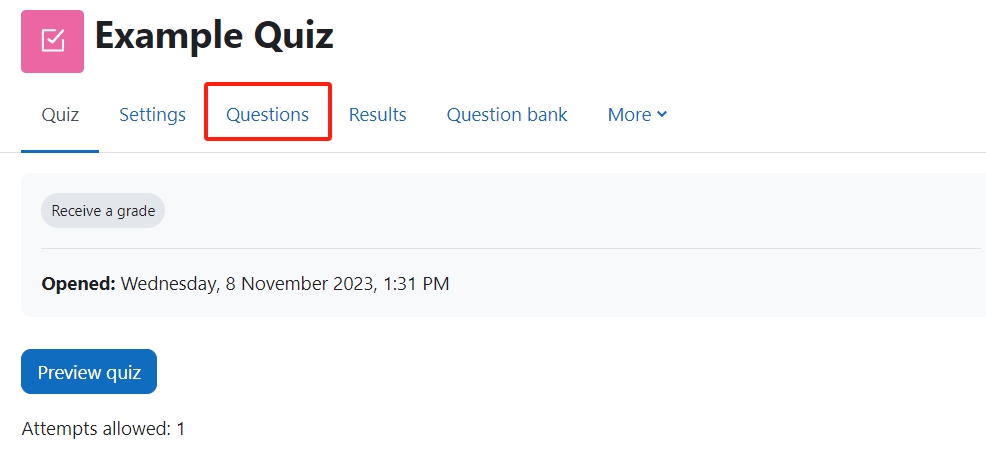
Step 2: Click the 'Questions' tab.
- Click the 'Questions' tab.
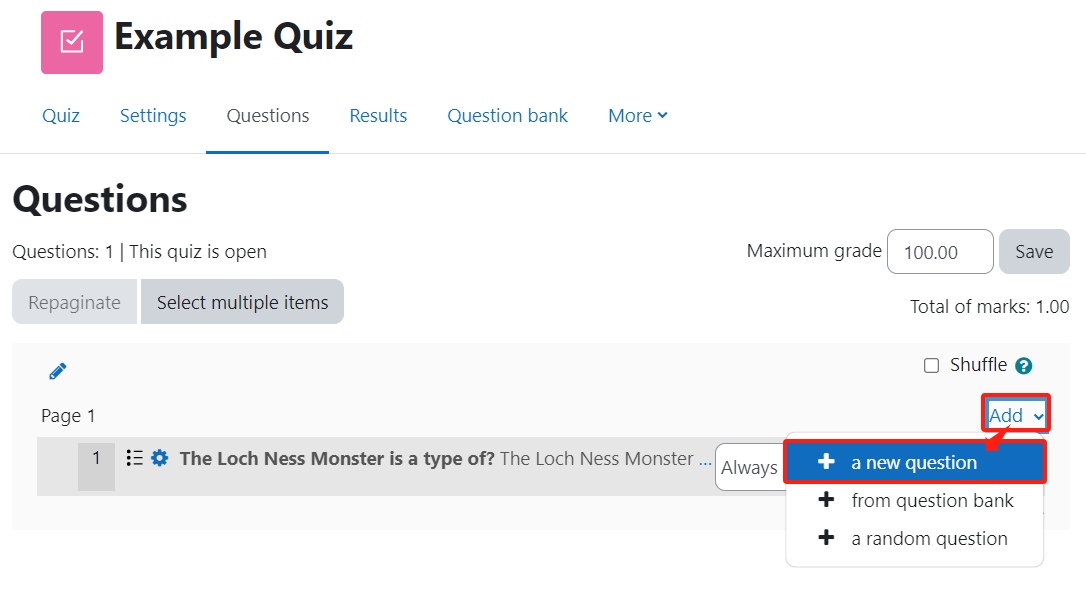
Step 3: Add a new question
- On the following page, click the ’Add’ link.
- Click the ’a new question’ link in the drop-down menu.
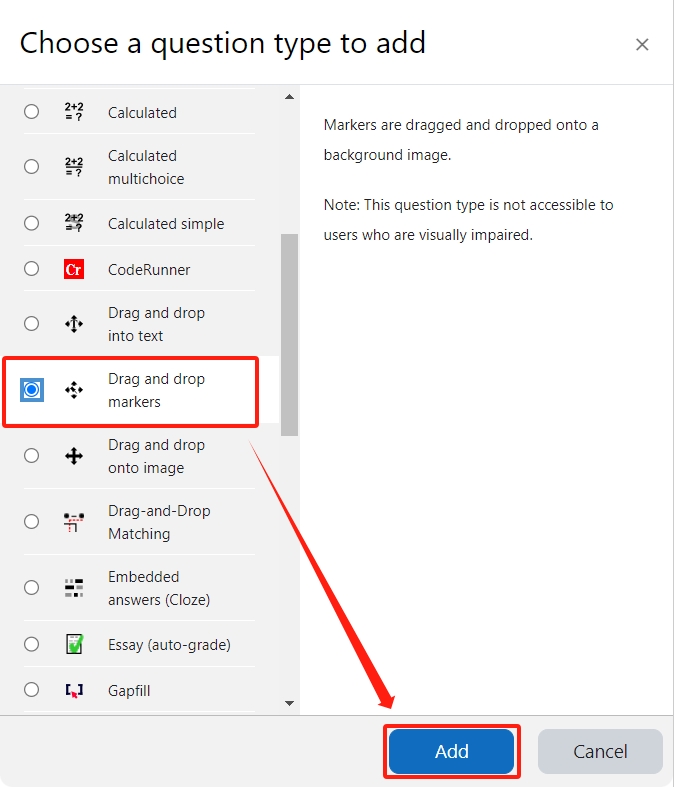
Step 4: Choose a question type
- Locate and select the Drag and drop marker question type from the pop-up window.
- Click the ’Add’ button.
Step 5: General settings
Set the general information of the question by:
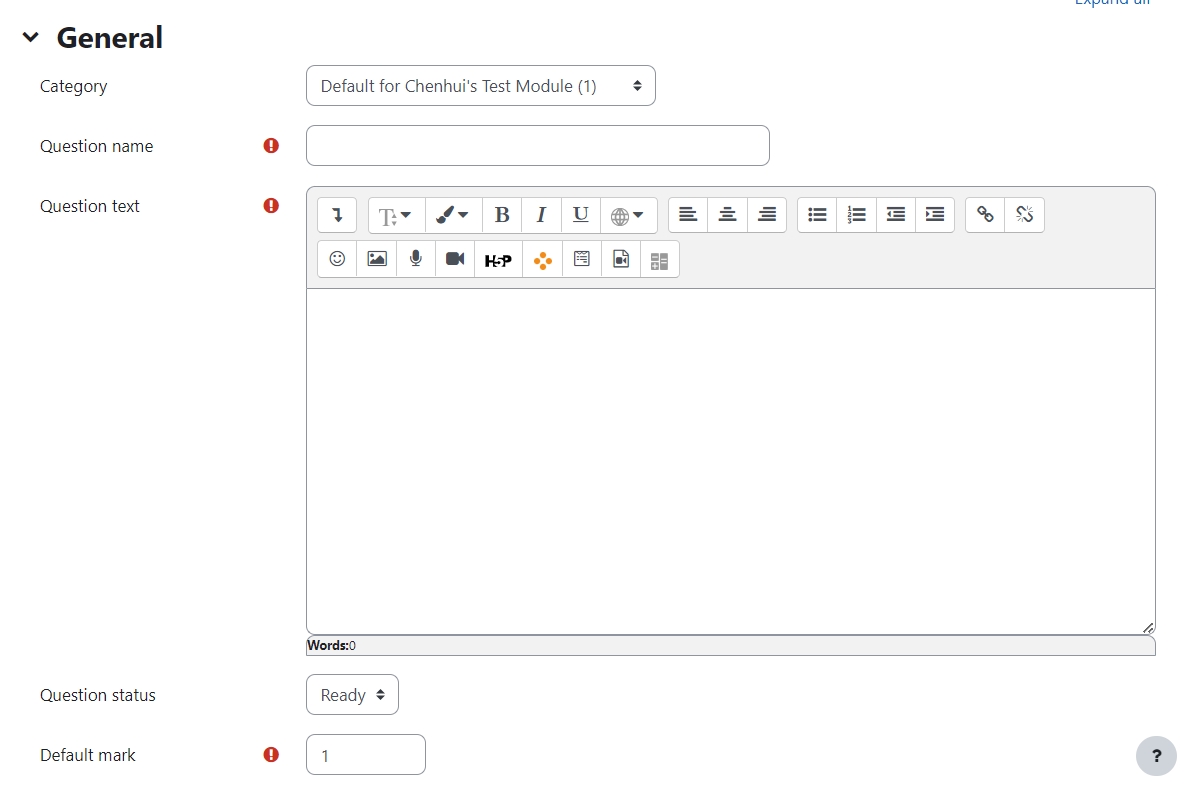
Category: Where you want the question to be saved.
Question name: It will be shown when you are searching the questions in question bank, but students can’t see the question name.
Question text: Put the question description here to let students know what to do.
Default mark: Please set the default mark as 1. We can change the marks later when you are editing the whole quiz.

General feedback: General feedback is shown to the student after they have completed the question. Unlike specific feedback, which depends on the question type and what response the student gave, the same general feedback text is shown to all students. You can use the general feedback to give students a fully worked answer and perhaps a link to more information they can use if they did not understand the questions.
ID number: If used, the ID number must be unique within each question category. It provides another way of identifying a question which is sometimes useful, but can usually be left blank.
Step 6: Preview
This the place where you can upload the background image and preview the layout of the question when you are editing the drop zone:
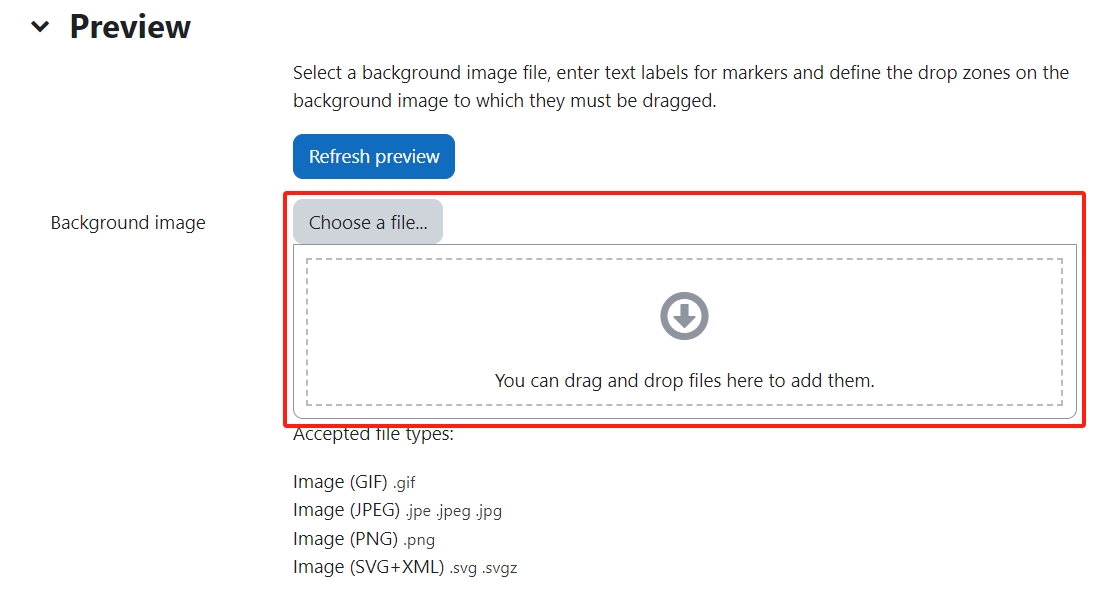
Upload the background image: Click the button "Choose a file" or drag the image to the blue dotted area to upload the image.
Step 7: Markers
1. Set the markers:
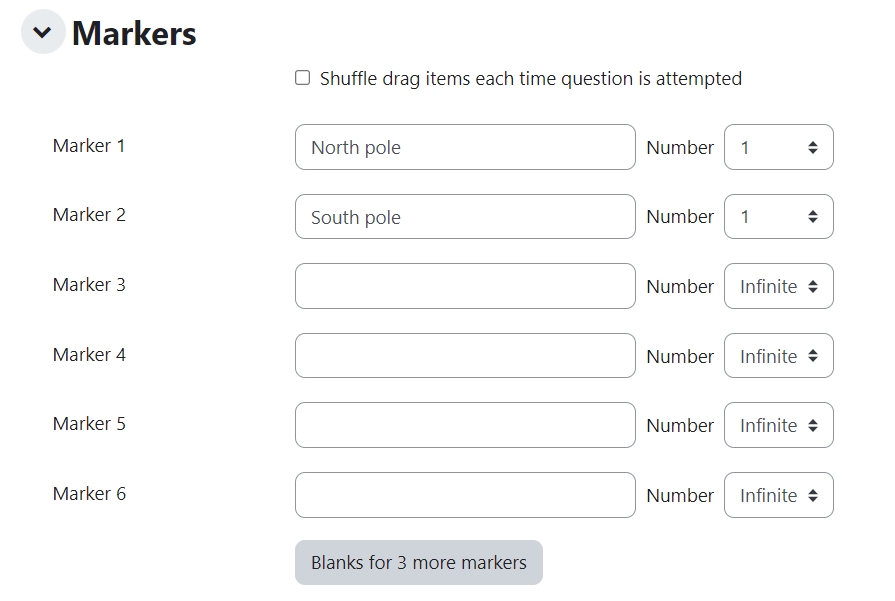
Shuffle drag items each time question is attempted: You can enable/disable the function of shuffle.
Marker: Type in the answer text into each marker option.
Number: It determines how many same markers can be chose by students.
2. Click the button below to add more items:

Step 8: Drop zones
This the place where you can upload the background image and preview the layout of the question when you are editing the drop zone.
1. Select the Shape and Draggable marker for each Drop zone:

2. Go up to the background image, move the markers to the correct area (The coordinates of drop zone will be auto updated based your move in this step):

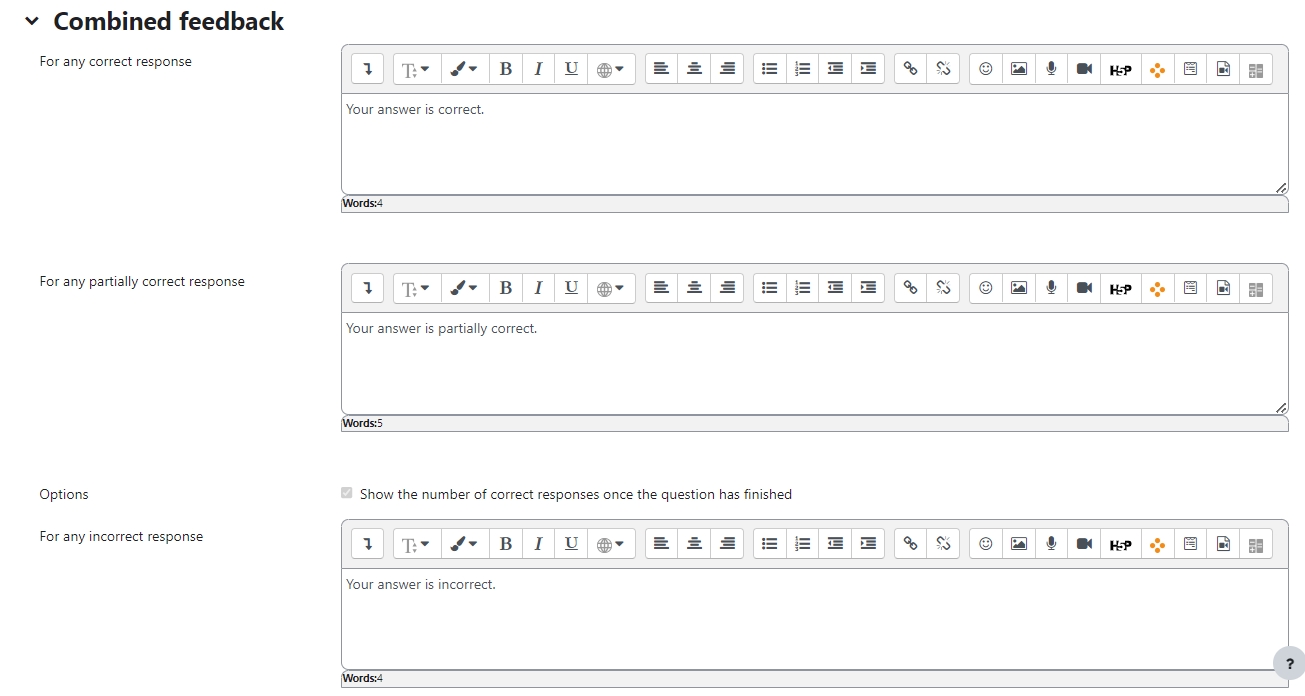
Step 9: Combined feedback (Optional)
Set the combined feedback for the question which will be show as the feedback according to students’ grade of this question by:
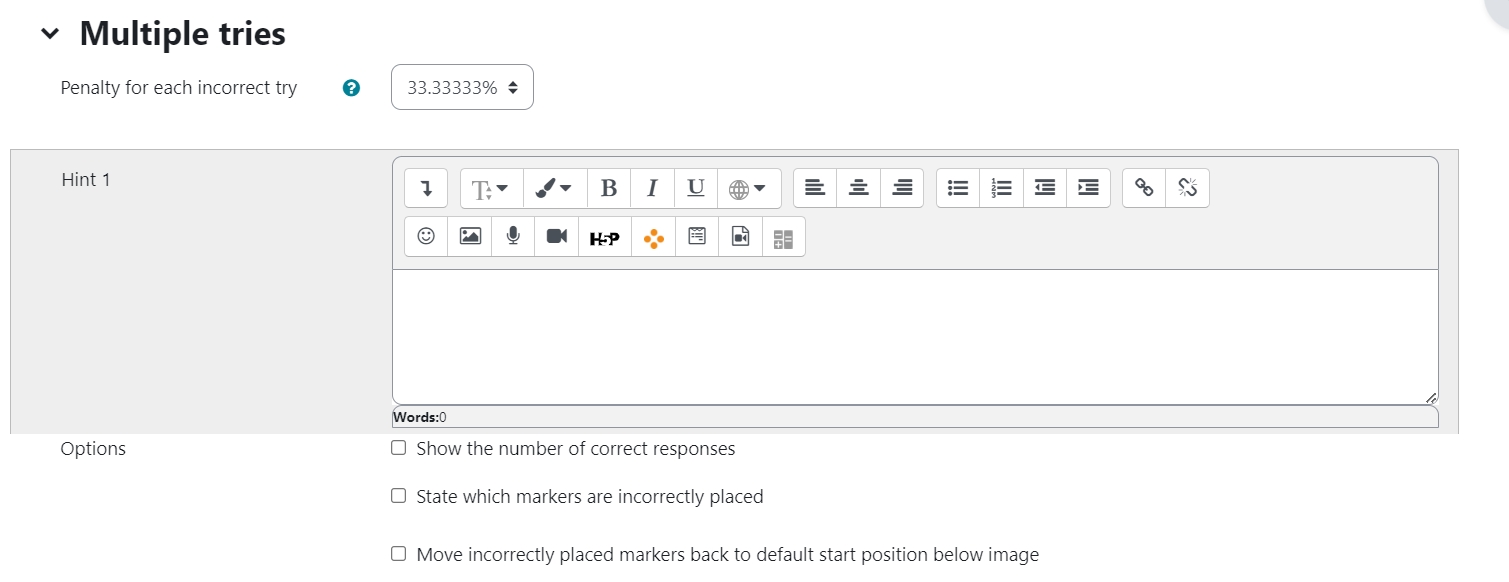
Step 10: Multiple tries
When questions are run using the ’ Interactive with multiple tries ’ or ’ Adaptive mode ’ behaviour, so that the student will have several tries to get the question right, then this option will be useful to control how much they are penalised and what hint you will receive for each incorrect try :
 Penalty for each incorrect try:
The penalty is a proportion of the total question grade, so if the question is worth three marks, and the penalty is 0.3333333, then the student will score 3 if they get the question right first time, 2 if they get it right second try, and 1 of they get it right on the third try.
For some multi-part questions this scoring logic is applied separately to each part of the question. The details depend on the question type and can be complicated, but the principle is to give students credit for the knowledge they have demonstrated as fairly as possible.
Hint: It is the message you want the students to see when they are wrong, it will help them to select the right answer in the next attempt. You can create more than one hints according to the attempts the quiz allowed.
Options: There are some options of automatic response, such as show the number of correct answers, state which markers are incorrectly placed and move incorrectly placed markers back to default start position below image.
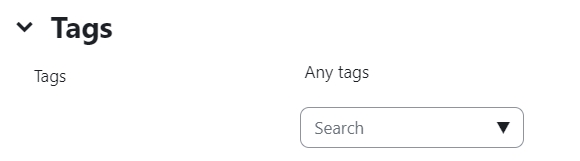
Step 11: Tags (Optional)
If you are using tags, you can easily search for the question by the tag in the question bank.
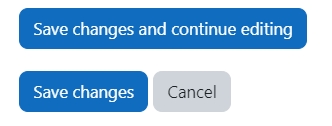
Step 12: Save changes
Please click the "Save changes and continue editing" or "Save changes" to save your changes.
Tips: You can also preview the questions by clicking:
![]()