How to add a Workshop activity
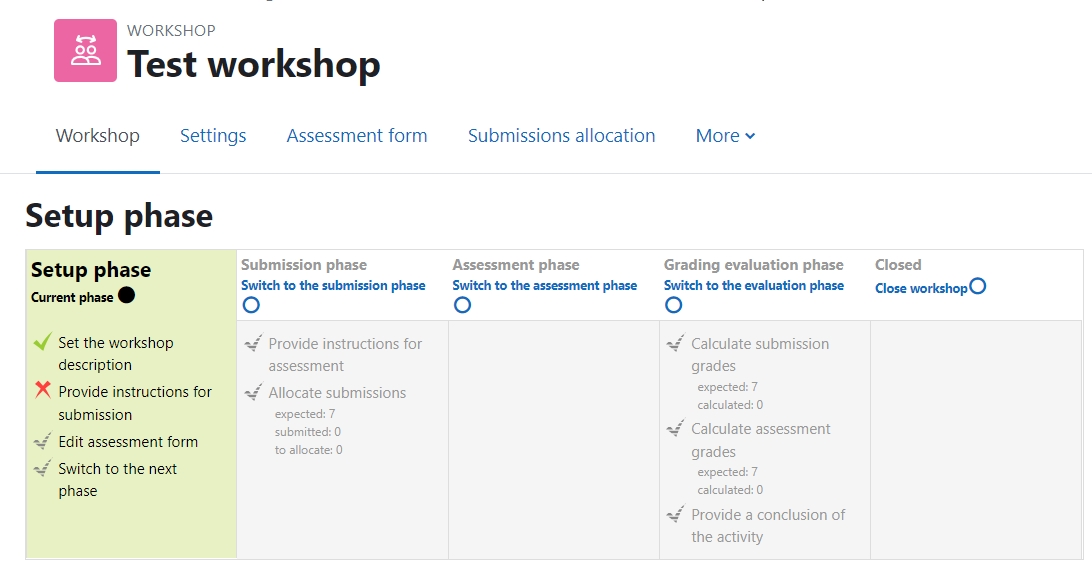
An example of the Workshop activity
Overview:
This guide will show you how to create a Workshop activity.
What to know:
The workshop activity enables the collection, review and peer assessment of students' work. Students can submit any digital content (files), such as word-processed documents or spreadsheets and can also type text directly into a field using the text editor. Submissions are assessed using a multi-criteria assessment form defined by the teacher. The process of peer assessment and understanding the assessment form can be practised in advance with example submissions provided by the teacher, together with a reference assessment. Students are given the opportunity to assess one or more of their peers' submissions. Submissions and reviewers may be anonymous if required. Students obtain two grades in a workshop activity - a grade for their submission and a grade for their assessment of their peers' submissions. Both grades are recorded in the gradebook.
Table of Contents
- Step 1: Turn on editing mode in your module area/course
- Step 2: Click ’Add an activity or resource ’ link
- Step 3: Choose the Workshop activity
- Step 4: Fill in the general information
- Step 5: Configure grading settings
- Step 6: Configure the submission settings
- Step 7: Configure the assessment settings
- Step 8: Configure feedback settings
- Step 9: Configure example submissions settings
- Step 10: Configure availability settings
- Step 11: Save the activity
Step 1: Enable Edit mode in your module area/course
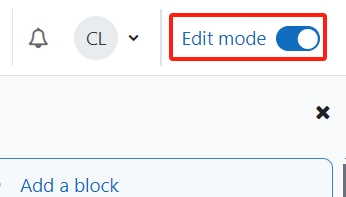
Enable the ’Edit mode’ button displayed near the upper right of the module area/course.
Step 2: Click ’Add an activity or resource ’ link
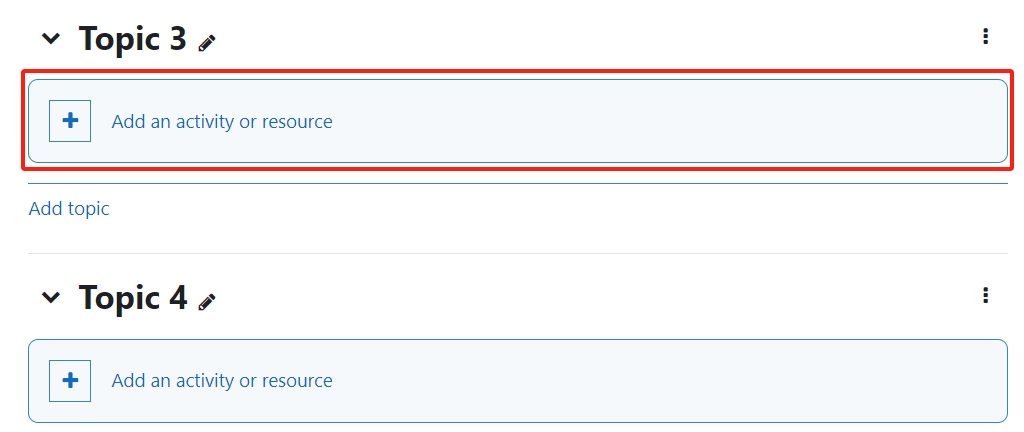
- When editing mode is turned on, navigate to the section where you want to add the workshop activity.
- Next, click the ’Add an activity or resource’ button displayed at the bottom of the section.
Step 3: Choose the Workshop activity
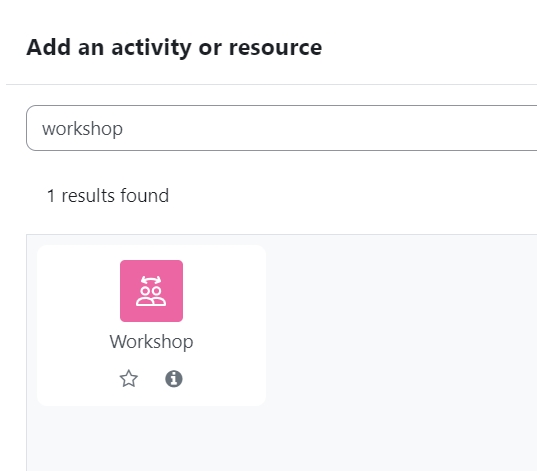
- From the pop-up activity chooser window, locate and select the Workshop activity.
- Then it jumps to the setting of the activity.
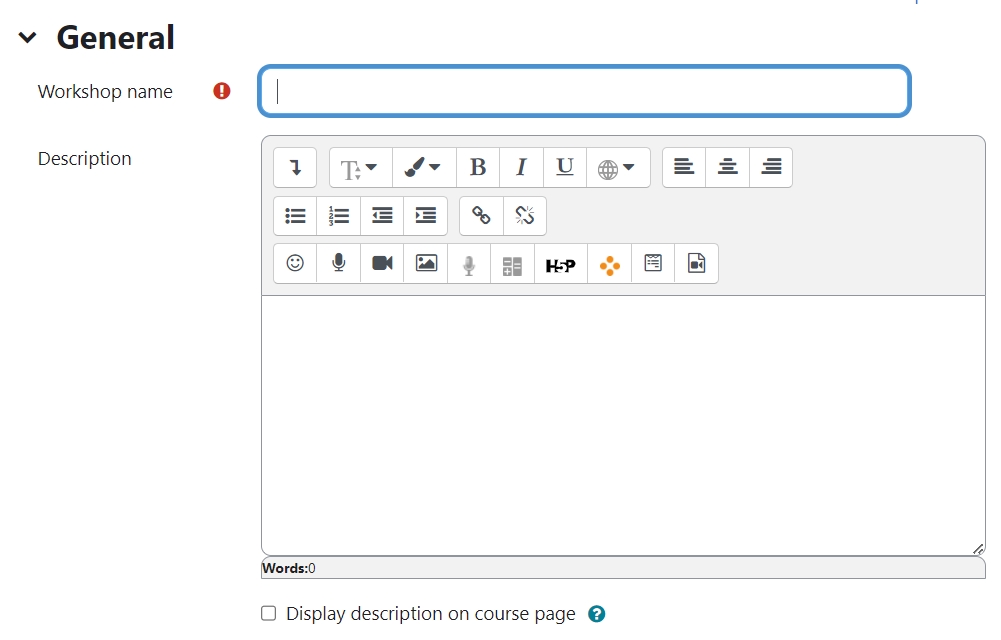
Step 4: Fill in the general information
Step 5: Configure grading settings
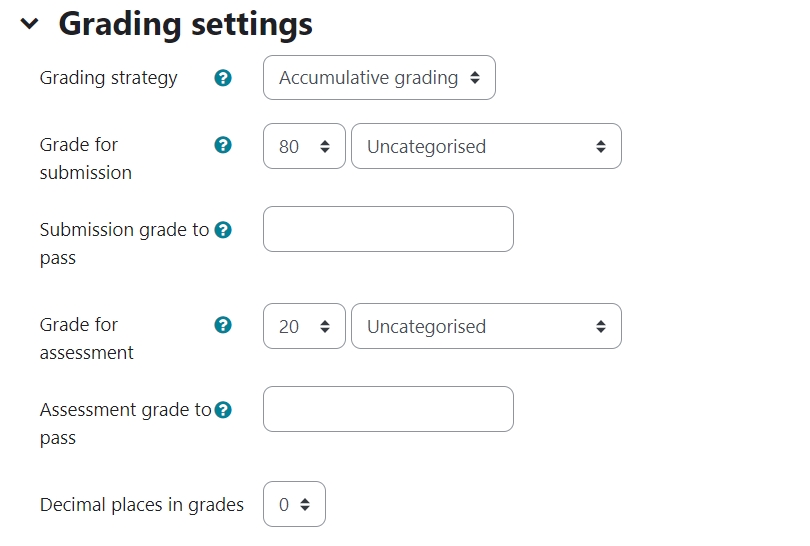
Students' final grades consist of two parts: grade for submission and grade for assessment. You will be able to configure the weight of these two grades.
Grading strategy: Workshop has four grading strategies: accumulative grading, comments, number of errors, and rubric. Please refer to this document to understand how grades are calculated in these different strategies.
Grade for submission: the maximum grade that can be obtained for submitted work. It is recommended to set it as 80.
Submission grade to pass: This setting determines the minimum grade required to pass. The value is used in activity and course completion. In gradebook, pass grades are highlighted in green and fail grades in red. You can leave this section as zero.
Grade for assessment: It is recommended to set it as 20.
Assessment grade to pass: You can leave this section as zero.
Step 6: Configure the submission settings
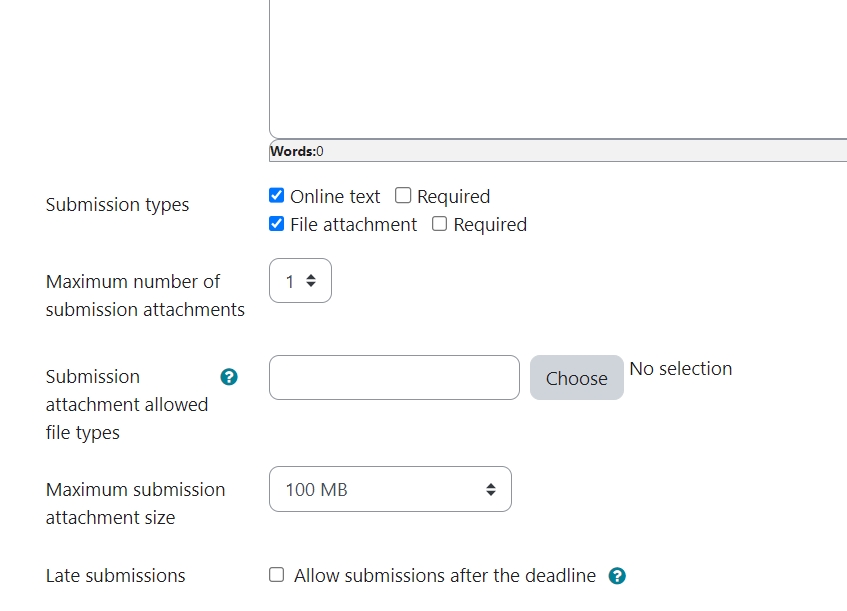
You can provide the instructions for submission to students, which will be displayed to students within the activity when they submit their work.
Students can submit the online text and file attachments by default. You can change the settings below to modify that.
Step 7: Configure the assessment settings
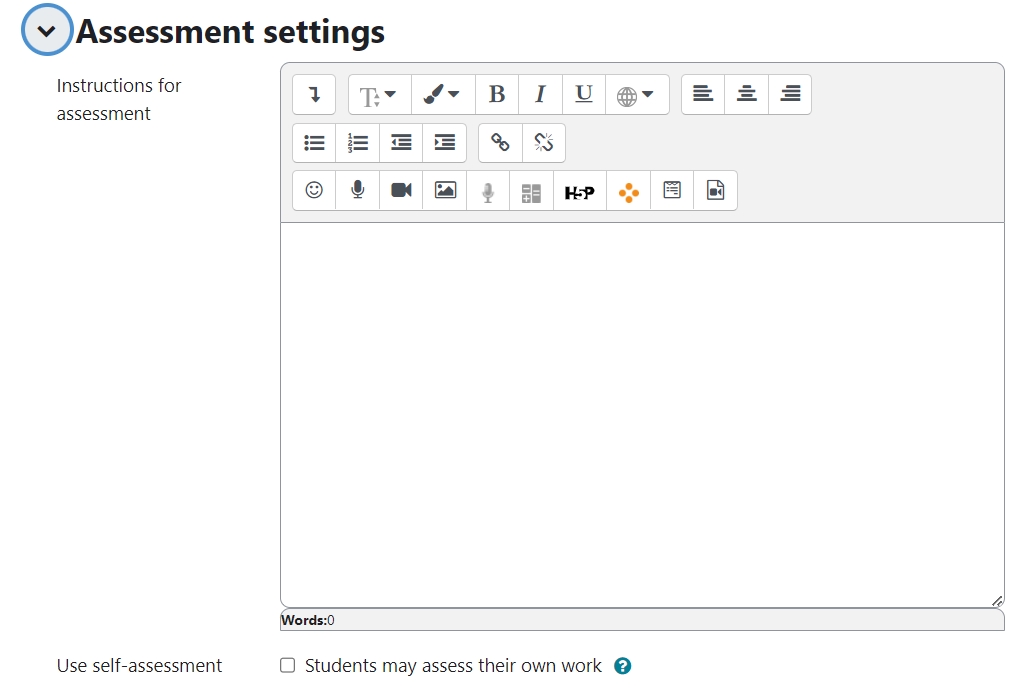
You can put in instructions for assessment for students to view within the Workshop activity. You can also control if you would like students to self-assess their own work. By default, the self-assessment ability is turned off.
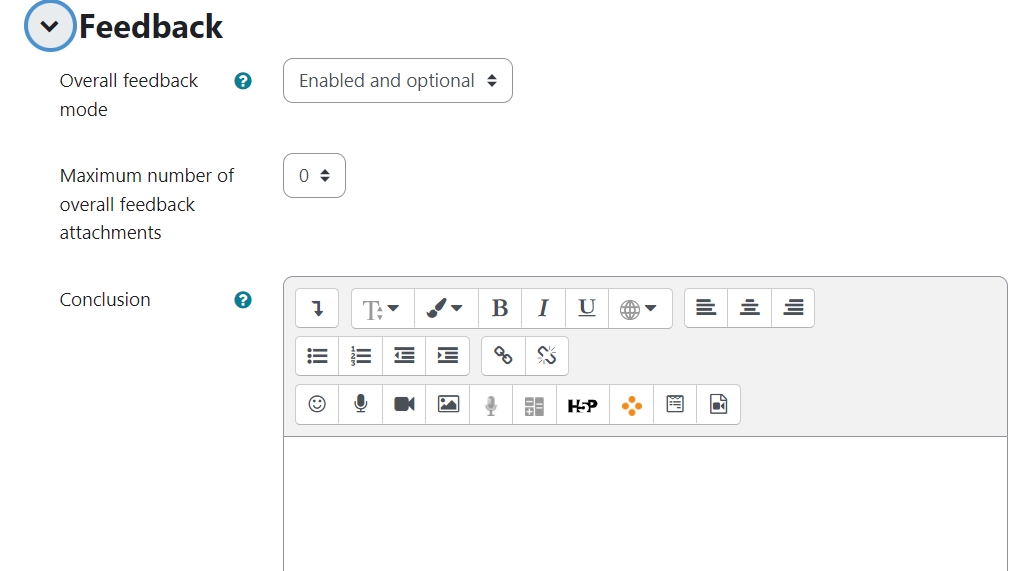
Step 8: Configure feedback settings
Students will be able to give feedback to the submissions if this function is enabled.
Step 9: Configure example submissions settings
If user examples are enabled, students can try assessing one or more example submissions and compare their assessments with a reference assessment. The grade is not counted in the grade for assessment.

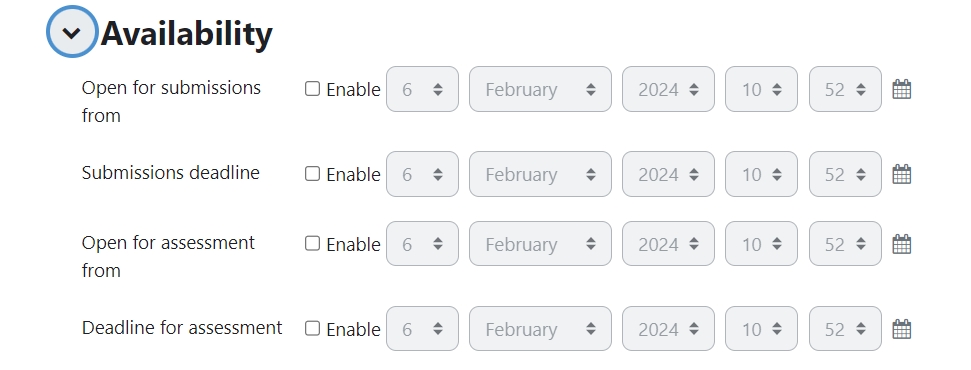
Step 10: Configure availability settings
You can set the dates for Workshop activity to move from one stage to another, for example, from the submission stage to the assessment stage.
Step 11: Save the activity
Configure the other optional settings (e.g. Turnitin) and then save the activity.
