How to create a Group Member activity
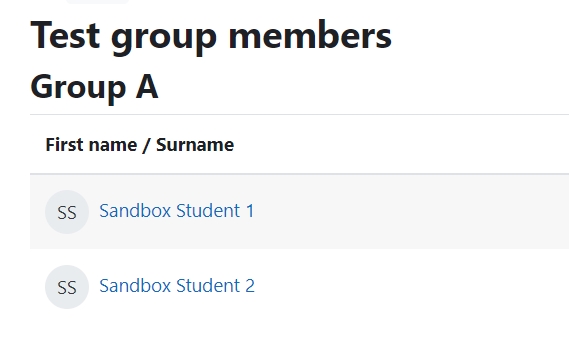
An example of the Group Members activity
Overview:
This guide will show you how to create a Group Members activity.
What to know:
Group Member activity allows students to view the group members of their own team.
Table of Contents
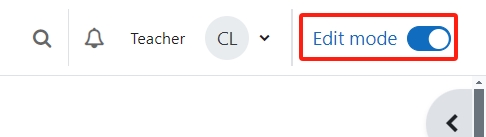
Step 1: Turn on editing mode in your module area/course
Click the ’Turn editing on’ button displayed near the upper right of the module area/course.
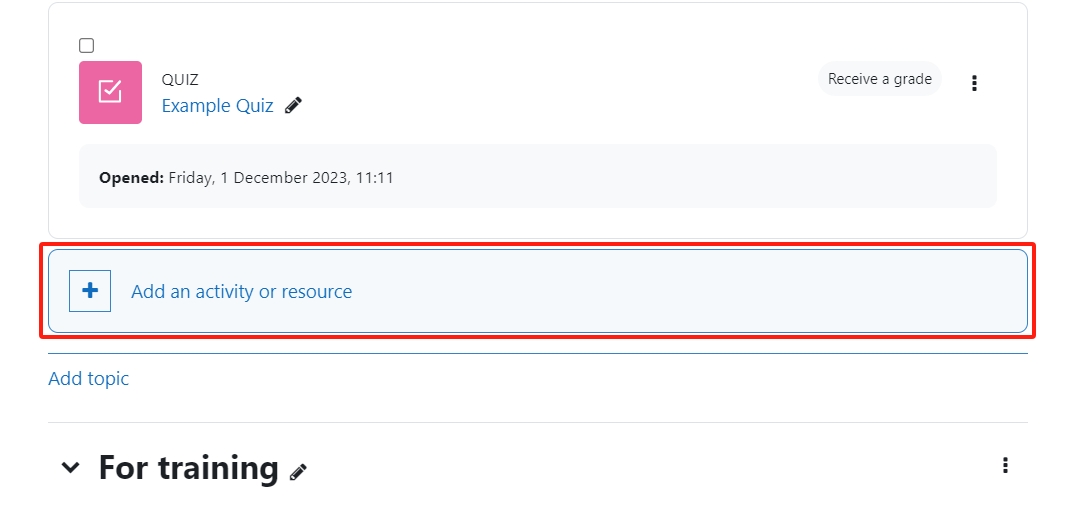
Step 2: Click the ‘Add an activity or resource’ link
- When editing mode is turned on, navigate to the section where you want to add the [xxxx] activity.
- Next, click the ’Add an activity or resource’ button displayed at the bottom of the section.
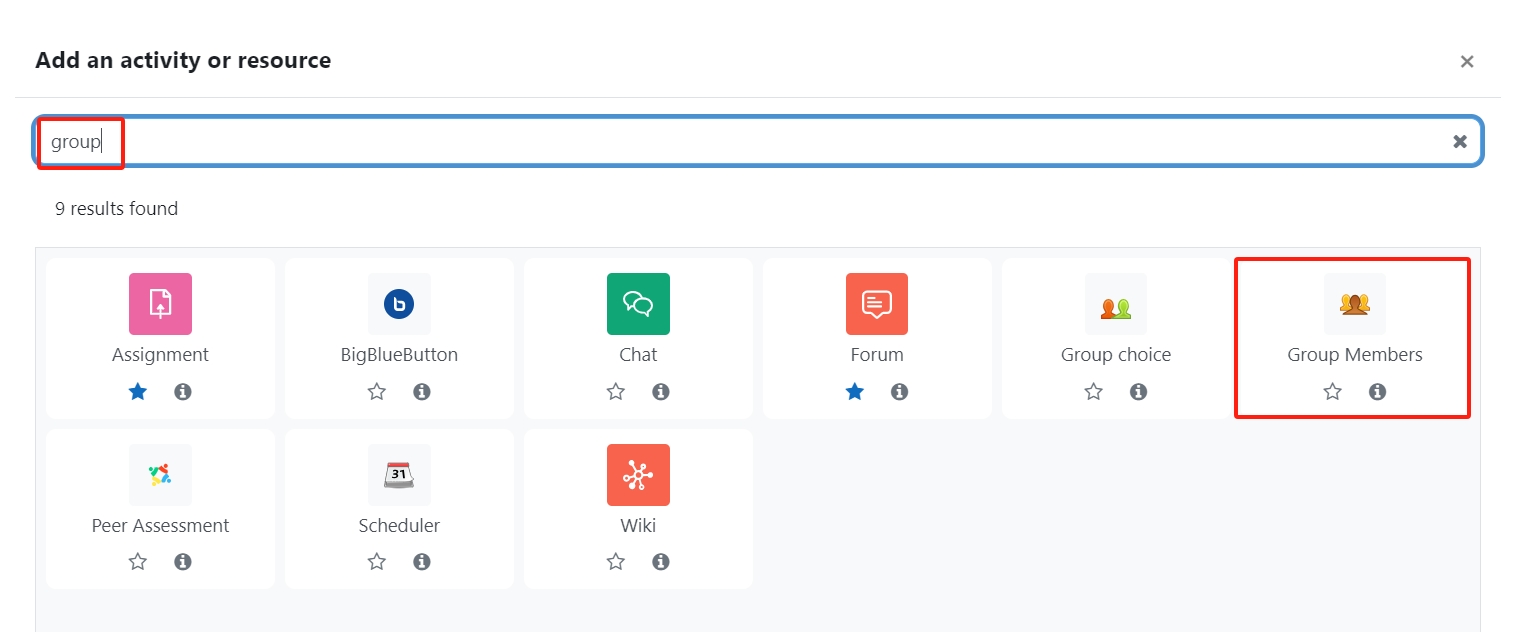
Step 3: Choose the Group Members activity
- From the pop-up activity chooser window, search and select the Group Members activity.
- Then it jumps to the setting of the activity.
Step 4: Provide an activity name
Provide a name of the Group Members

Step 5: Setting of the Group Members activity
In 'Group Members' setting, please set up the followings:
- 'Grouping' : Grouping is a collection of groups. If you use grouping for the group project, please choose the grouping you use.
- 'Show groups' : 'All groups of grouping' -- show the group members of all students. 'Only own group' -- only show the group members of the students' own groups.

Step 6: Save
Click 'Save and display' button to save it.

Step 7: Student view
Then, when students click into the Group Member activity, they can see the group members of them.