How to set up 'Fair Allocation' on your module
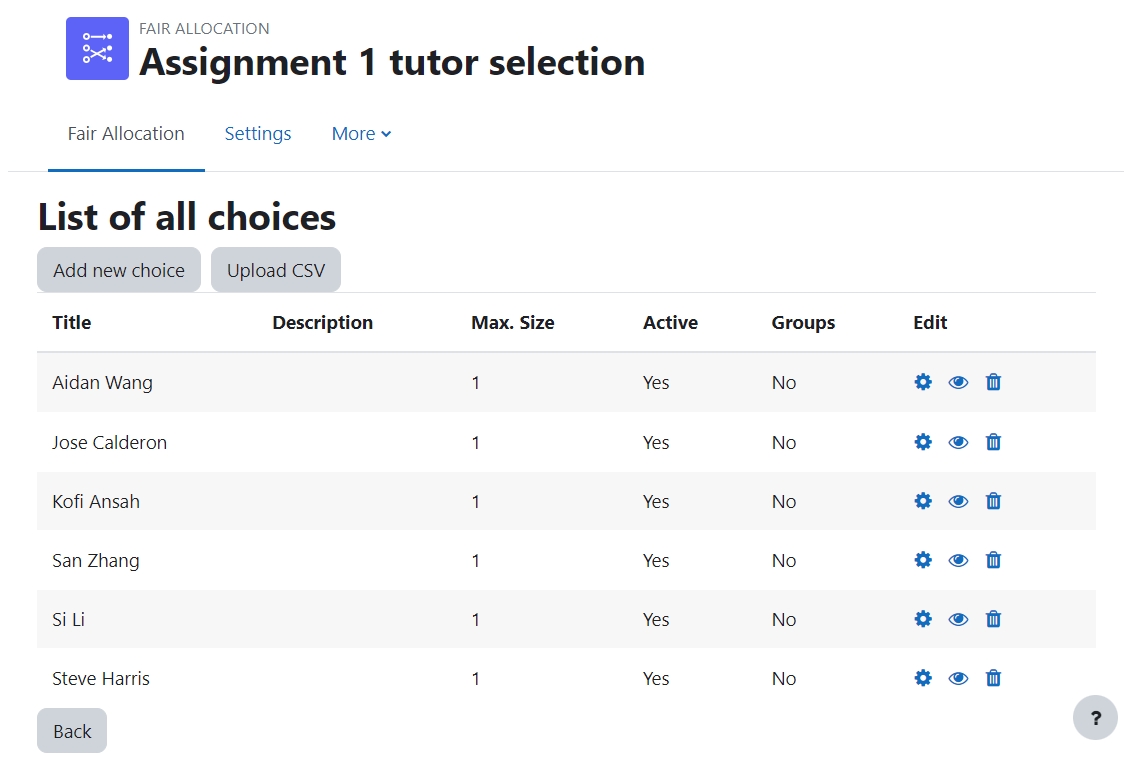
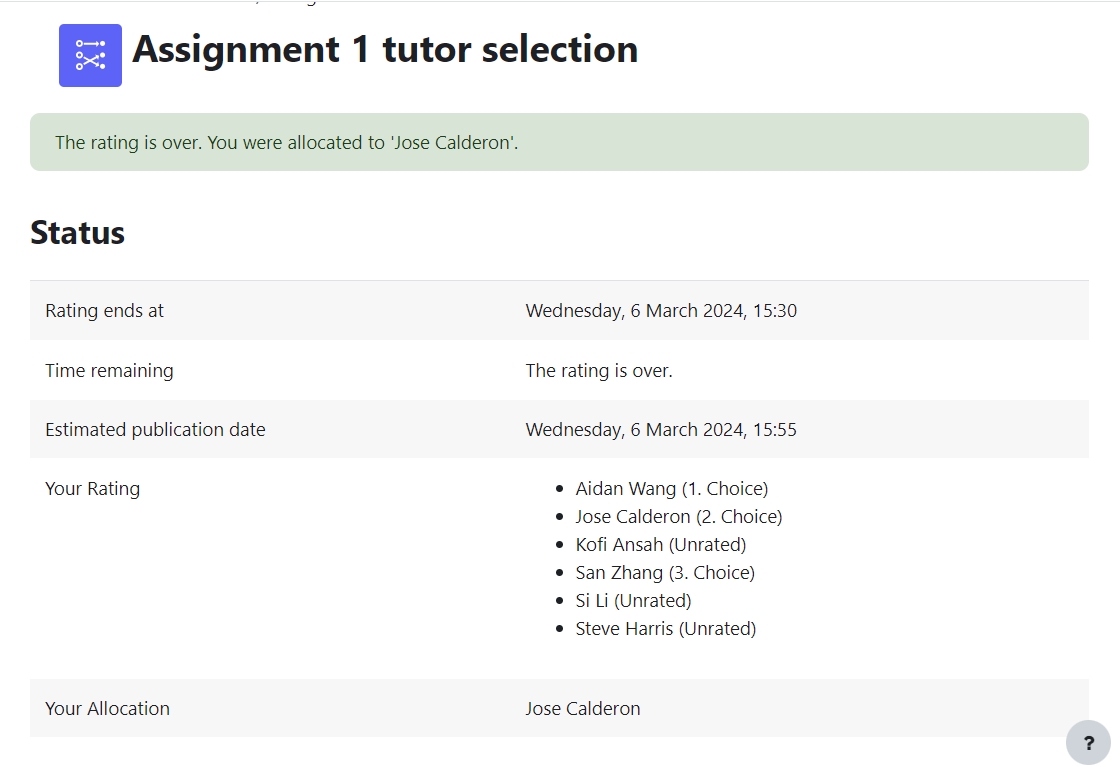
An example of the fair allocation activity
Overview:
This guide will show you how to set up the Fair Allocation activity on your modules so that your students feel like they have autonomy in their choices.
What to know:
The Fair Allocation activity affords the user the ability to make available different options for students so that they can prioritize their choices within their courses.
Table of Contents
- Step 1: Turn on editing mode in your module area/course
- Step 2: Click the ’Add an activity or resource ’ link
- Step 3: Choose the Fair Allocation activity
- Step 4: Provide a name and description
- Step 5: Deciding on the Fair Allocation method
- Step 6: Setting the rating period
- Step 7: Setting the number of choices in the activity
- Step 8: Fair Allocation status screen
- Step 9: Adding your choices
- Step 10: Selections
- Step 11: After the rating period has ended
- Step 12: Publish Allocation
- Step 13: Viewing Reports
- Step 14: Student Final Allocation
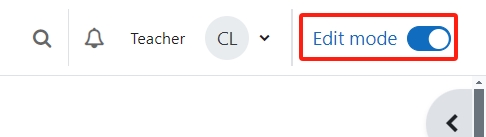
Step 1: Turn on editing mode in your module area/course
Enable the ’Edit mode’ button displayed near the upper right of the module area/course.
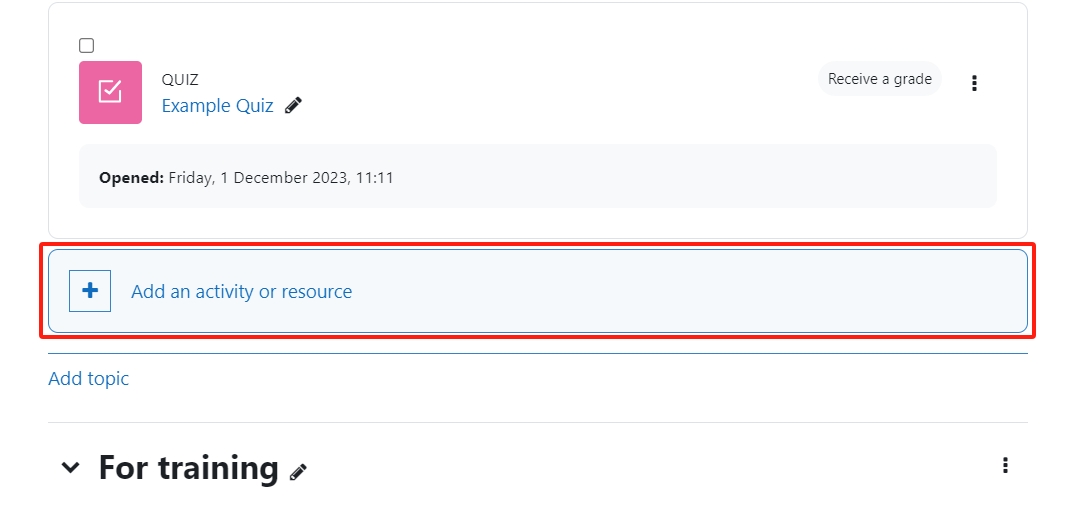
Step 2: Click the ’Add an activity or resource ’ link
- When edit mode is turned on, navigate to the section where you want to add the Fair Allocation activity.
- Next, click the ’Add an activity or resource’ button displayed at the bottom of the section.
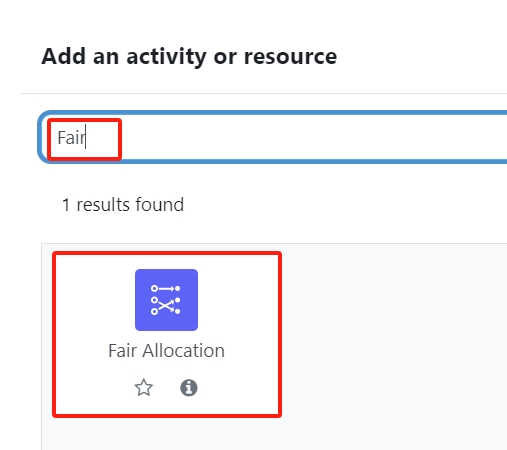
Step 3: Choose the Fair Allocation activity
- From the pop-up activity chooser window, search and select the Fair Allocation activity.
- Then it jumps to the setting of the activity.
Step 4: Provide a name and description
Provide a name and a description (optional) for the activity.

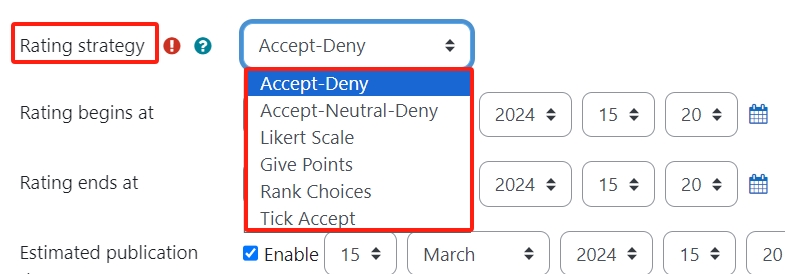
Step 5: Deciding on the Fair Allocation method
There are various methods to conduct Fair Allocation. Simply select the strategy you believe will best suit you and your students.
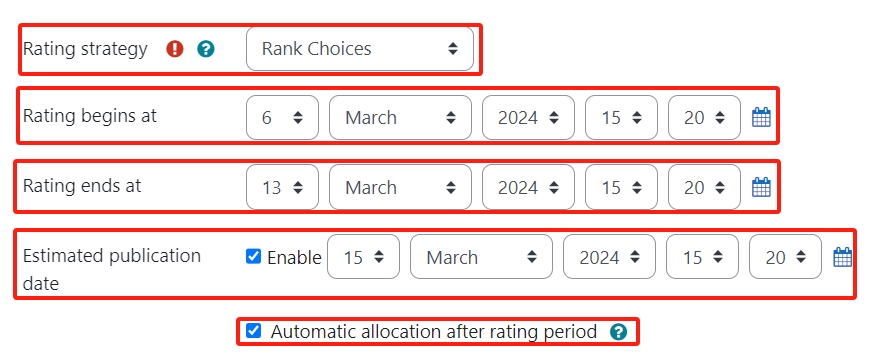
Step 6: Setting the rating period
1. After deciding on your Fair Allocation method you can decide when you want the rating process to open and to end by inputting the dates.
2. You can then enable the 'add the publication date' button, this will inform the participants of when they can expect the results of their choices.
3. If you so choose you can also set a date to run the rating algorithm automatically, but please be aware that the results will not be automatically published.
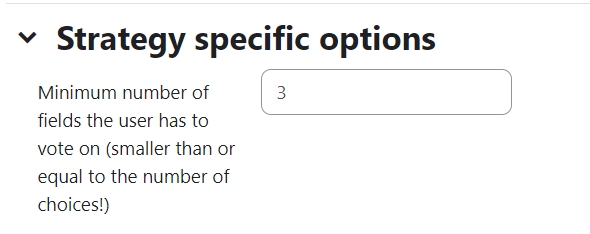
Step 7: Setting the number of choices in the activity
1. Here you can decide on the number of options the user has the ability to choose when making their selection. Please note that the options are different depending on the chosen rating strategy.
2. Save and display to be taken to the next phase of setting up the activity.

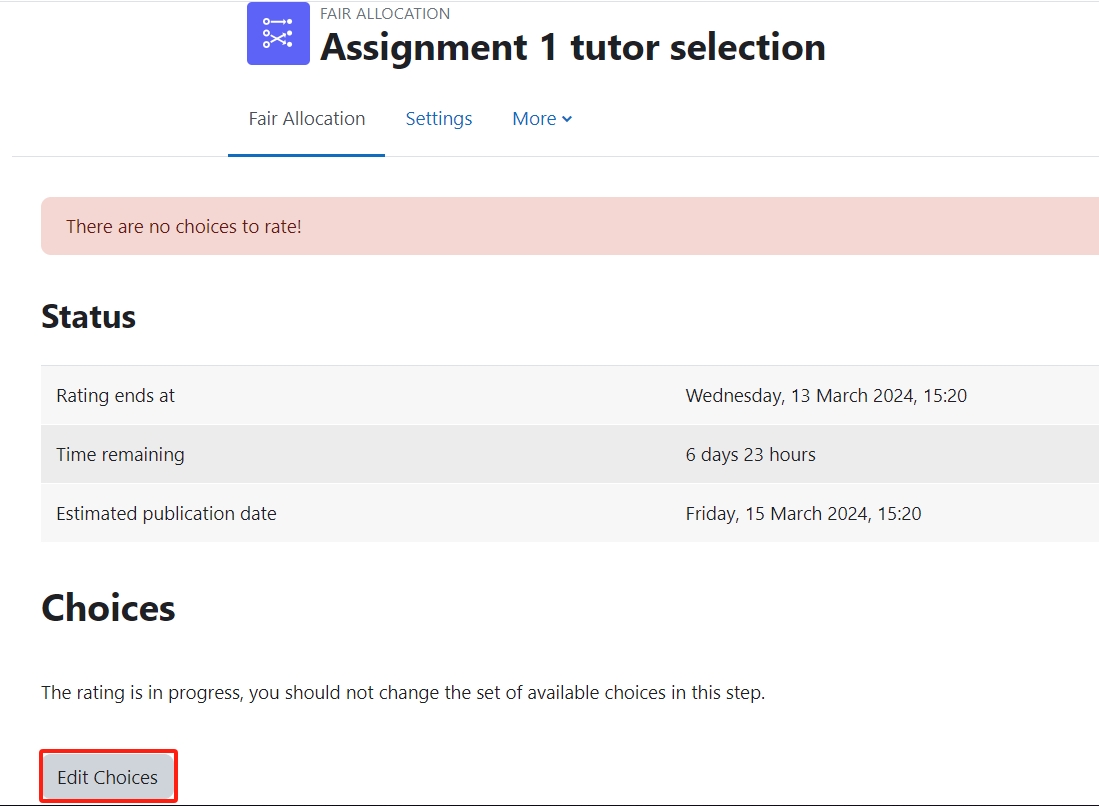
Step 8: Fair Allocation status screen
On this screen, you will be presented with the 'Status' and the ability to edit the choices for the activity. Click on the 'Edit Choices' button.
Step 9: Adding your choices
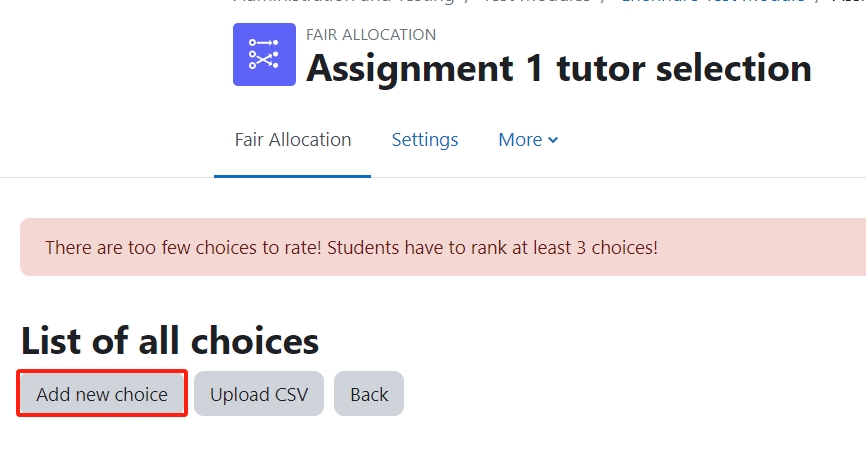
- You will be informed upon entering the screen that you have not added any choices for the students by the message at the top.
- Click on the 'Add new choice button'.
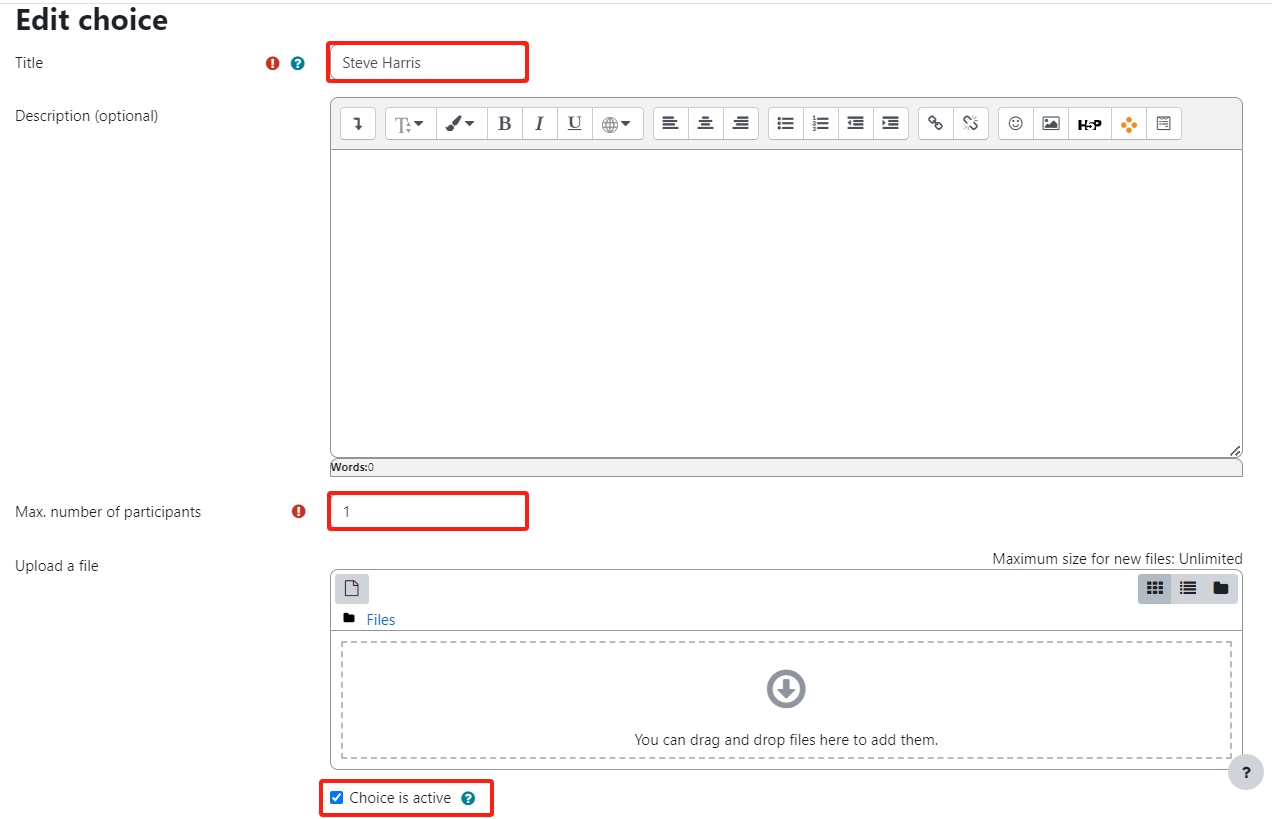
- Input your choice and the number of participants who can select the choice
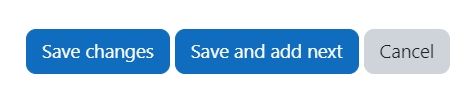
- Click 'Save the selection and add next' to add more choices within the activity.
Step 10: Selections
Now on the Fair Allocation stage status screen, you will be able to see all of the choices that you created alongside all of the other activity information.
Step 11: After the rating period has ended
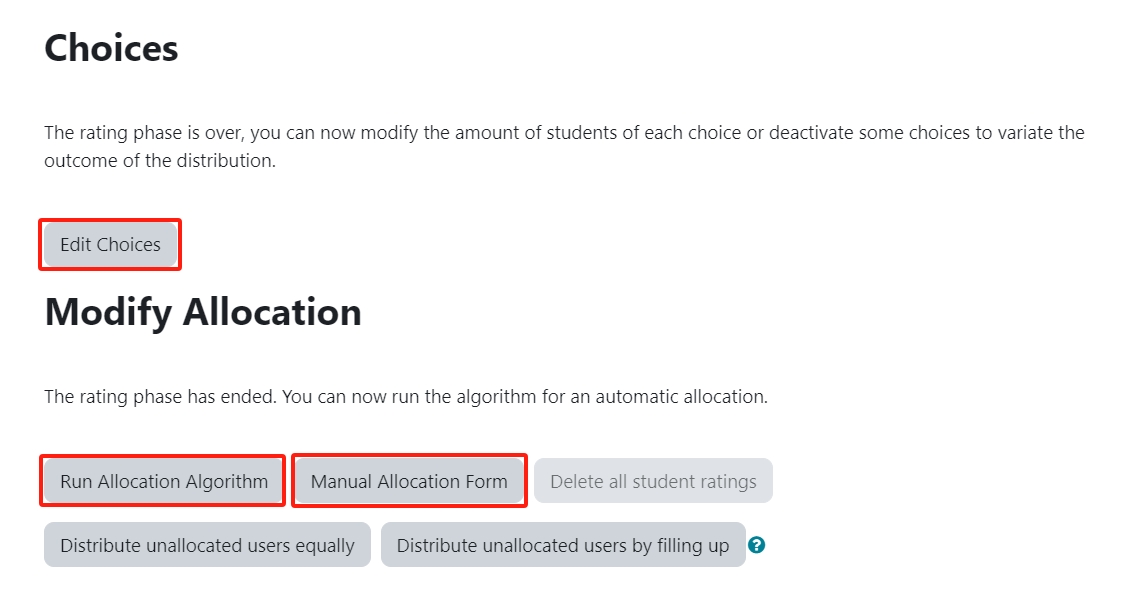
Once the rating period has ended you can:
- Edit the choices and the way that you set them up initially if you so choose
- If you want to automatically allocate the students, click the 'Run Allocation Algorithm'
- Alternatively, you can manually allocate students
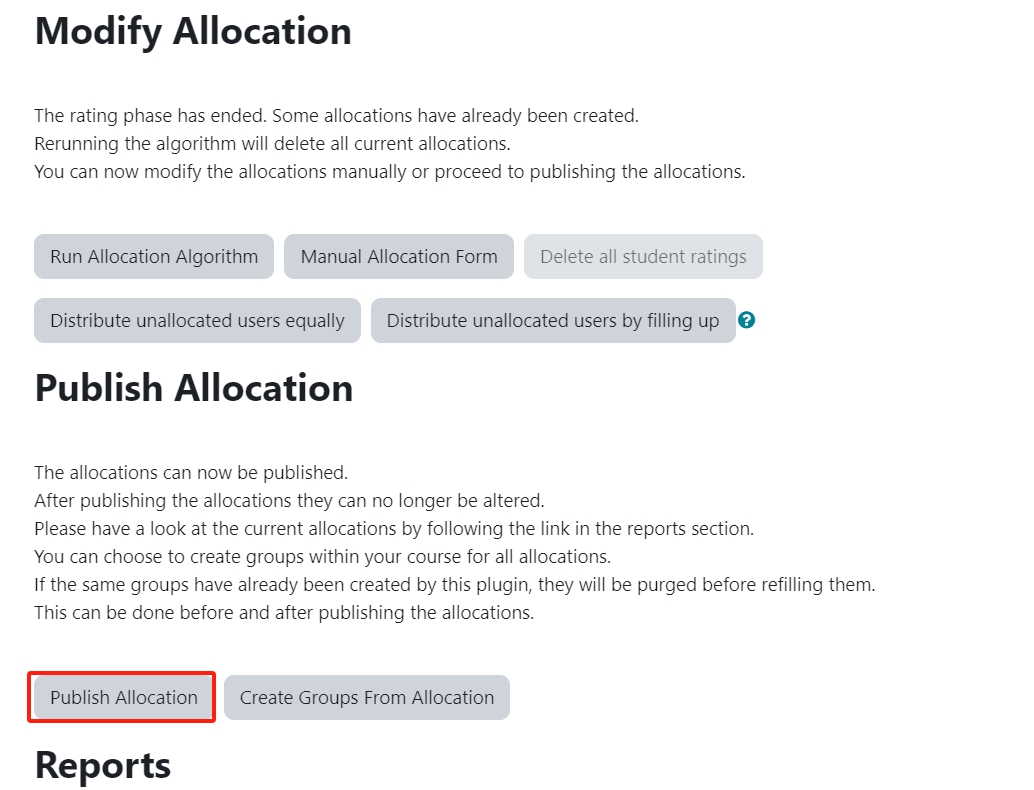
Step 12: Publish Allocation
Once the Allocation Algorithm has been run then you have the ability to publish the results so that your students can view them.
Step 13: Viewing Reports
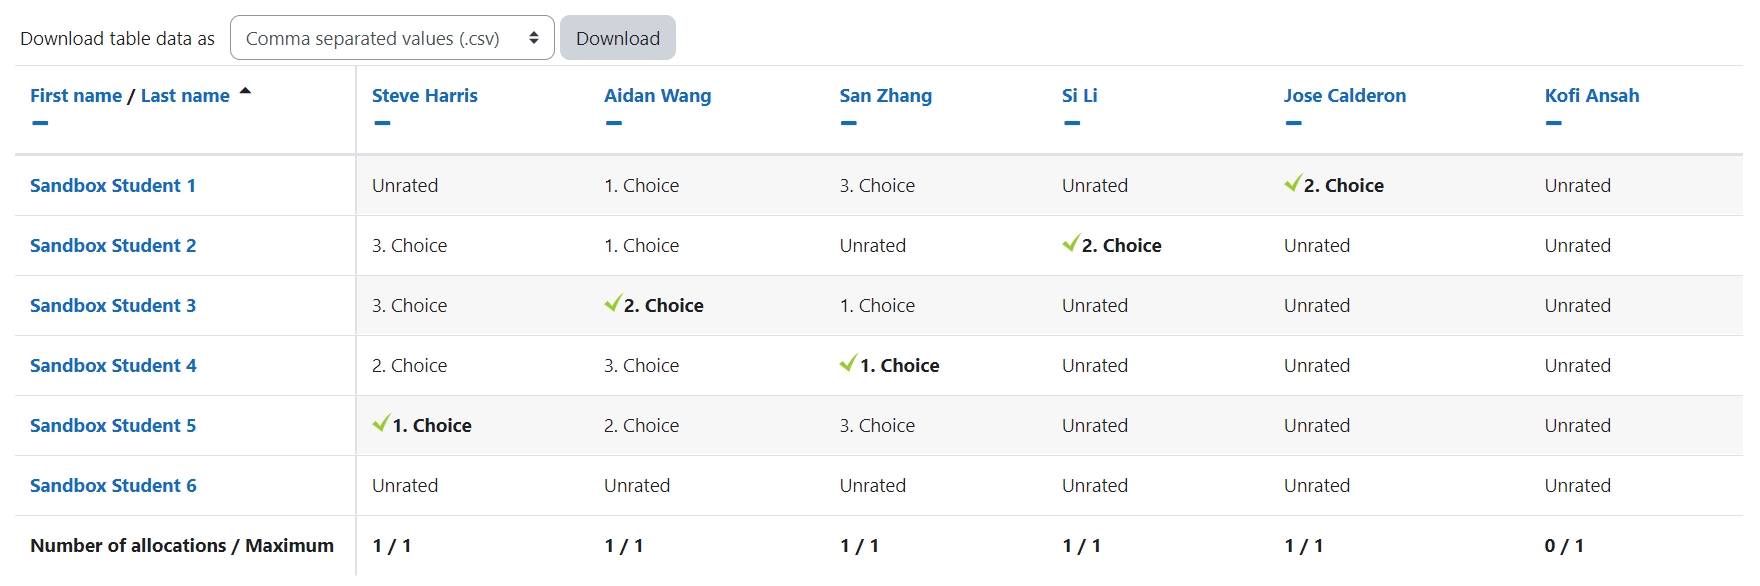
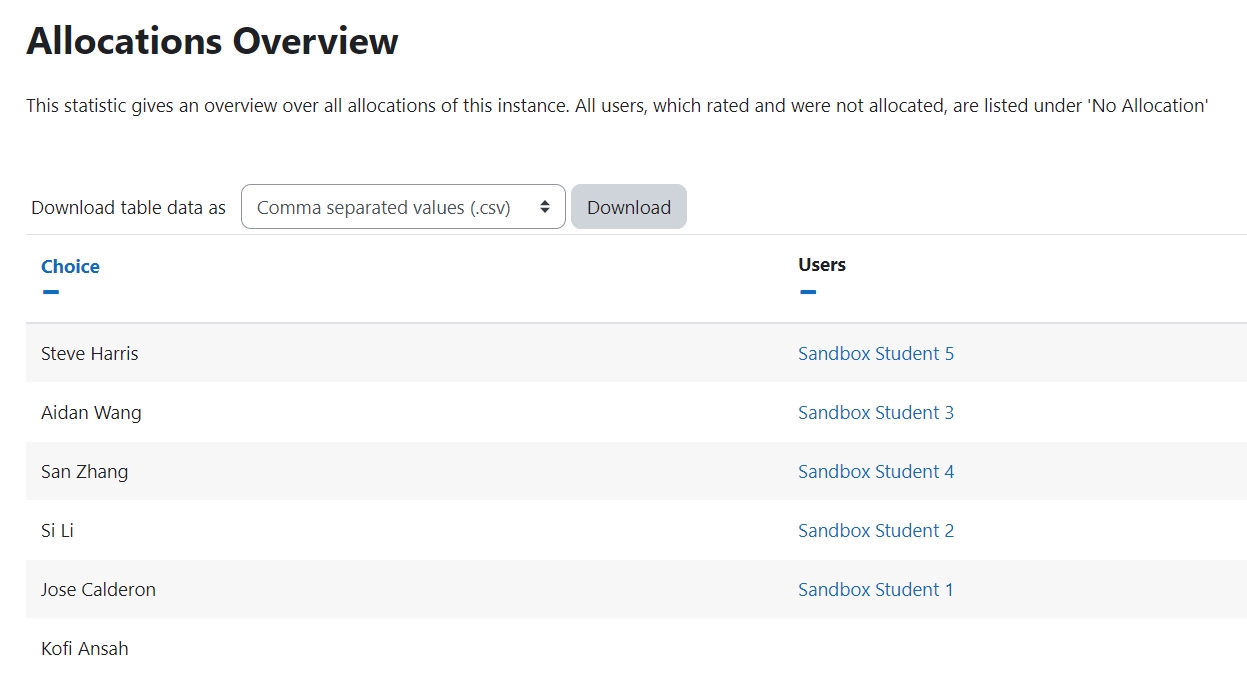
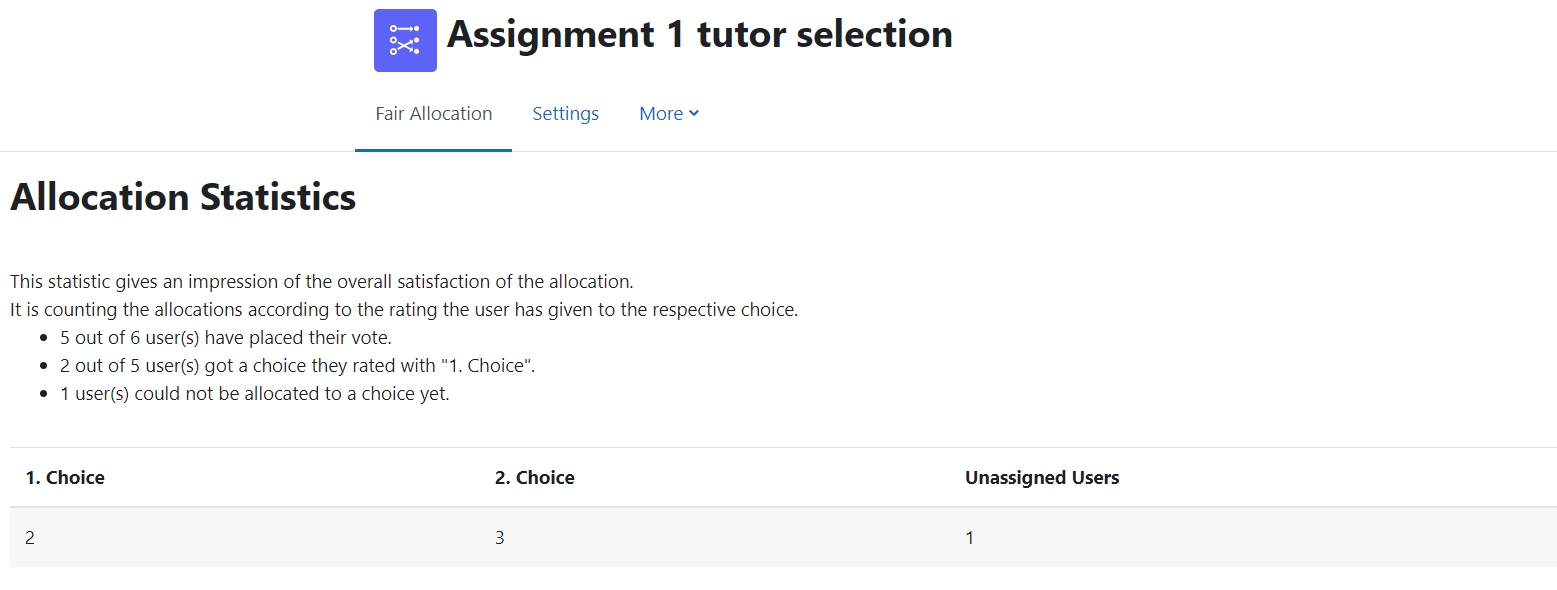
If you want to view the reports before you publish the allocation to your students, there are various means of viewing the results.
1.Show Rating Allocation
2.Show Allocation Overview
3.Show Allocation Statistics
Step 14: Student Final Allocation
Once the allocation has been completed and published the students will be able to view the allotted selection.
Tips:
If you want to run the automatic selection algorithm, and also adjust some selections manually this can be achieved, but the algorithm must be run first. If you make manual selections then run the automated algorithm thereafter you'll find that all of your manual selections will be erased by the algorithm process.