CodeRunner question type
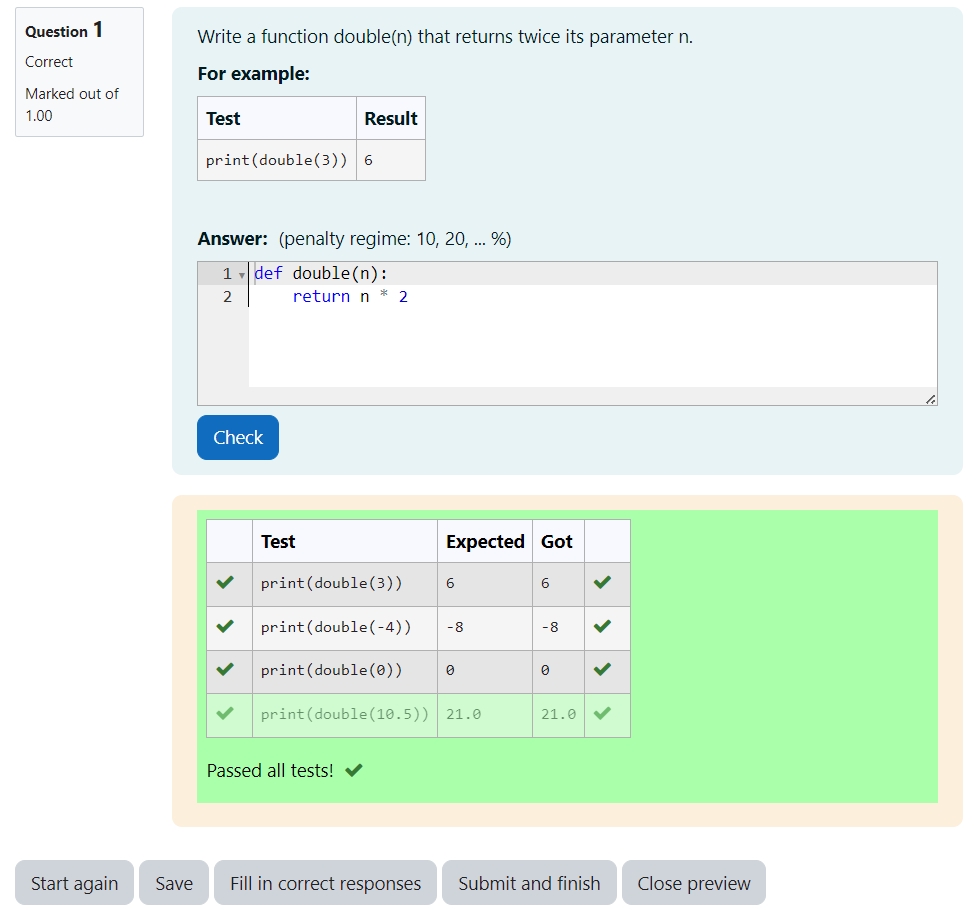
An example of CodeRunner question type
Overview:
This guide will show you how to create a CodeRunner question type.
What to know:
CodeRunner allows students to submit code as answers to various programming questions in different languages. Typically, it works in Core's adaptive quiz mode, where students enter their code for each question and receive immediate feedback on their test results. They can then make corrections and resubmit their code, usually with a minor penalty.
Table of Contents
- Step 1: Access the Quiz activity where you want to create the question
- Step 2: Open the 'Questions' tab.
- Step 3: Add a new question
- Step 4: Choose a question type
- Step 5: Choose a 'Question type'
- Step 6: Input 'Question name' and 'Question text'
- Step 7: Input the 'Test case'
- Step 8: Save changes
- Step 9: Preview and test
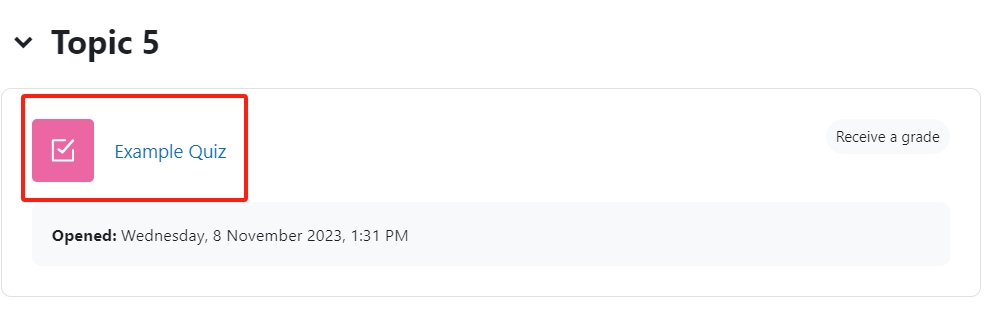
Step 1: Access the Quiz activity where you want to create the question
In your module area/course, click the link of the Quiz activity where you want to create a new CodeRunner question.
Note: If an appropriate Quiz activity doesn’t exist in your module area/course, please see Add a quiz for details of how to create one.
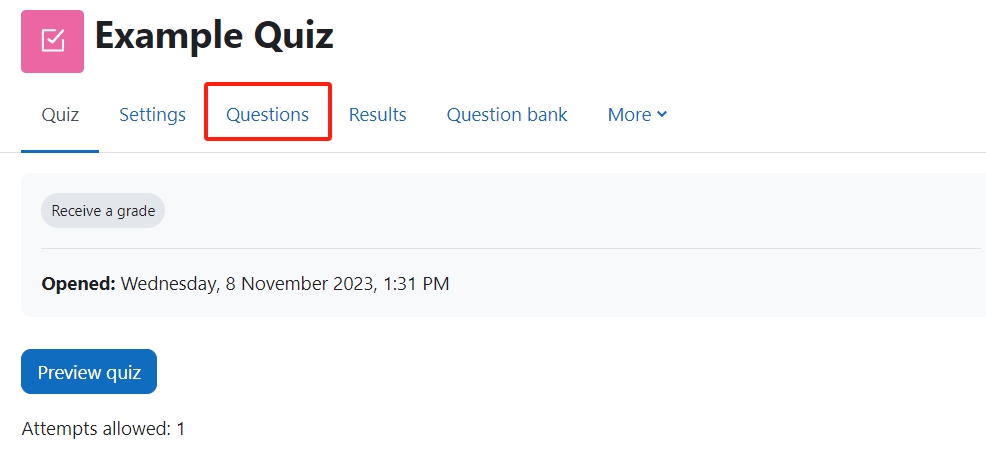
Step 2: Open the 'Questions' tab.
- Open the 'Questions' tab.
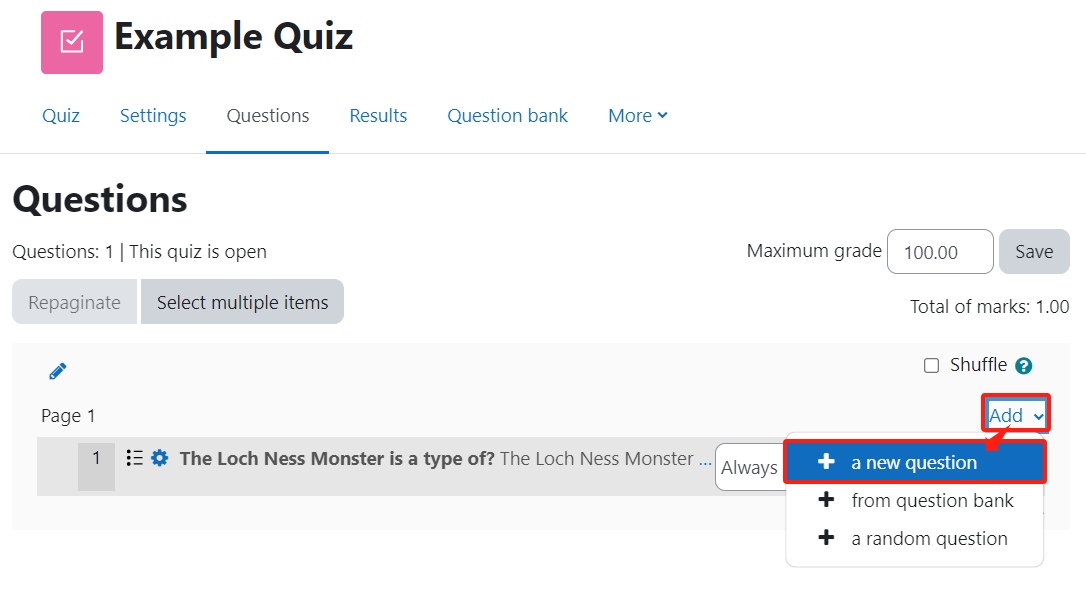
Step 3: Add a new question
- On the following page, click the ’Add’ link.
- Click the ’a new question’ link in the dropdown menu.
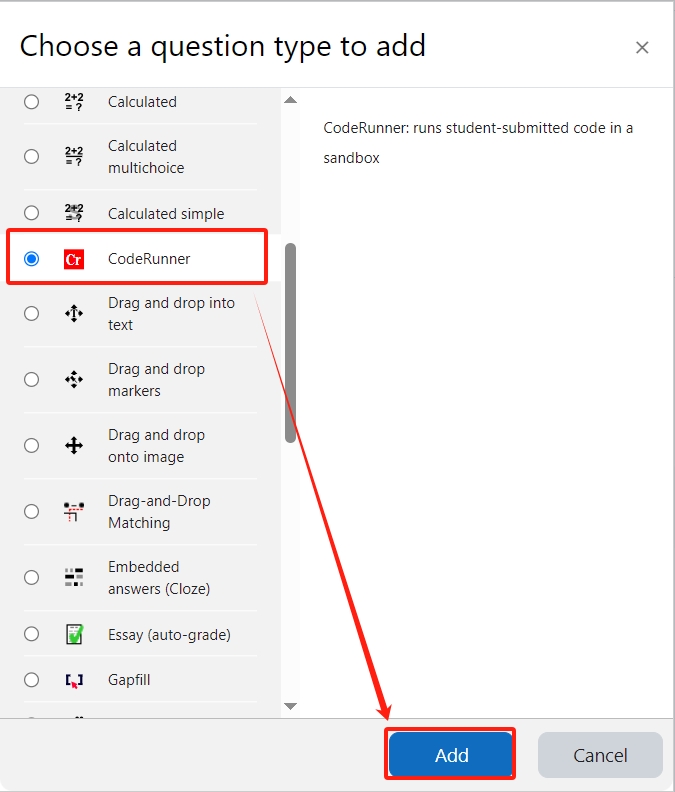
Step 4: Choose a question type
- Locate and select the CodeRunner question type from the pop-up window.
- Click the ’Add’ button.
Step 5: Choose a 'Question type'
Choose a 'Question type' according to your requirement.
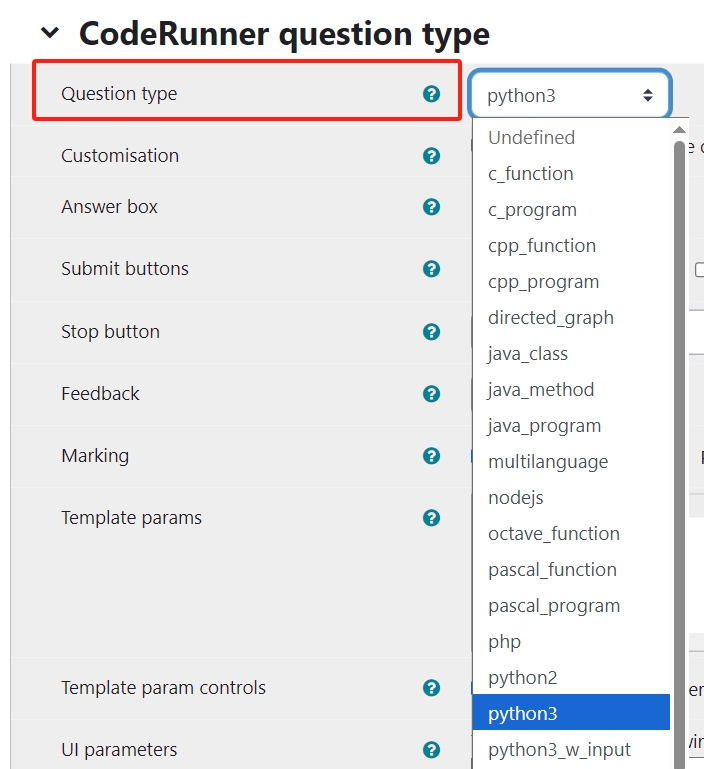
Then, you can find more details about the question type you choose in the 'Question type details' area.

Step 6: Input 'Question name' and 'Question text'

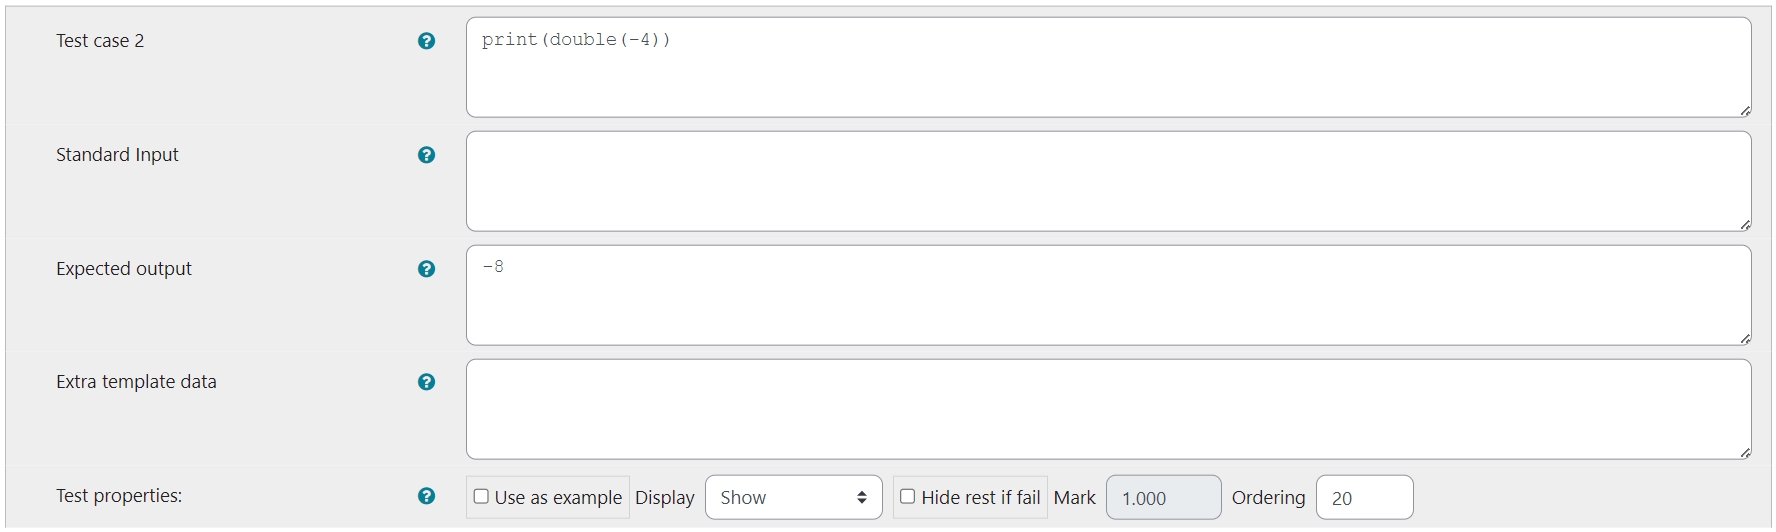
Step 7: Input the 'Test case'
Input Test cases.
You can set the Test case as an example to provide students with a reference.

Step 8: Save changes

Step 9: Preview and test

Optional settings:
Answer box: set the number of rows to allocate for the answer box.
Display > Hide: allows for additional validation of student answers, preventing them from using alternative methods to arrive at the correct output and ensuring they provide the intended solution.