Create a Peer Assessment activity
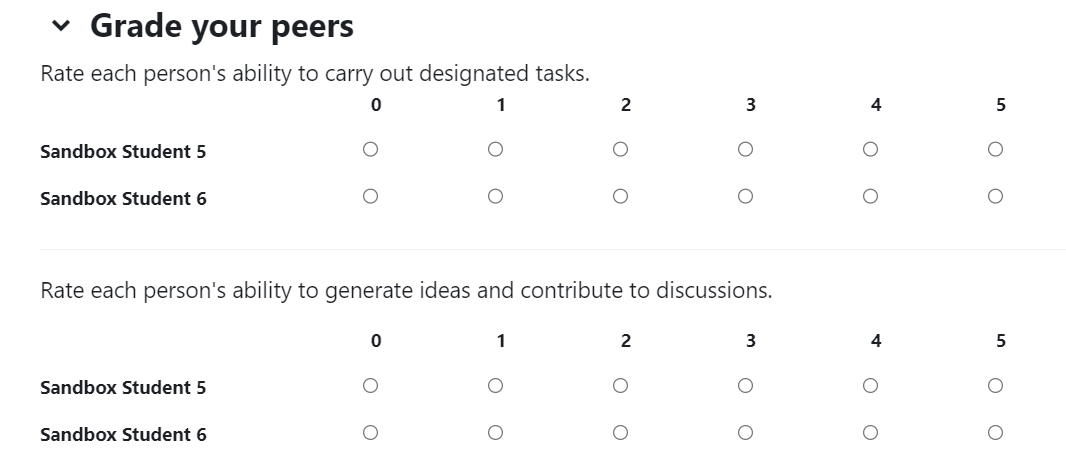
An example of the Peer Assessment activity
Overview:
This guide will show you how to create a Peer Assessment activity. If you want to learn more about Peer Assessment and its more advanced features, as well as other Peer Assessment related information, please visit the Peer Assessment Information Portal .
What to know:
Peerwork activity enables teachers to more effectively mark the outcomes of group work by allowing students to assess each other's performance or contribution while working together, In brief, Peerwork involves students assessing each other according to several detailed assessment criteria (as defined by the teacher). After that, the teacher decides on an overall group mark, but each student receives an automatically adjusted mark which takes into account their individual performance or contribution (as assessed by their peers).
Table of Contents
- Step 1: Enable the Edit mode in your module area/course
- Step 2: Click ’Add an activity or resource ’ link
- Step 3: Choose the Peer Assessment activity
- Step 4: Give a name of the activity
- Step 5: 'Peer Assessment settings' section
- Step 6: 'Calculator settings' section
- Step 7: 'Assessment criteria settings' section
- Step 8: Define evaluation criteria
- Step 9: 'Common module settings' section
- Step 10: Save changes
Step 1: Enable the Edit mode in your module area/course
Enable the ’Edit mode’ button displayed near the upper right of the module area/course.

Step 2: Click ’Add an activity or resource ’ link
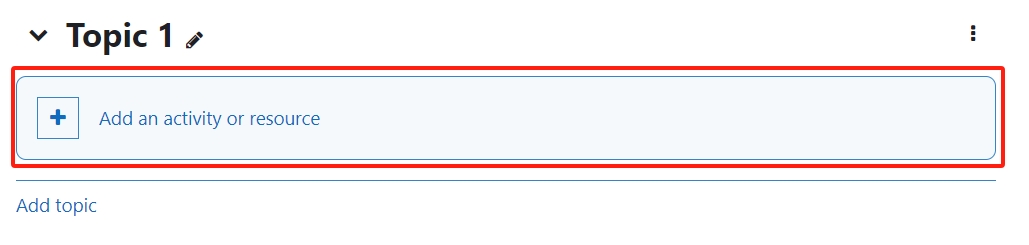
- When edit mode is turned on, navigate to the section where you want to add the Peer Assessment activity.
- Next, click the ’Add an activity or resource’ button displayed at the bottom of the section.
Step 3: Choose the Peer Assessment activity
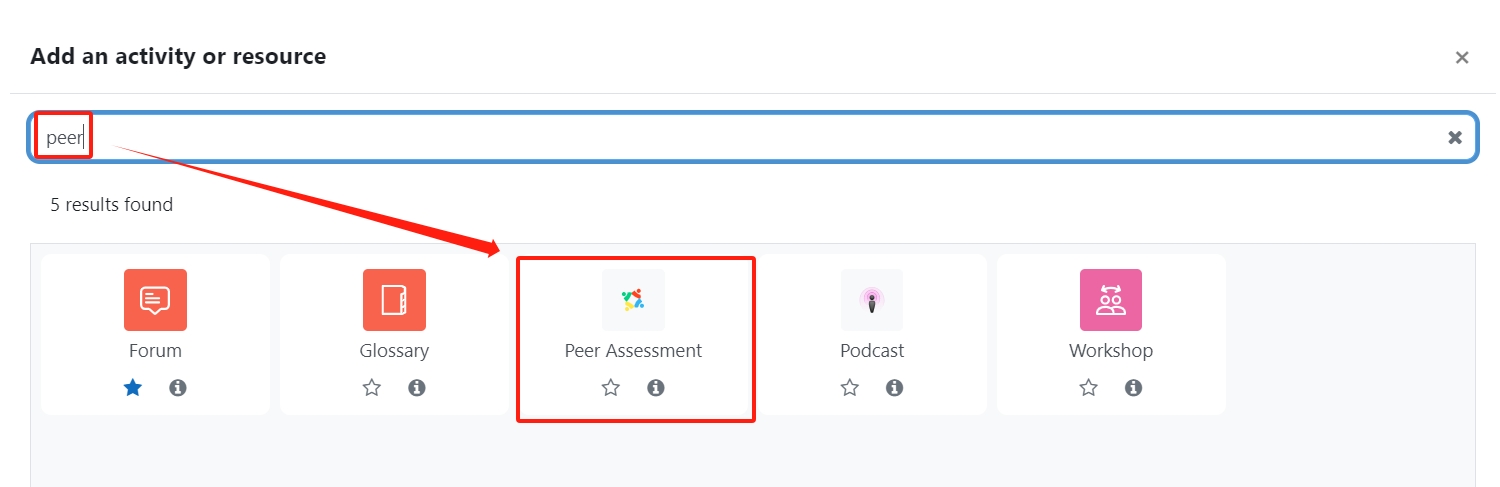
- From the pop-up activity chooser window, search for 'peer' and locate and select the 'Peer Assessment' activity.
- Then it jumps to the setting of the activity.
Step 4: Give a name of the activity
In 'General' section, give a name of the activity in 'Peer assessment' setting.

Step 5: 'Peer Assessment settings' section
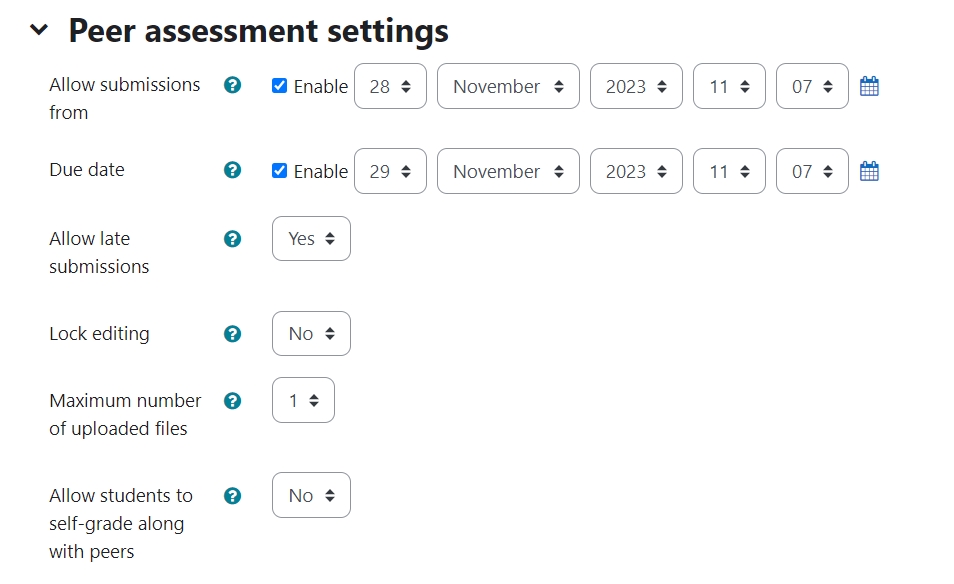
In 'Peer assessment settings' section,
- 'Allow submissions from' and 'Due date ': start time and end time of the activity
- Allow late submissions : if 'yes', students can still response after the due date. If 'no', students cannot do it.
- Lock editing : if 'yes', responses will be locked and cannot not be updated. If 'no', students can always change their responses.
- Maximum number of uploaded files : if students submit their work in Assignment activity, it can choose '0' here.
- Allow students to self-grade along with peers: if 'yes', students evaluate themselves and other group members; if 'no', students evaluate other group members only.
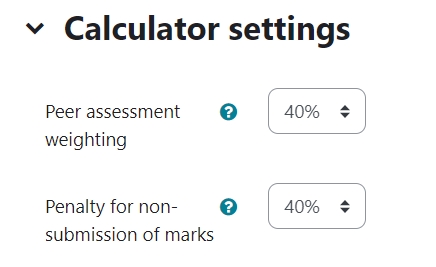
Step 6: 'Calculator settings' section
In 'Calculator settings',
- Peer assessment weighting : the weight of peer assessment in the final score. e.g., 40% means the peer assessment score takes 40% or the final scores and the teacher's mark of group work takes 60%.
- Penalty for non-submission of marks : if students have not responded to Peer Assessment, they will get a penalty for their peer assessment marks.
Hint: If you choose students only to evaluate other group members, it is suggested to set up a penalty. Otherwise, the students who have not submitted their responses will get a higher mark than other members.
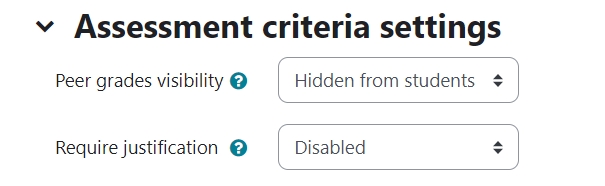
Step 7: 'Assessment criteria settings' section
In 'Assessment criteria settings'
- Peer grades visibility: Whether students will see the peer review grades.
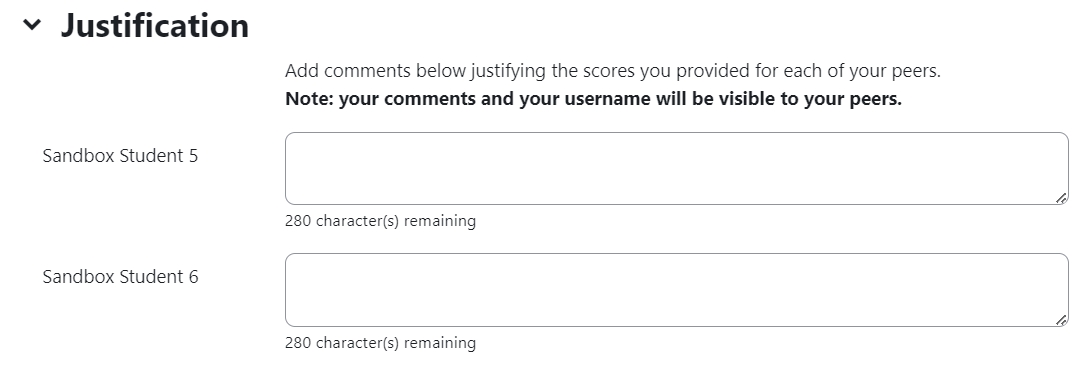
- Require justification: whether students need to write comments for each of the group members. If yes, there will be an additional comment text area as below.
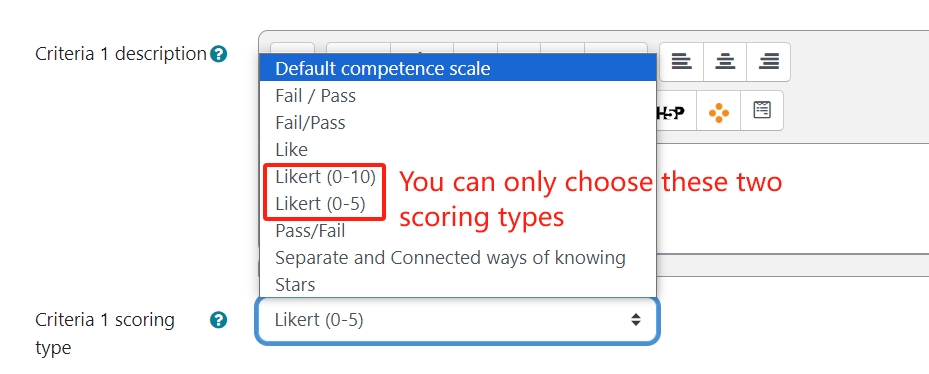
Step 8: Define evaluation criteria
- Criteria 1 description: define the evaluation criteria in words here.
- Criteria 1 spring type: Please choose either 'Likert (0-10)' or 'Likert (0-5)' to make likert scale evaluation.
You can add more criteria in the same process.
Step 9: 'Common module settings' section
- 'Group mode': choose 'Separate groups'.
- 'Grouping': select the grouping of group project. 'Grouping' is a collection of groups. Please view the guide about grouping here.

Step 10: Save changes
Please click the 'save and return to course' or 'save and display' button to save the changes.

Tips:
When configuring the activity settings you can allow students to submit digital files along with their scores. If you would like to provide comments, annotations and other form of feedback please use the Assignment activity to collect file submissions from your students as a separate activity.
Next steps:
Now that you have finished creating a Peer Assessment activity, you may be interested in the following related articles:
Workflow of setting up and marking in Peer Assessment - Important!