Matching Question
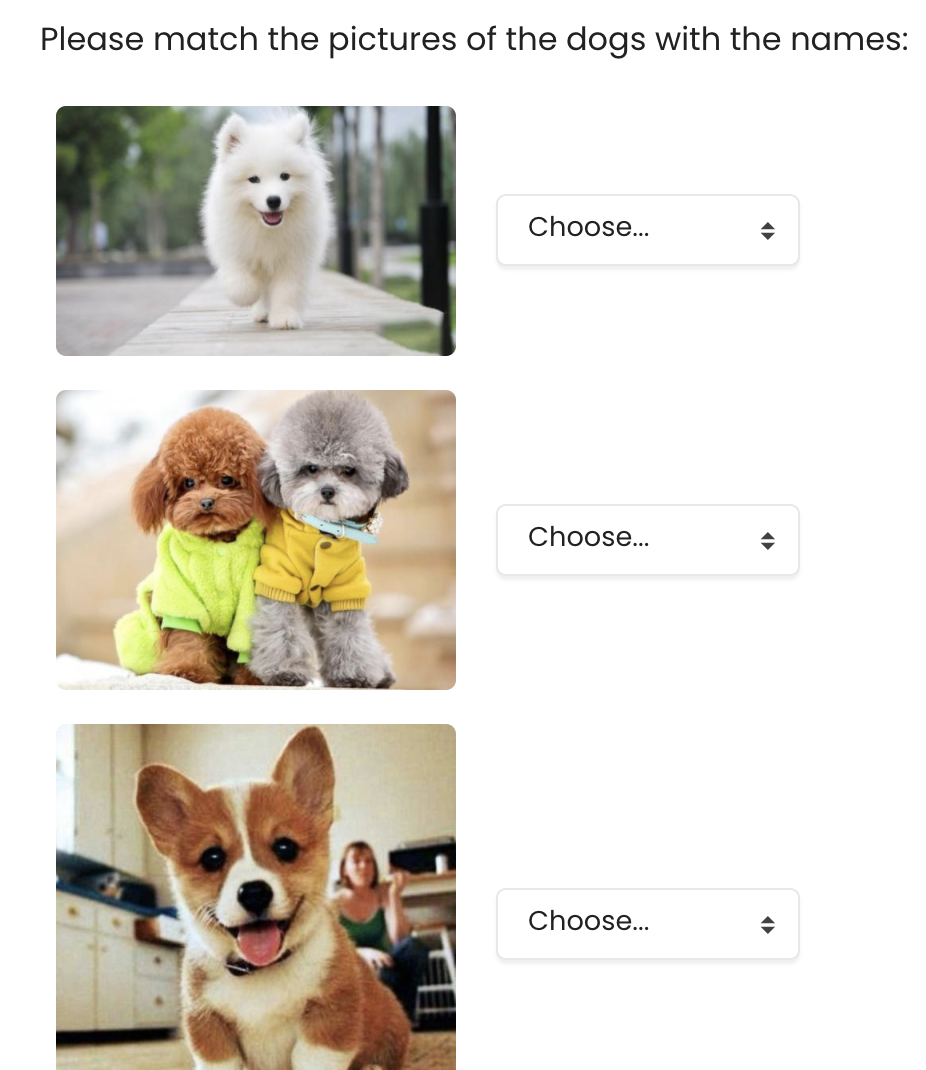
An example of the matching question
Overview:
This guide will show you how to create a matching question type within the Quiz activity.
What to know:
The matching question type allows students to select words by clicking on them. It can be a useful question type for language learning.
Table of Contents
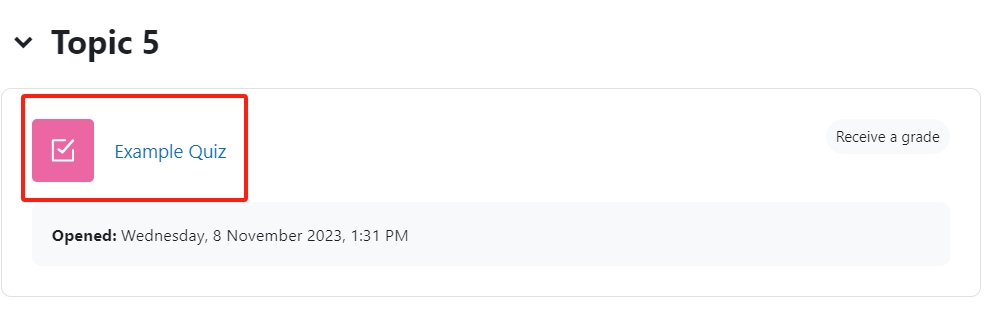
Step 1: Access the Quiz activity
In your module area/course, click the link of the Quiz activity.
Note: If an appropriate Quiz activity doesn’t exist in your module area/course, please see How to add a Quiz activity for details of how to create one.
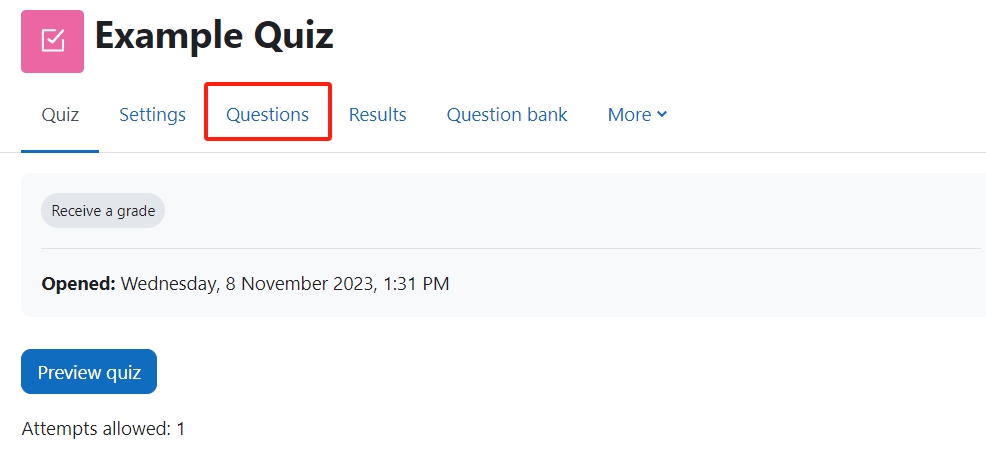
Step 2: Questions editing page
- Click the 'Questions' tab.
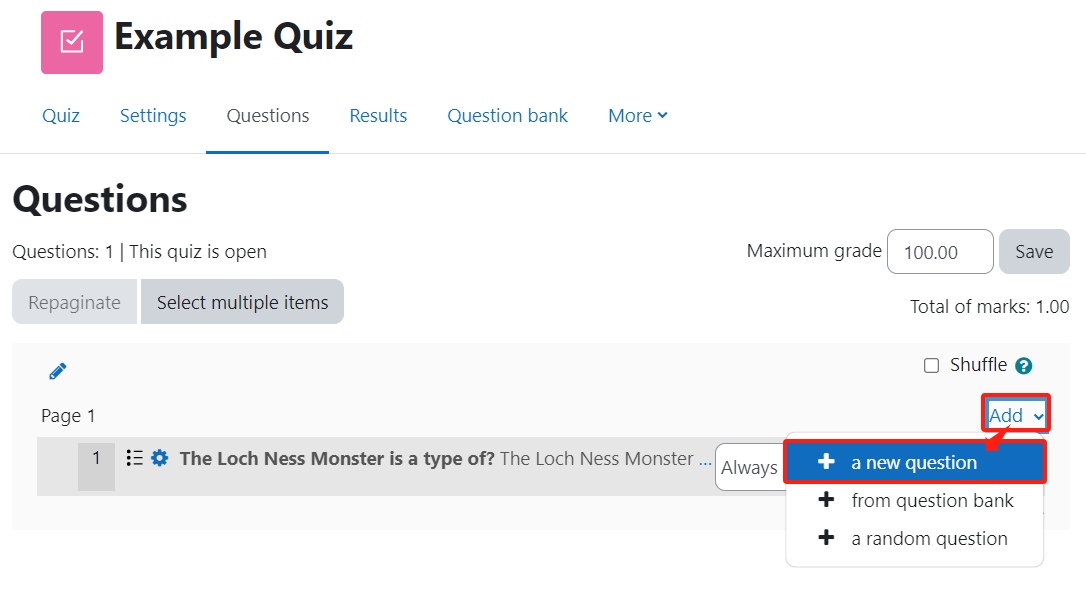
Step 3: Add a new question
- On the following page, click the ’Add’ link.
- Click the ’a new question’ link in the dropdown menu.
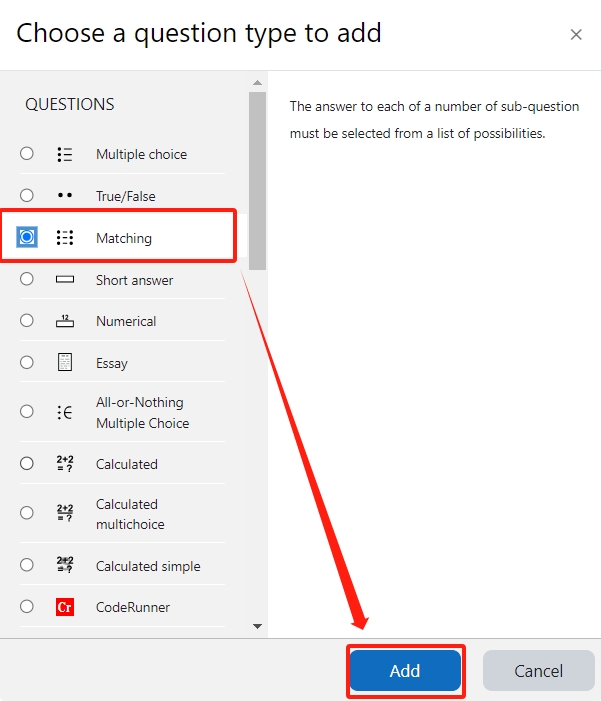
Step 4: Choose a question type
- Locate and select the matching question type from the pop-up window.
- Click the ’Add’ button.
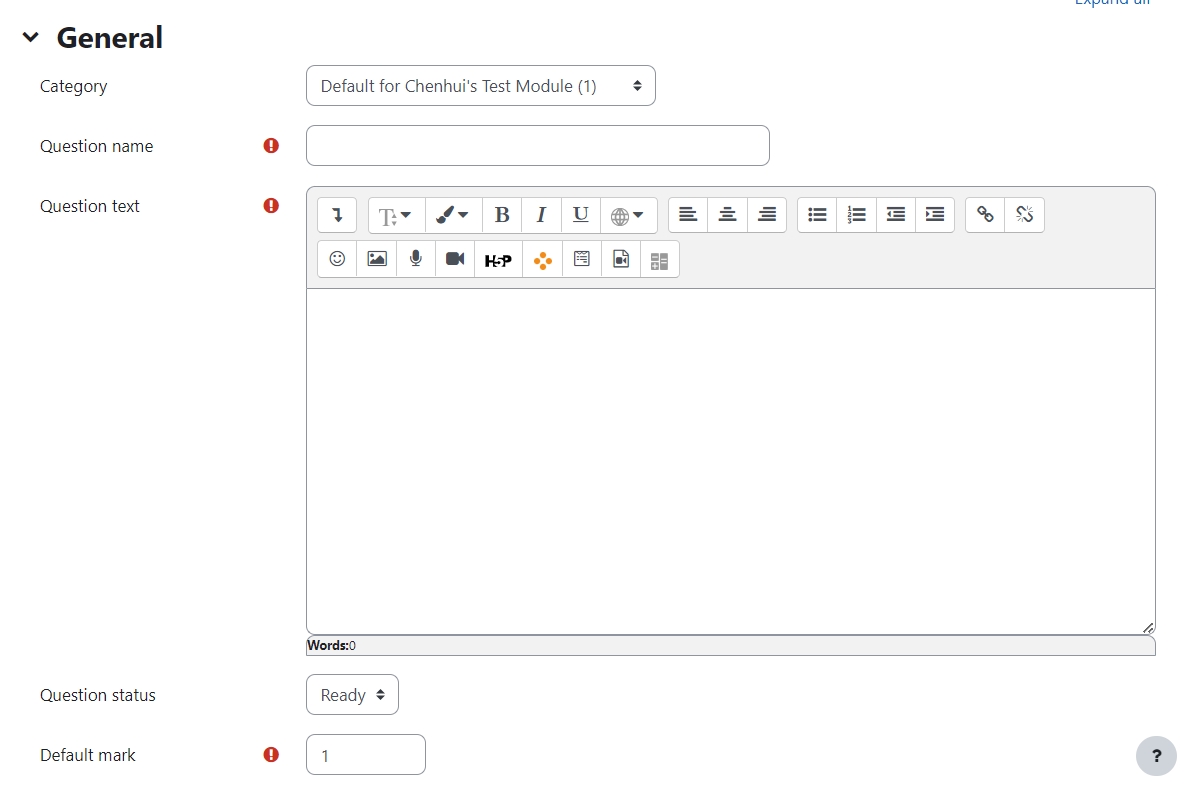
Step 5: Configure general settings
Category:
You can choose which category you would like to put your question in from the dropdown menu. If you have not created any category in your question bank, you can put the questions in the default category.
Question name:
The question name is to help you to identify your questions. It is extremely useful when you view your questions in the question bank. It is recommended you put in enough information in the question name to help you to identify your questions quickly, especially in the question bank. A good example will be a question name like "Week1- location of XJTLU". Vague question names like "Q1" should be avoided. This section is mandatory. Please note, students will not see the question names.
Question text:
Question text is a place where you can put in the question or instructions. This section is mandatory. It is also possible to put images or videos in the question text.
Default mark:
This is where you put the mark of the question. You can change the mark even during and after the quiz.
General feedback:
Feedback can be given to your students at different stages of the quiz depends on how the settings are configured.
ID number:
Please leave it blank.

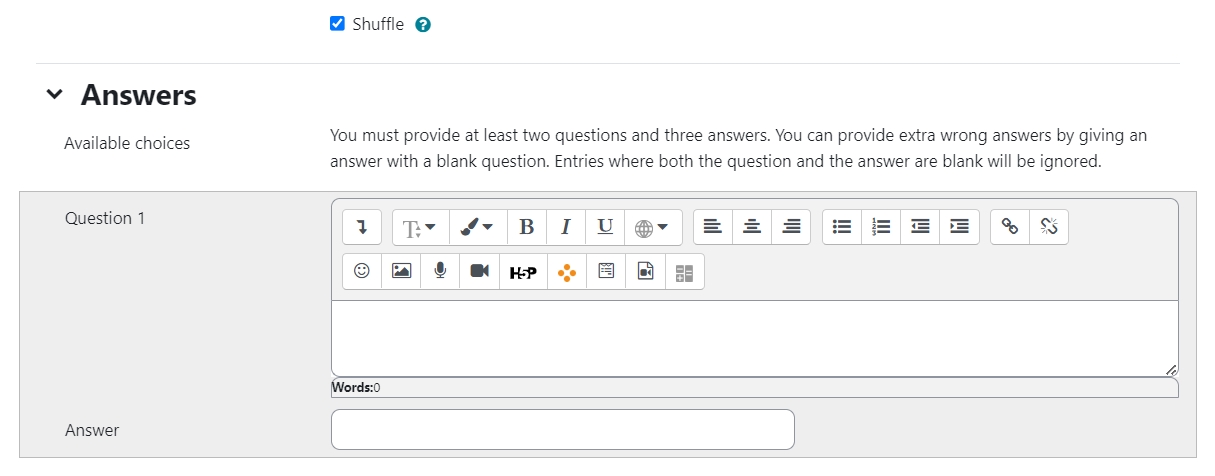
Step 6: Configure answer settings
Shuffle:
If enabled, the answers will be randomly presented in each attempt, provided that "Shuffle within questions" in the activity settings is also enabled.
Question 1:
Question text is a place where you can put in the question. It is also possible to put images or videos in the question text.
Answer:
This is where you put in the answer. This section is text only.
Step 7: Add tags if needed
You can put in a tag or several tags by key in the tags. Click "x" to delete a tag. Tags can help you to organize your questions in your question bank. Read more about the use of Tag from this article (link). Tags are designed for your question management purpose. It will not be displayed to students

Other guides you may be interested: