Creating a Video Assignment

An example of a Video Assignment
Overview:
This guide will take you through the steps of creating your video as an assignment on the Learning Mall Core.
What to know:
The video Assignment allows students to submit videos of various file sizes and formats.
Table of Contents
- Step 1: Turn on editing mode in your module area/course
- Step 1: Turn on editing mode in your module area/course
- Step 2: Click ’Add an activity or resource ’ link
- Step 3: Choose the Assignment activity
- Step 4: Give a name of the assignment activity
- Step 5: Set up the assignment time
- Step 6: Set the submission type
- Step 7: Save the settings
Step 1: Turn on editing mode in your module area/course
Go to the module page.
Step 1: Turn on editing mode in your module area/course
Click the ’Turn editing on’ button displayed near the upper right of the module area/course.

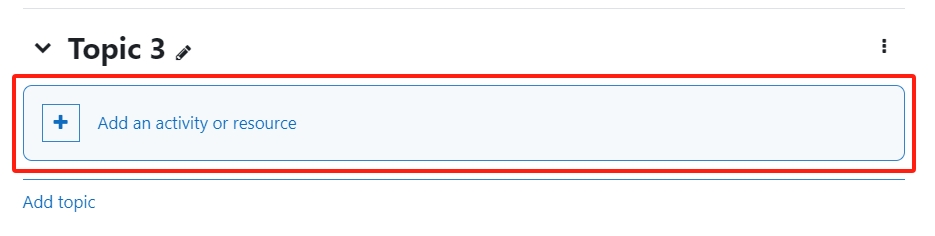
Step 2: Click ’Add an activity or resource ’ link
- When editing mode is turned on, navigate to the section where you want to add the Assignment activity.
- Next, click the ’Add an activity or resource’ button displayed at the bottom of the section.
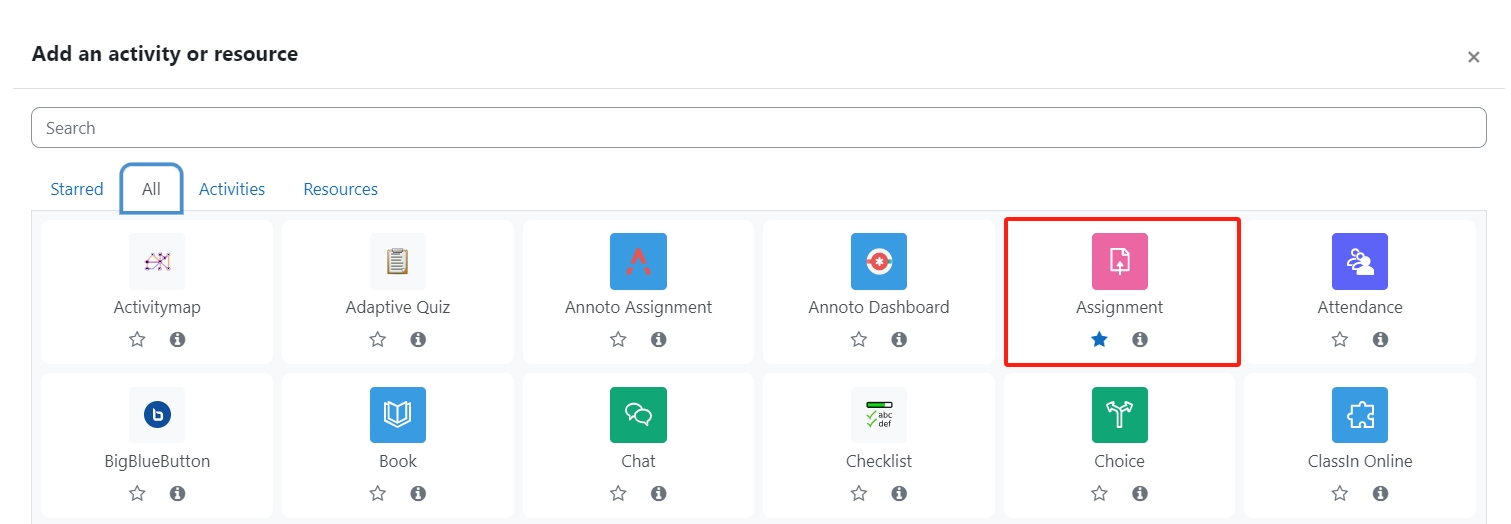
Step 3: Choose the Assignment activity
- From the pop-up activity chooser window, locate and select the Assignment activity.
- Then it jumps to the setting of the activity.
Step 4: Give a name of the assignment activity
Please give a name of the assignment activity in 'Assignment name' setting.

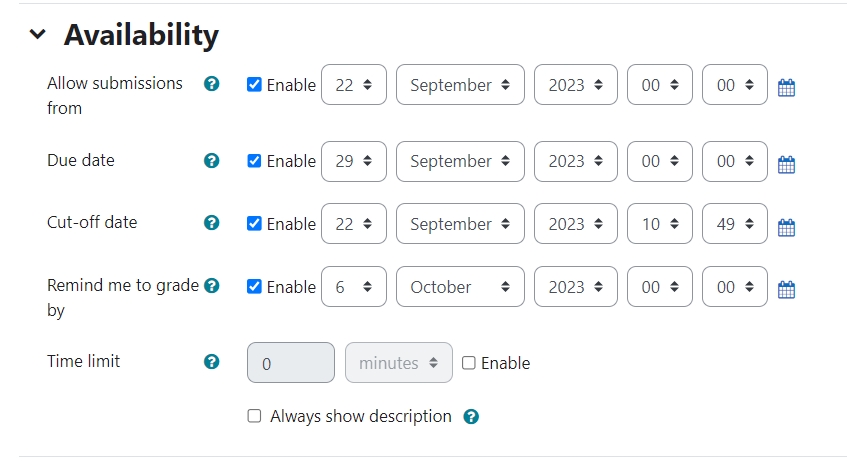
Step 5: Set up the assignment time
In the 'Availability' section, please set up the time of the Assignment activity.
- 'Allow submissions from': the time that students can start to submit work.
- 'Due date': the deadline of the assignment.
- 'Cut-off date': after which students cannot submit work anymore. (Students can still submit work after 'due date' and the submission will be regarded as late submission.)
- 'Remind me to the grade by': System will remind teacher to grade the Assignment.
Step 6: Set the submission type
In the 'submission type' section, choose 'Video assignment'.
Hint: If you want students to submit a video as well as other types of work, you can also choose the other submission type here.

Step 7: Save the settings
Scroll down to the bottom of the page and click 'save and return to course' or 'save changes' button to save the settings.
